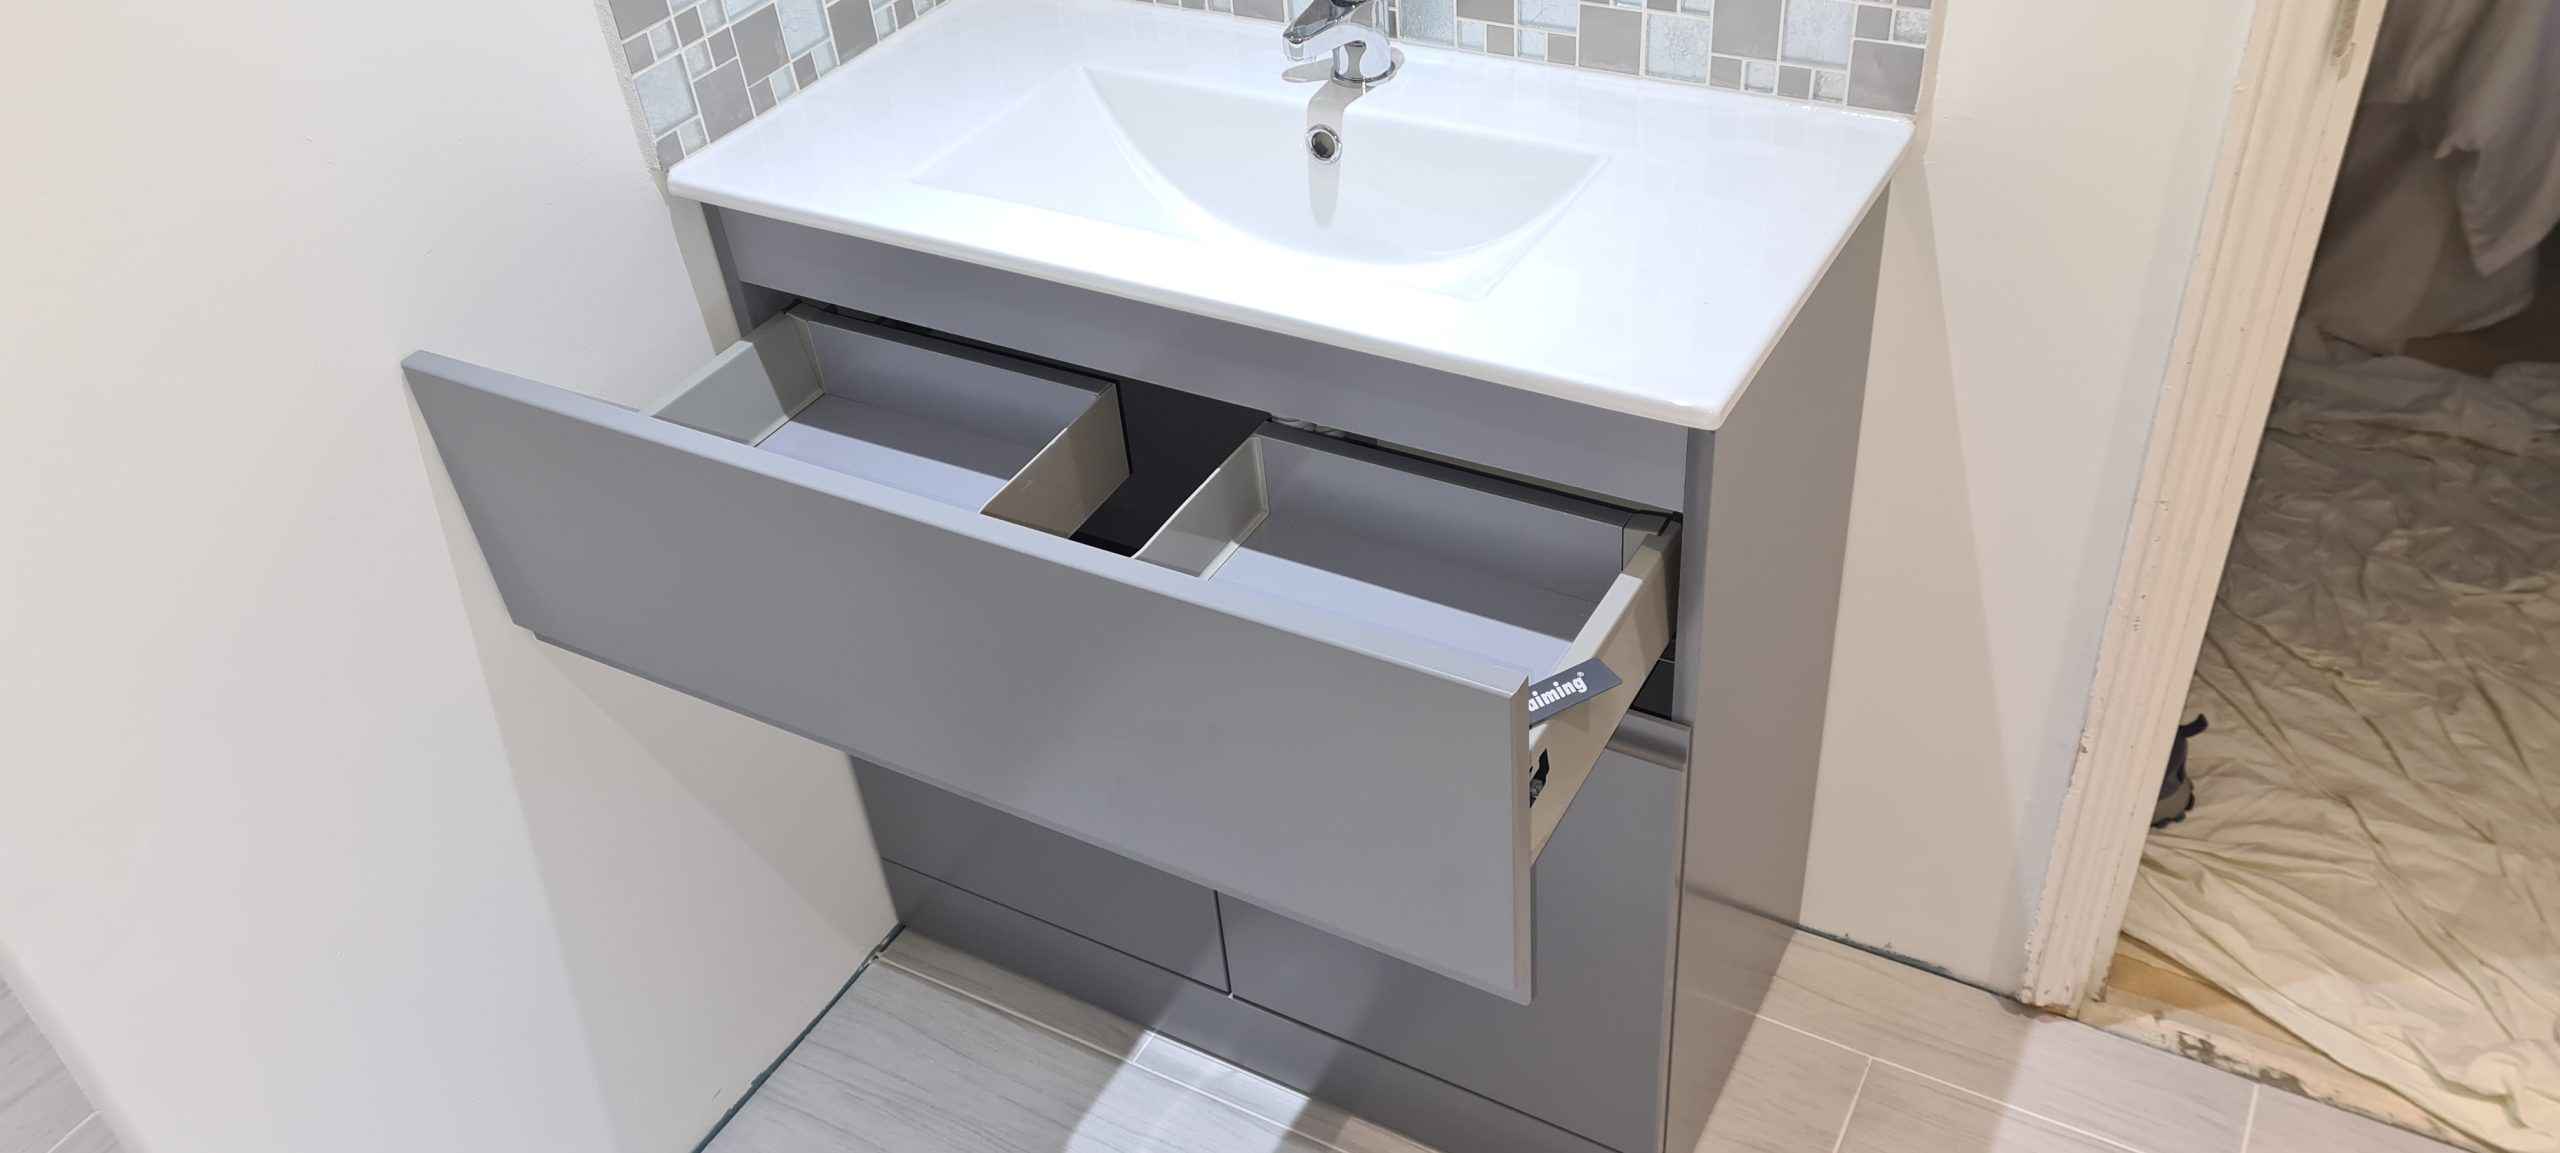
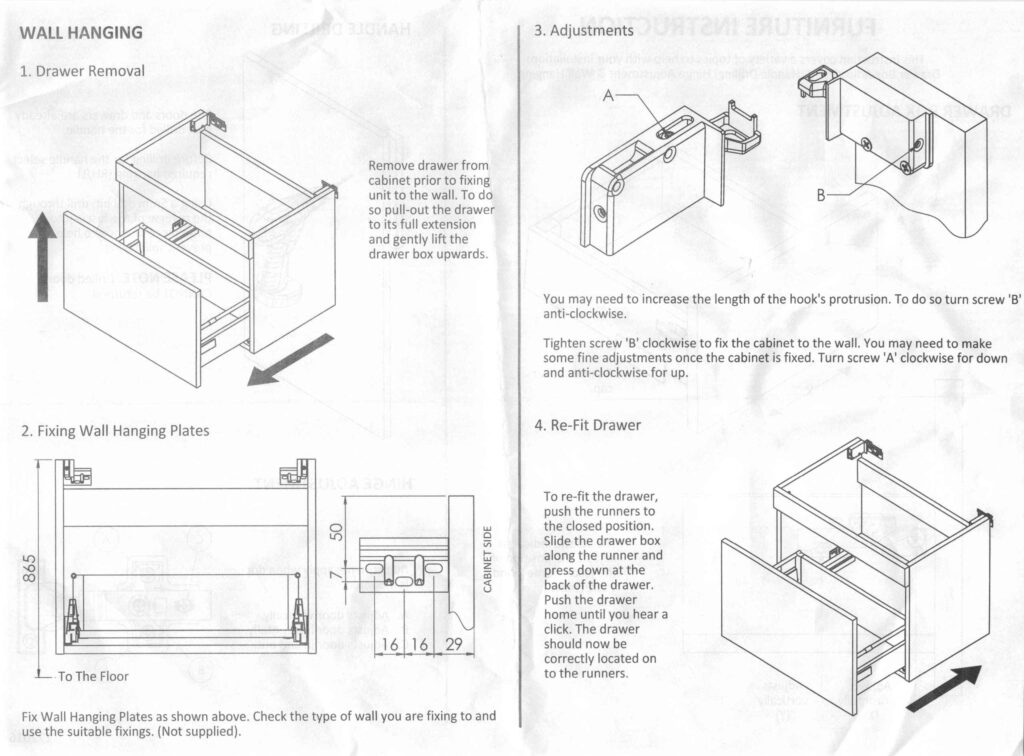
In order to install a Hudson Reed Urban Vanity Unit, the drawer has to be removed so that the area at the back of the unit can be accessed to run pipework and fix the brackets that attach the carcass to the wall.
The very brief paper information and assembly instructions that were supplied with the unit that I had to fit had a few lines that stated the drawer should be removed by pulling the drawer out as far as it would go and then lifting it up to remove it from the drawer sliders. After several attempts to lift up the drawer on my unit it became apparent that this was not going to work as the lifting action just resulted in bending the drawer rails and any further pressure would end up breaking some part of the drawer slider mechanism, so a different tack was required.
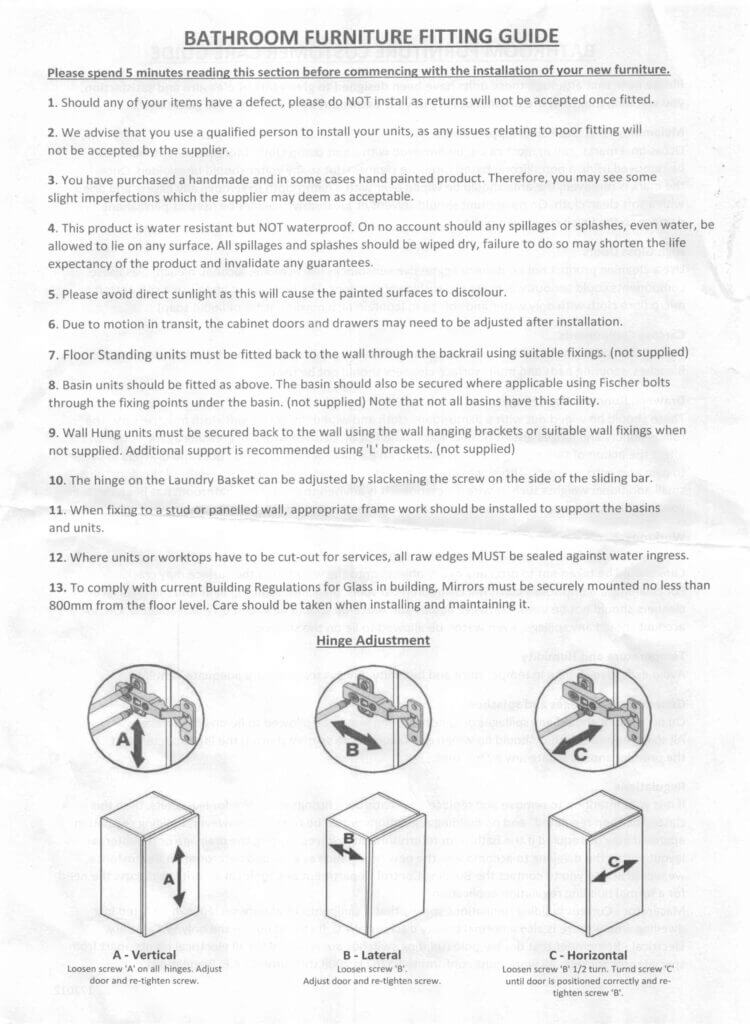
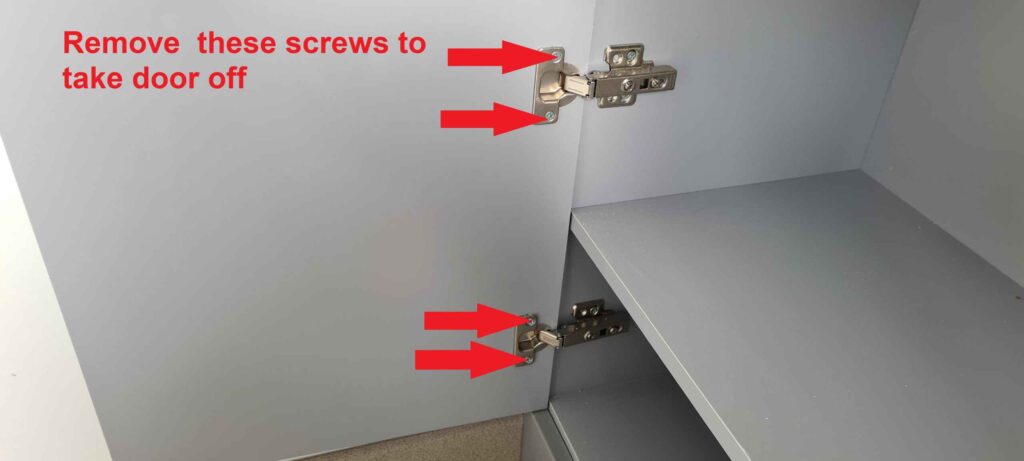
First off I started by removing the doors. This was easily facilitated by simply removing the 4 screws that fix the hinges to the doors as shown in the picture below.
Then I decided to remove the drawer face plate. This is not necessary to remove the drawer from the vanity unit but it did allow me to more easily figure out how the drawer was fixed to the drawer sliders.
If you do want to remove the face plate then it’s quite an easy operation once you know how. Prise out the drawer slider mechanism manufacturer name plates from either side of the drawer to reveal the face plate and drawer height adjustment cams.
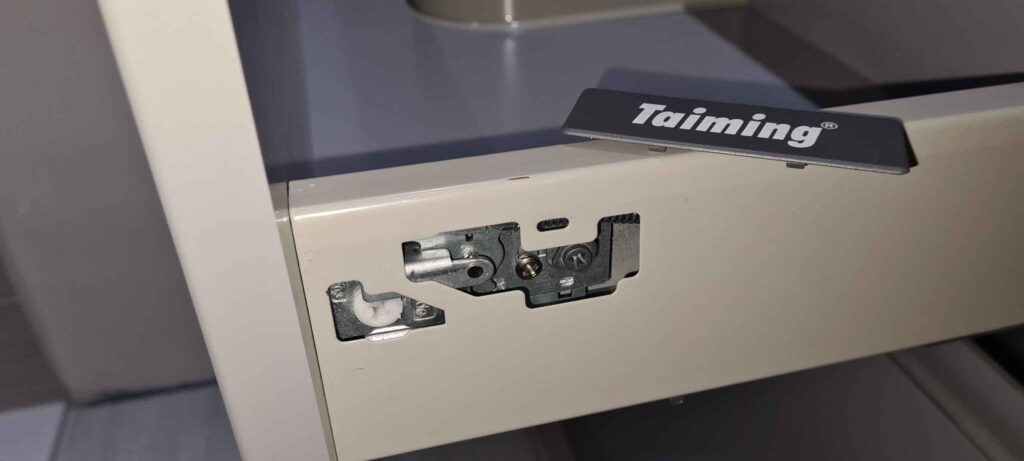
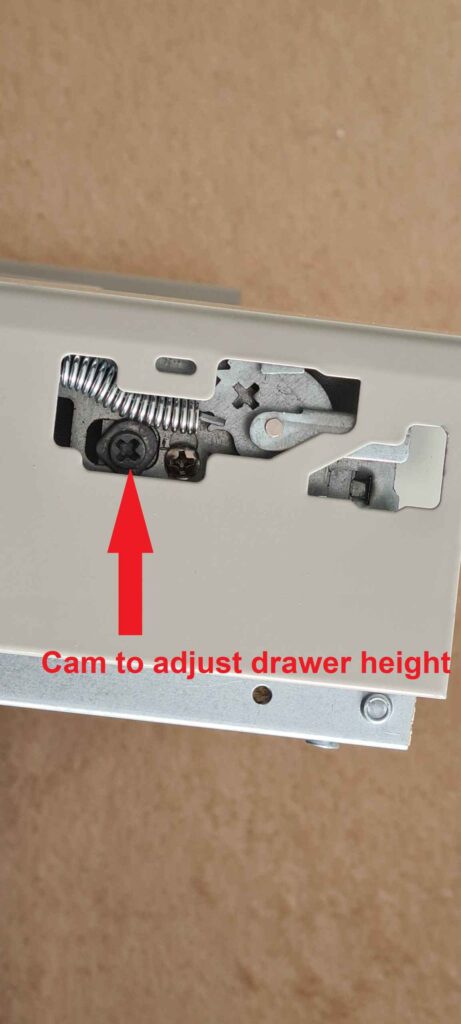
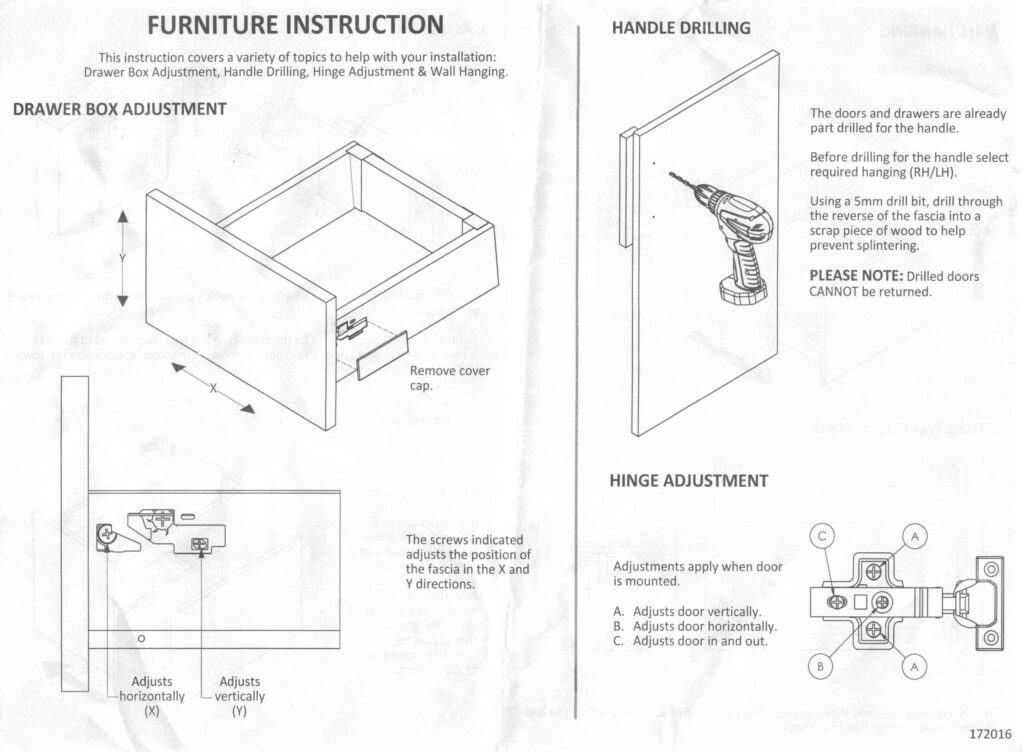
Just insert a screw driver into the cam on either side of the drawer where there is a cross slotted hole and turn the cam clockwise . It should remain in that position on its own but you may need to use 2 screwdrivers, one for each side, to hold the cams open in order to remove the face plate. See diagram below.
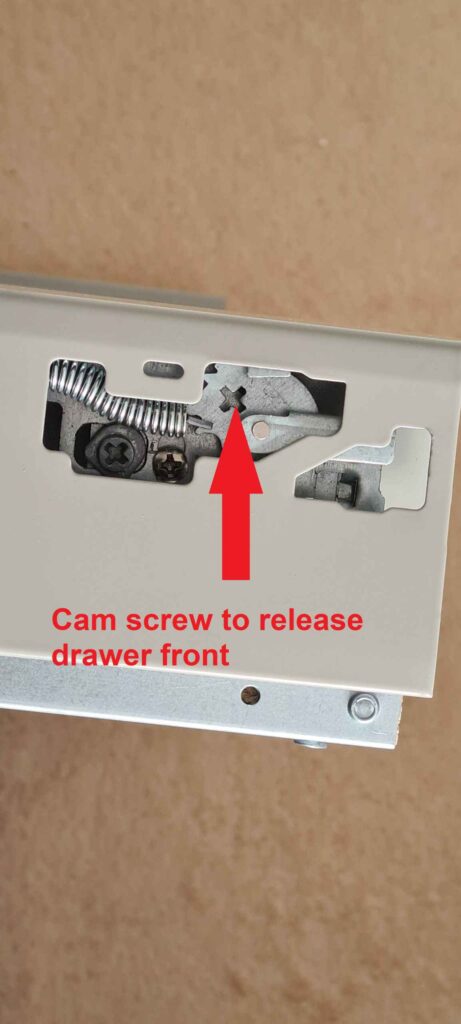
With the cams turned in the open position pull the face plate off the drawer. This may require a little bit of wiggling but it should come out without too much trouble.
Now with the face plate off you can undo the 2 spring clips, one on either side, that hold the drawer rails onto the sliders as shown in the diagrams below.
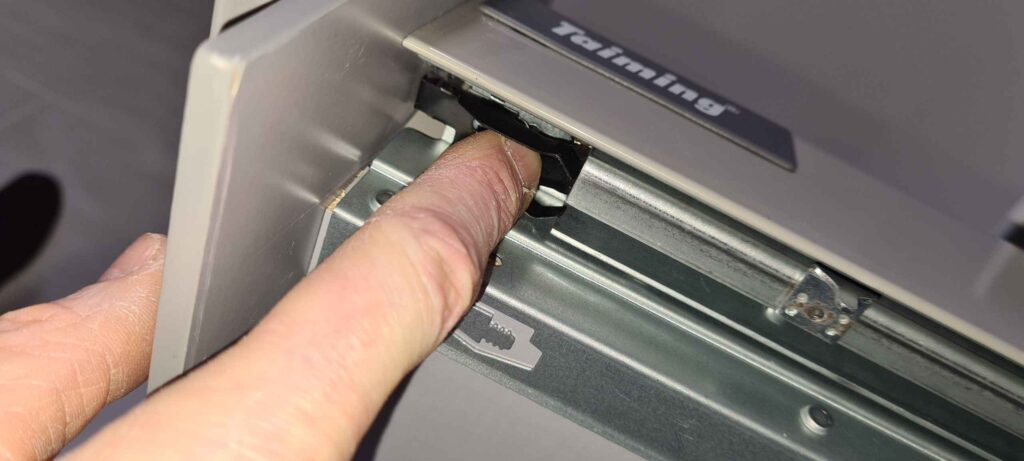
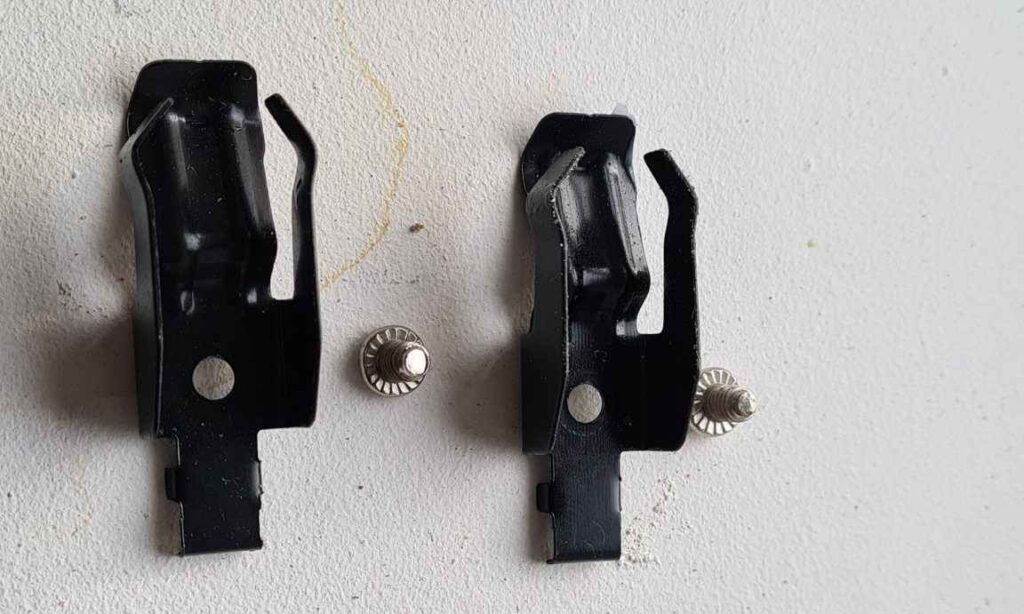
Once the spring clips have been removed then you can pull the drawer forward off from the sliders. Note the 2 tangs on each of the end sliders that hooks over the cut-out in the back of the drawer rail securing the drawer in place when it’s back on the slider as in the picture below.
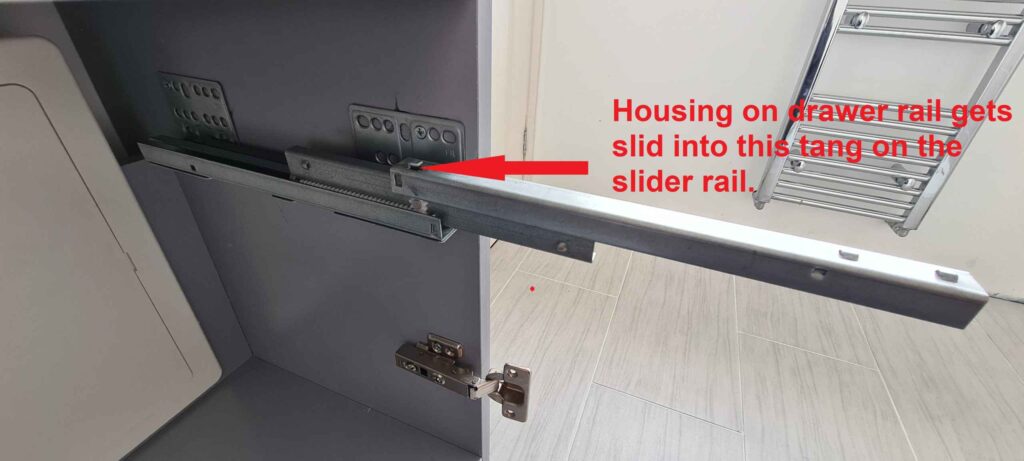
To replace the drawer it’s pretty much a reversal of the disassembly process. With the drawer faceplate cams turned in the open position wiggle the faceplate back into position. Take care to make sure the faceplate is the right way up!
Then place the drawer rails back on the fully extended sliders and slide it back making sure the tangs in the sliders at the back hook into the housing on the drawer rail as below.
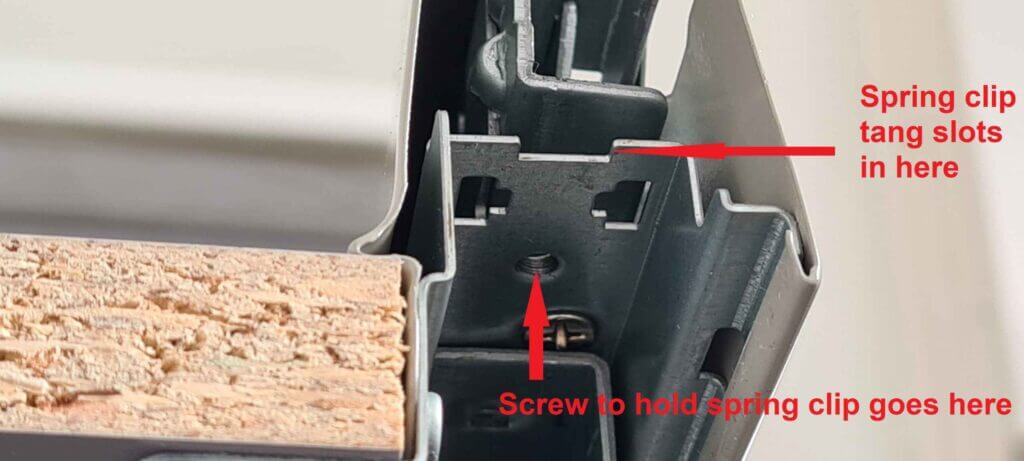
Now we need to replace the spring clips into the sliders. Make sure the tang on the spring clip hooks over the end of the slider as in the picture below. This holds the drawer rail in place on the slider.
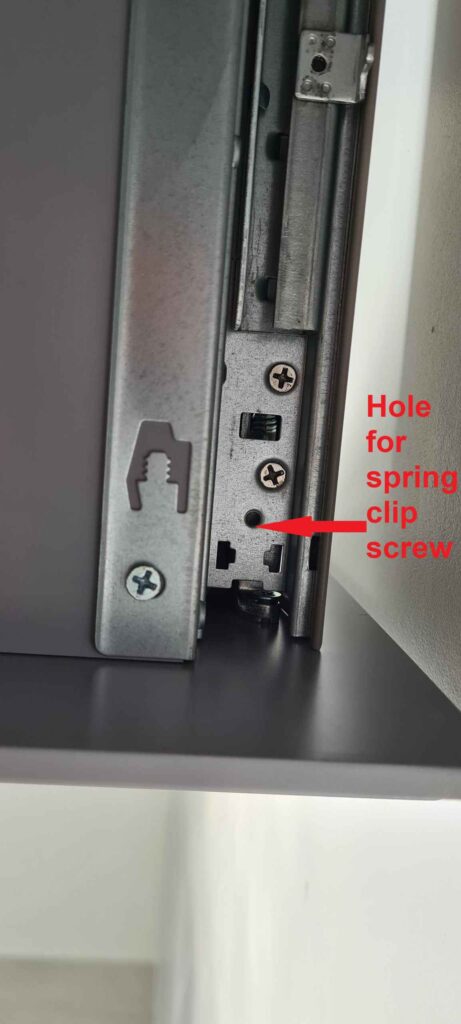

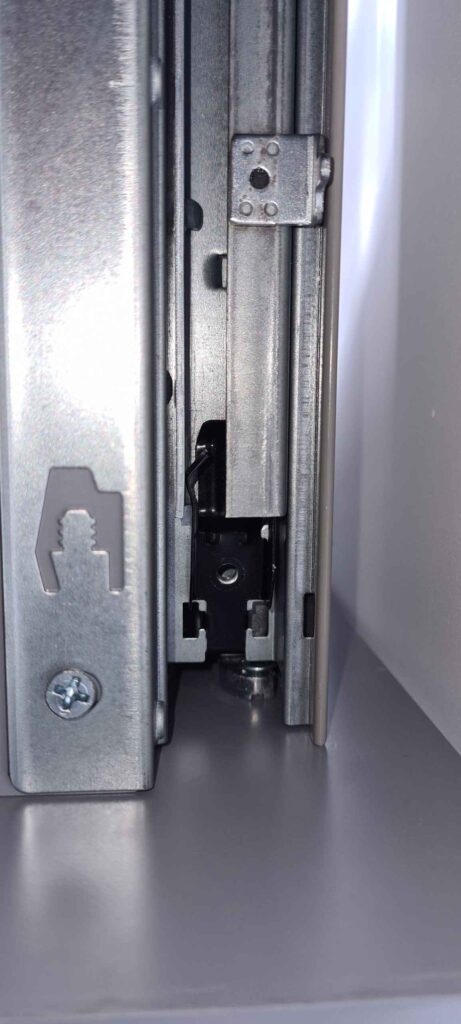
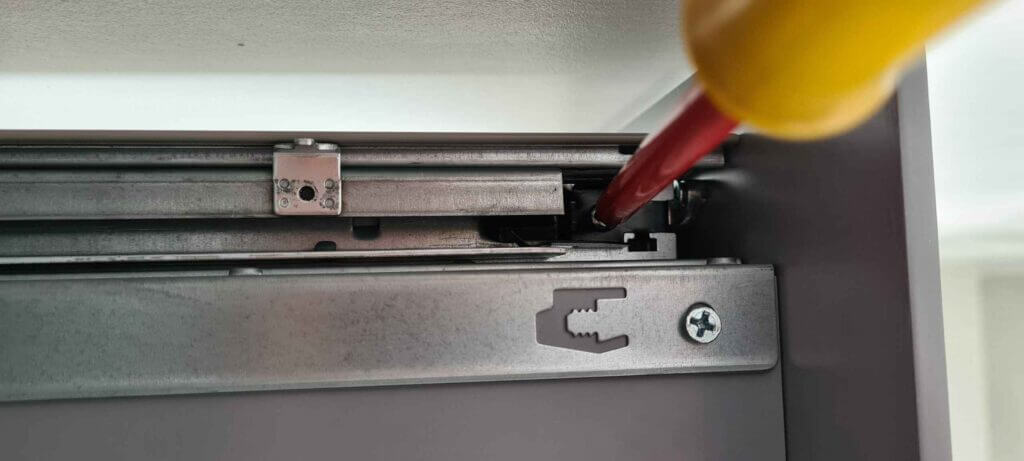
Once both spring clips are in place the drawer is ready to be pushed back into the unit. If the face plate looks too high or lop sided then there is a small amount of adjustment that can be done with the second cam on the side of the drawer the will lift or lower the drawer by a few millimetres. See below.
