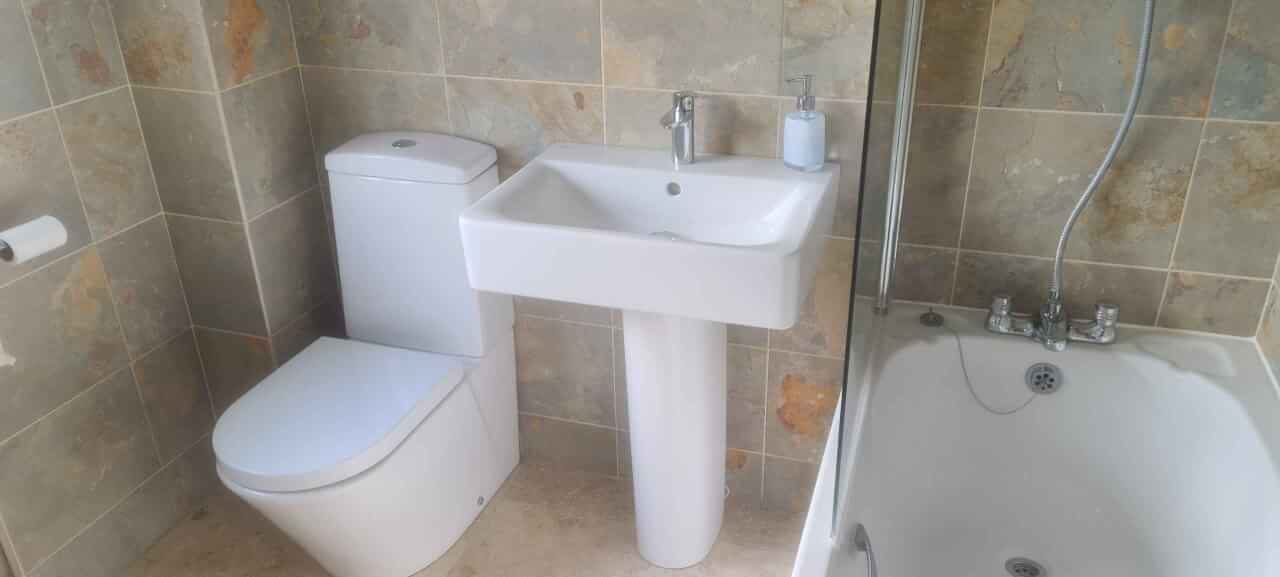
We had a project to replace an old basin tap. It was of the waterfall style which meant over the years it had gotten very blemished by the ravages of the hard water that is found in this area. The spout of the tap had become very marked due to the continual cleaning of the surface.
The tap is being replaced by a normal modern type round pipe spout tap which also has eco water-saving credentials and will be easier to maintain.
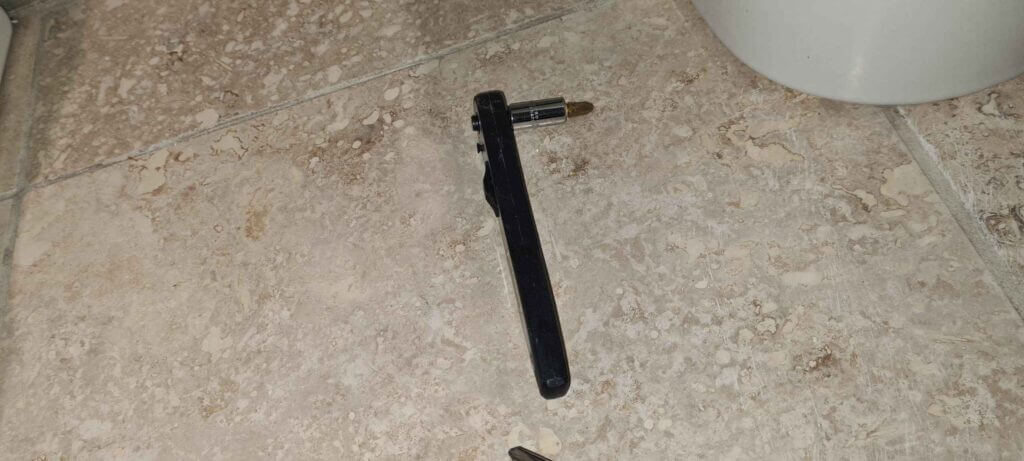
The first job was to loosen the basin screws using a ratchet with a cross head bit that will fit into the tight space on the underside of the sink.
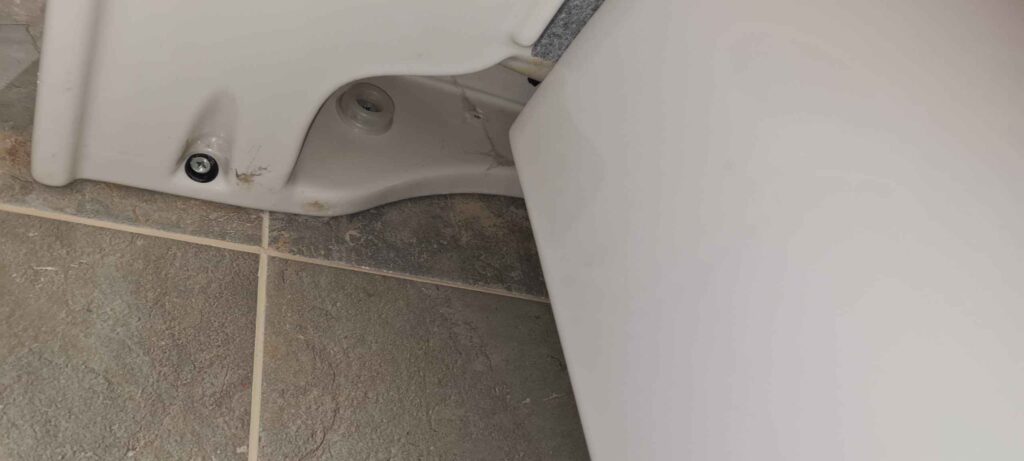
Once the basin screws had been loosened it made it possible to pivot the basin up and prop it up on some strips of wood using tapered wedges underneath the strips to get the right height.
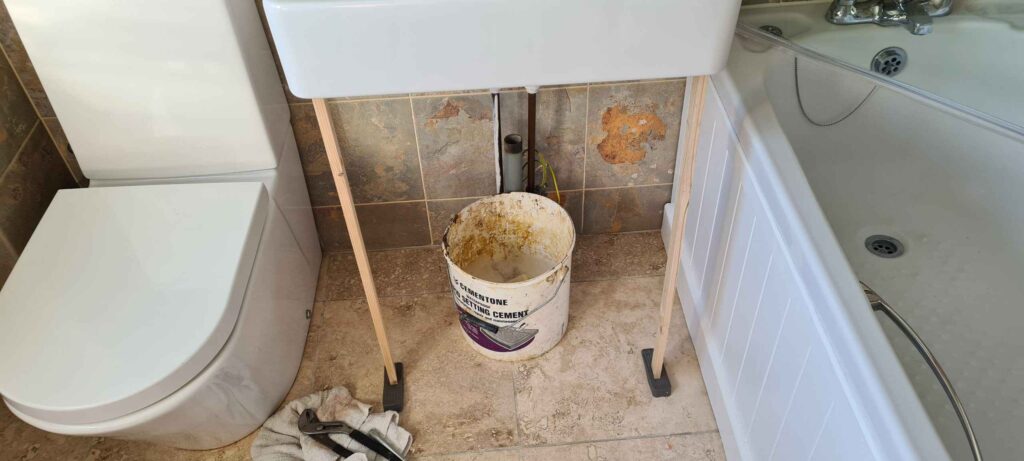
Once propped up it made it possible to wiggle the porcelain pedestal out from underneath the basin.
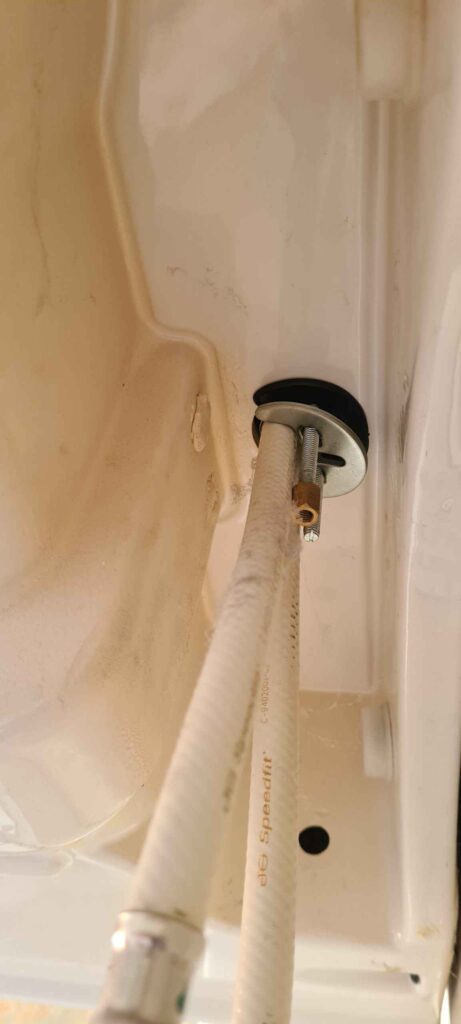
The next job was to remove the basin tap bolt and nut with a double-ended monoblock tap spanner and tommy bar. This allowed the old waterfall tap to be disconnected, after turning off the water, and removed and then unscrew the trap connectors from the basin and the waste pipe.
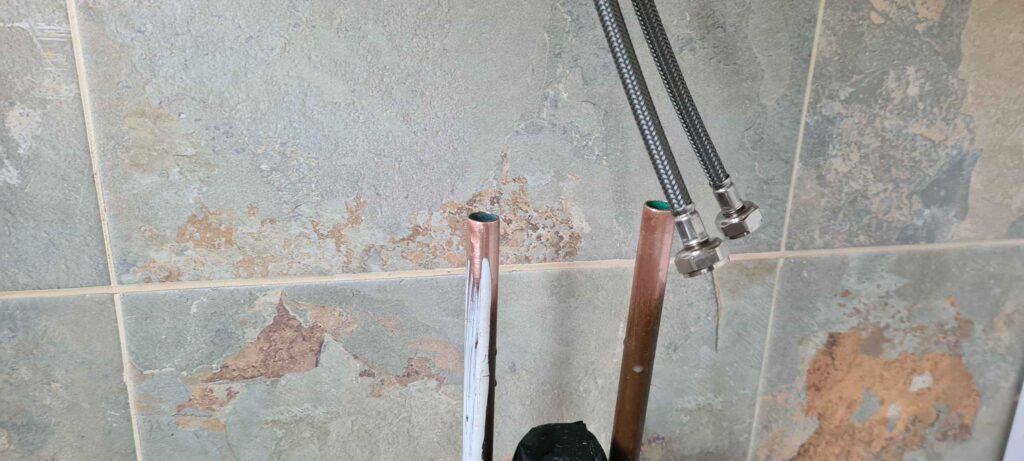
The hot and cold water supply pipes were then cut to the right size and cleaned up removing old paint and deburring the inside and outside of the cut edges so as not to damage the pushfit connectors when they came to be applied.
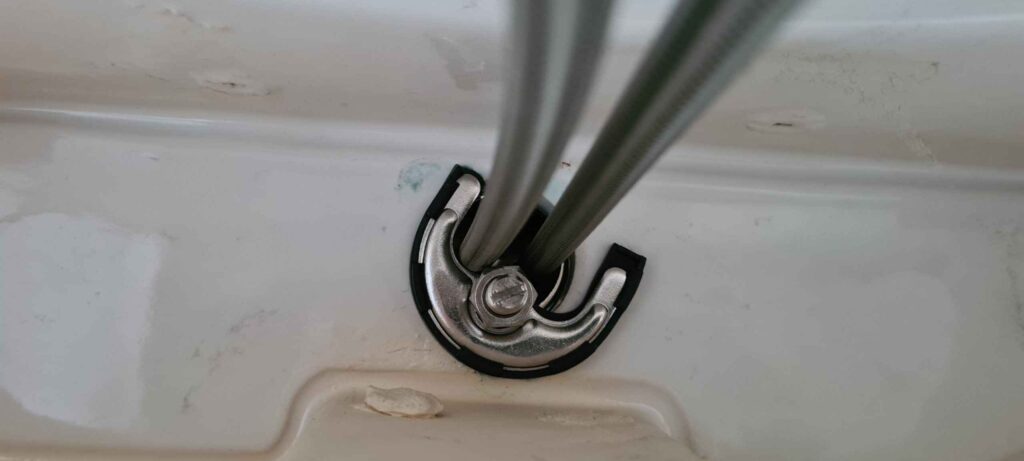
The new tap was installed with its horseshoe bracket and basin bolt and nut with the monobloc tap spanner and tommy bar.
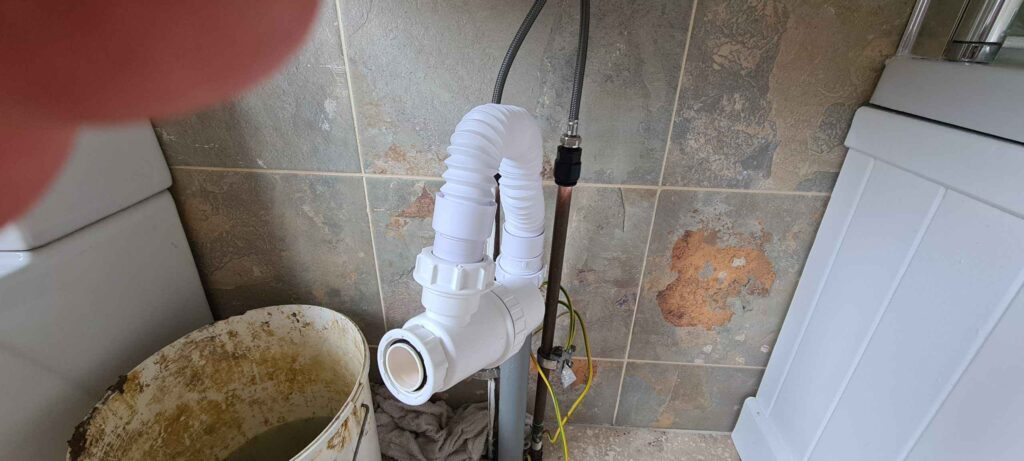
A flexible pipe with a compression fitting on one end and a screw fitting into the trap on the other was fitted to the trap.
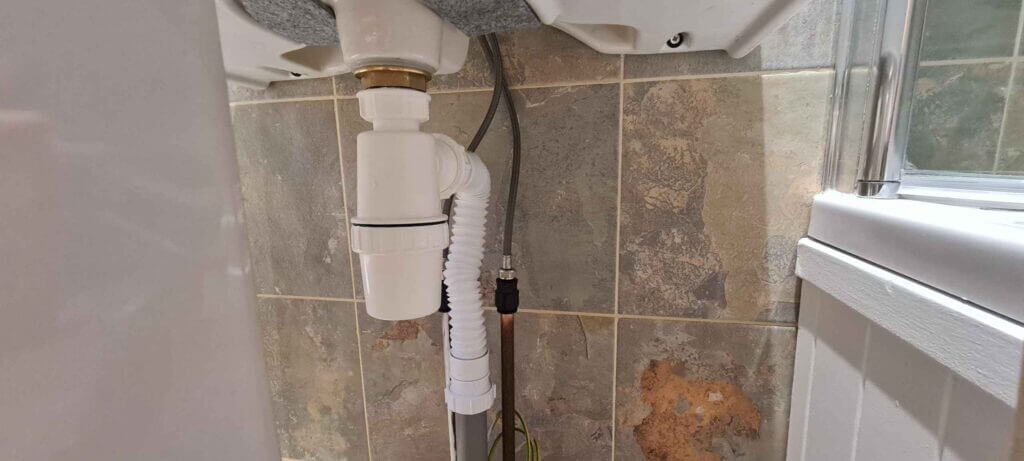
The new clicker waste was then screwed into position in the basin and the trap screwed into the waste exit.
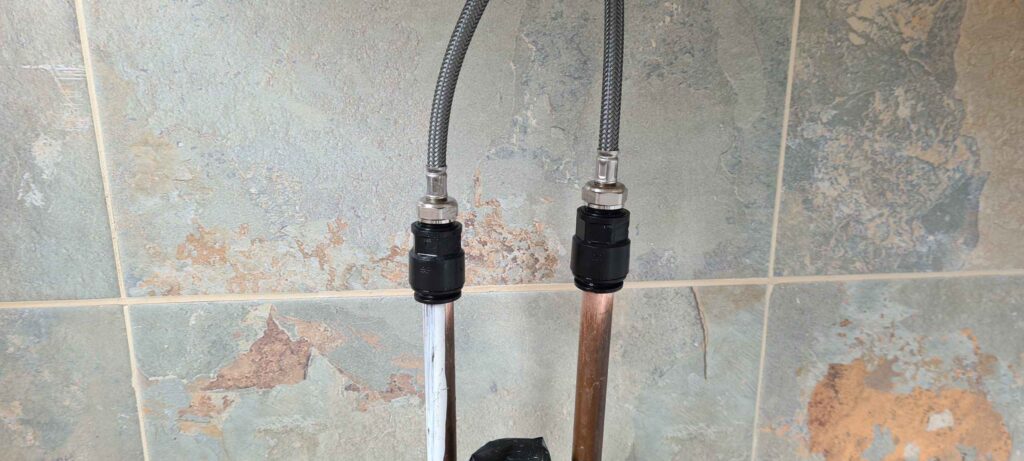
With the pipes prepared the flexible tap connectors were screwed into the ¾ inch BSP ends on the 15mm pushfit connectors and tightened to the correct torque rating. The pushfits were then fitted to the supply pipes. The water was then turned back on an the supply and waste was checked for leaks.
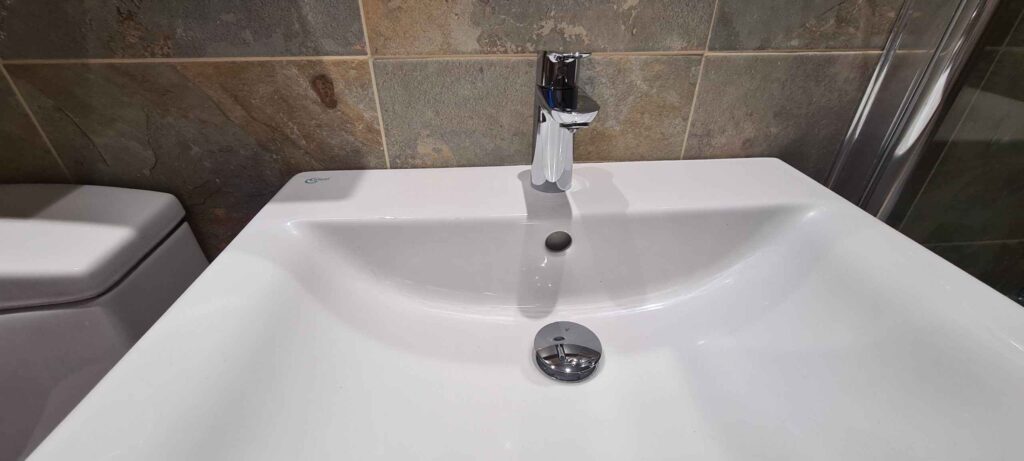
Then the pedestal was wiggled back into position with some foam padding stuck underneath. The strips of wood holding the sink up were then removed and the basin screws tightened up.
