Ever needed to look down the inside of a drain? Well, we had just such a requirement when we were planning the details of a recent landscaping project that required us to know how SuDS (Sustainable drainage systems) would affect the direction of the project. We needed to know where the existing roof water runoff was being directed so we could meet the SuDS requirements and also make sure we were making adequate provision for any extra runoff we were creating in order that it would be handled in a safe, manageable and sustainable manner.
The rainwater runoff from the roof was being discharged into a drain gully that was situated underneath the downpipe being fed from the guttering running along the entire length of the ground floor front elevation. The drain gully was positioned in the middle of the property between the house and the garage. This drain gully also took the runoff from the impermeable tarmac driveway that covered roughly fifty per cent of the garden.
Part of the landscaping project was to cobblestone the entire driveway so we needed to know where the pipe from the drain gully was being discharged. We suspected it may be connected to a soakaway located in the front garden of the property.
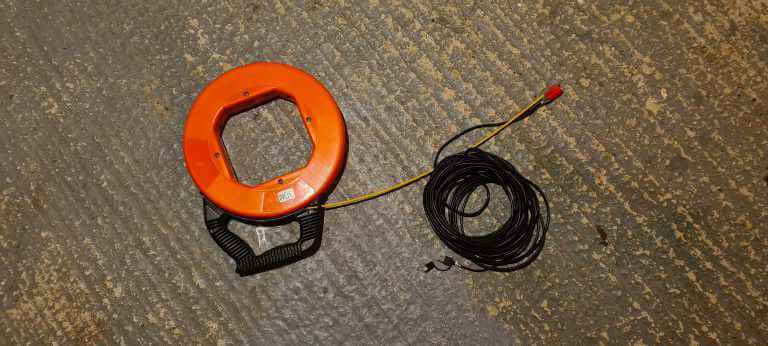
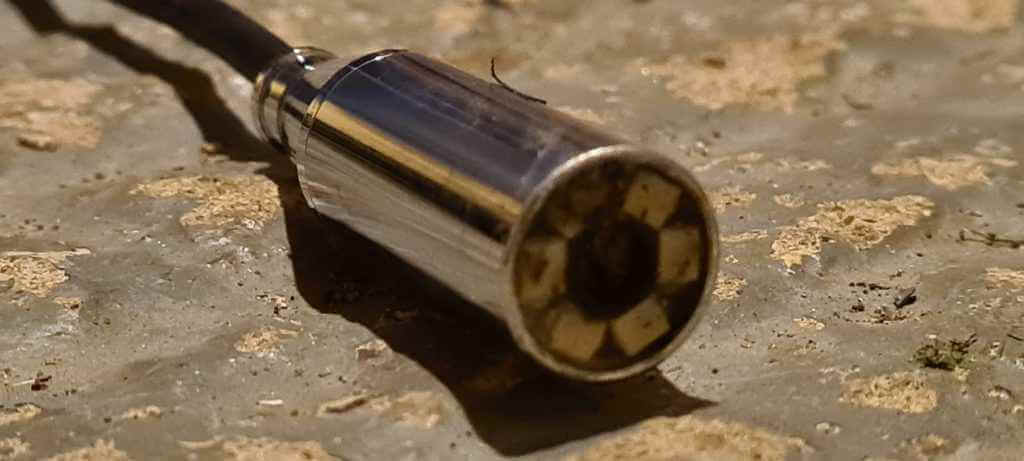
In order to discover where the drain gully discharged, we made up a camera by taping a waterproof USB camera with a fifteen metre lead to a 30-metre fish or draw tape. The camera has an illuminated body containing 6 LED lights with a diameter of 12 millimetres. You can also tape a small LED waterproof torch to the draw tape as well in order to increase the light in the pipe.

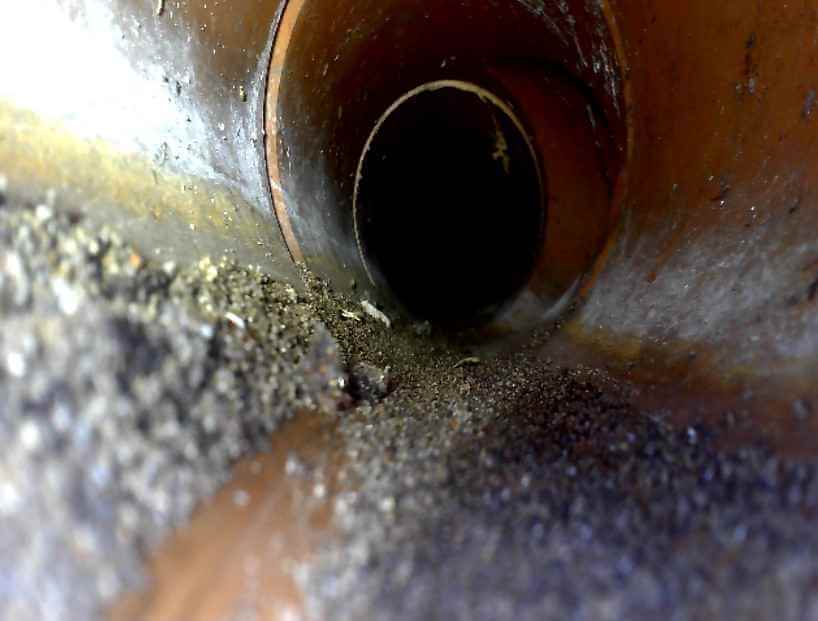
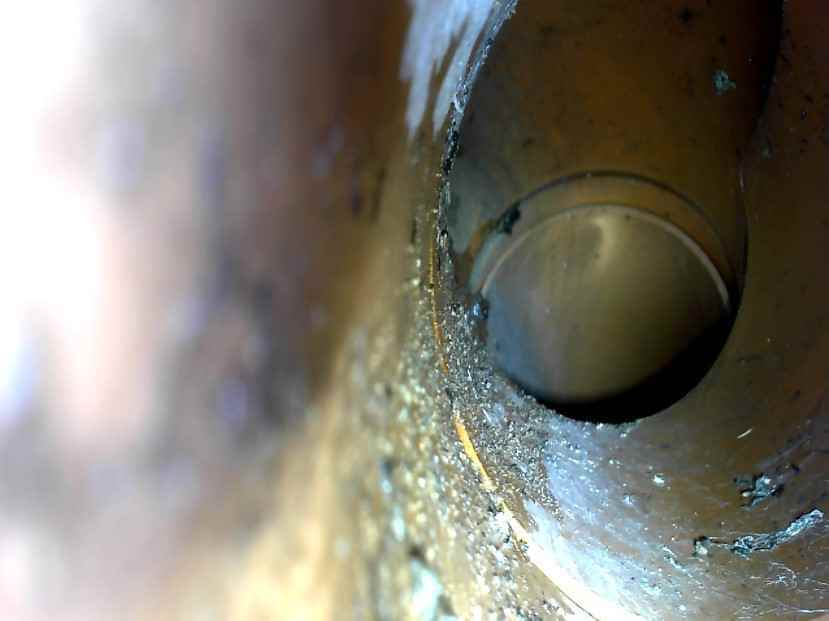
We used VLC (VideoLan Client) as the video viewer for the USB camera. We had to play about with the settings to get the optimum image and although it wasn’t always a super clear picture it was good enough to enable us to see the progress of the camera down the pipe.
In VLC use “Media” > “Open capture device” > Select USB Camera from drop-down in “Video device name” > “Advanced options” tick “Device properties” > “Play” > “Camera Control” > “Low light compensation” if available. Other parameters in “Camera Control” can be adjusted to try and improve the picture.

In our case, we concluded that the pipe discharged into the EWT (Effluent Water Treatment) as there was no end in sight after 15 metres.

