Roof Repair – Broken roof tile leading to a rotten fascia and box end
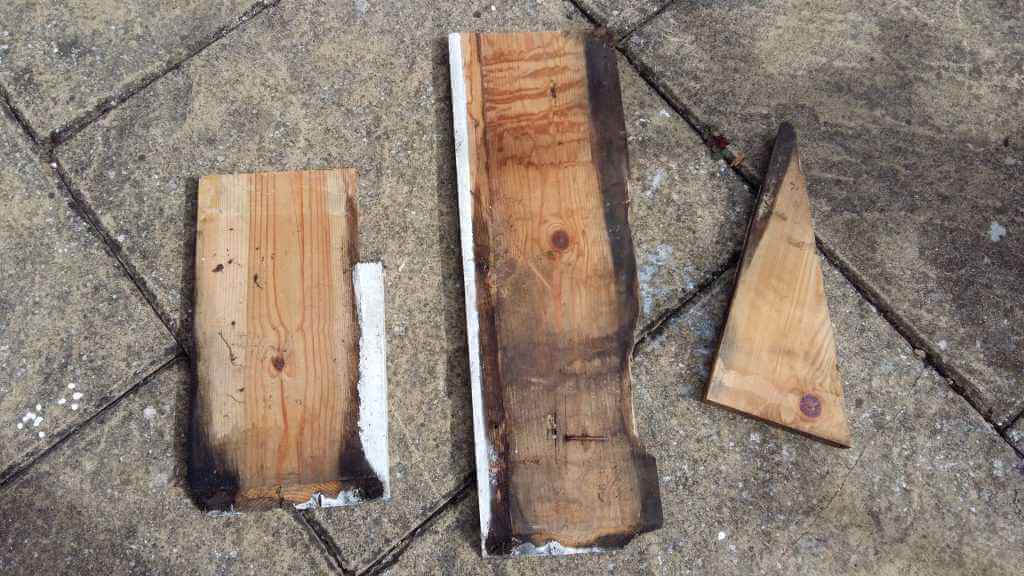
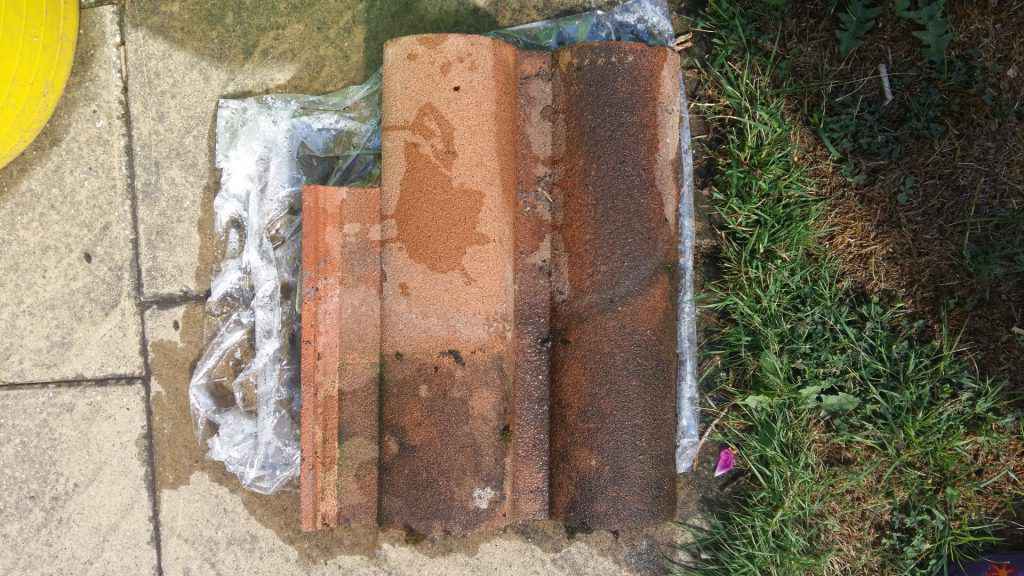
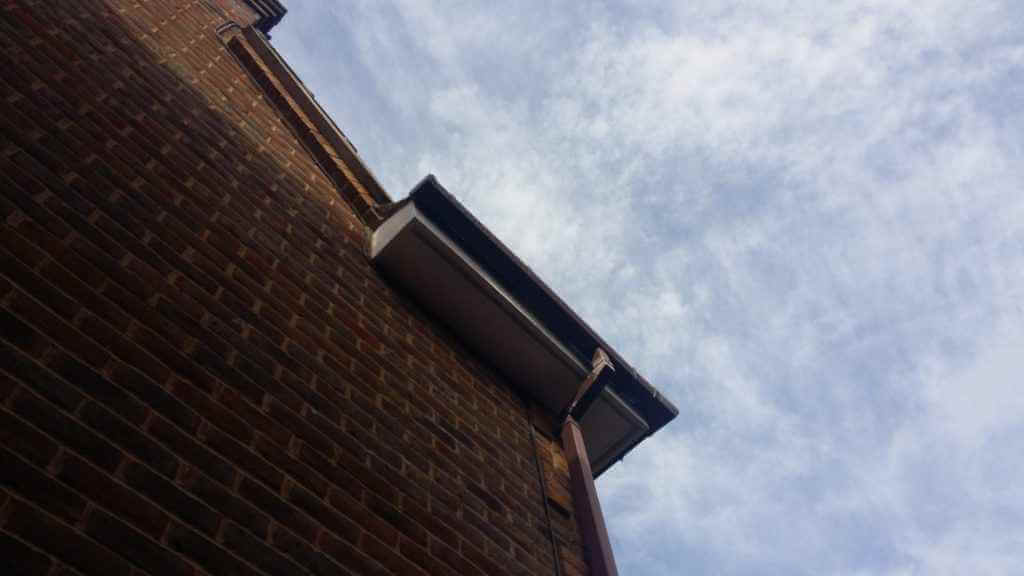
One of the roof the tiles was cracked all the way down the center of the tile. The tile in question was fitted on the gable end of the house in the bottom row and had been notched out by the builders to fit around the brickwork. The cut had been made by an angle grinder and in making the cut it looks like the tile had been split in half but used anyway. This meant rainwater had been running down through the split and slowly rotting away the fascia (although on the gable end it would normally be a barge board this was horizontal from the return around the eves overhang so, therefore, a fascia), box end, and the end of one of the eves.
After some phoning around and investigation on google, the tile was identified as a concrete Marley Bold Roll tile which Marley stopped manufacturing sometime around 2007. A call to a few reclamation yards turned up a good supply in a company down near Braintree.
If the property was built around or before 2000 then take care to inspect the soffits and also underclocking (thin board used between the roof tile and facias or barge boards on the bottom row of roof tiles). If you are unsure and suspect asbestos, then it’s definitely worth getting it checked out. Have a look online. There are companies that will come out to take a sample and do a 48-hour turnaround on the analysis and give you advice on how to proceed for around £150.

Stage 1 – Remove broken roof tile
A solid standoff on the ladder makes a good platform to hold the tools and materials while working. Always take care to follow ladder safety and make sure that the ladder is on level ground and does not overreach.
First off the gutter that was attached to the fascia had to be removed. This can be slightly tricky with older plastic guttering that has gone hard and brittle due to the elements. Try sliding the guttering back and forth in the clips being careful not to upset the rest of the run and then pull the clips out and up pushing the guttering inwards to release it. The gutter will have to be removed all the way up to the first joint beyond the fascia to be replaced. The gutter is usually joined by a slide-out rubber seal. Once the guttering is off unscrew the clips and keep them safe for when it comes time to put the gutter back up.
Use a claw hammer or crowbar to lift up the tiles above and around the broken one. If any of the tiles being removed or lifted up are at the edge of the gable end then the cement between the underclocking and tile will need to be carefully knocked out. The bottom row of roof tiles is normally nailed to the roof batten. Try and get the claw of the crowbar underneath the clout nail to lever it up in order to pull the broken tile out. If you can’t get purchase on the nail, then carefully try levering the tile up under the nail, and then when slightly raised the nail can be knocked out with a thin metal bar. Slide the roof tile out. Depending on how much the tile above the one to be removed is raised up will determine how easily the batten lugs, if any, of the tile to be removed will slide over the batten. The tile may have to be jiggled around a bit to pull it out.

Stage 2 – Remove rotten fascia and box end
After enough tiles have been removed to gain access to the part of the rotten fascia being replaced pull back the felt (sometimes the overlapping felt has rotted away) and remove any underclocking if any. A cordless reciprocating saw was used to place a miter cut just beyond the rotten part of the fascia, taking care not to saw through the soffit vent, in order for them to be removed after the nails holding the soffit vent to the facia were removed. In this case, the box end had to be removed as well as it too was rotten. It was nailed to the rotten barge board through a 45-degree miter joint.
The ends of the eves that had gone rotten were cleaned up and sealed with a timber treatment. The felt was replaced with enough left to overlap between the new fascia and gutter when replaced and then stuck down with roofing felt adhesive to make the joint watertight.

Stage 3 – Make new fascia and box end
The new fascia and box end was cut out of pressure-treated timber and painted with 2 coats of exterior white gloss paint. They were offered up into position and then holes were drilled to allow the box end and new facia to be screwed together and the new fascia to be screwed to the old fascia. The soffit vent was tacked back into position on the fascia. The screw heads and miter joints were filled with exterior repair filler and painted over.

Stage 4 – Cut a notch out of the replacement roof tile and put back
Now was time to cut the notch out of the replacement Marley Bold Roll tile using an angle grinder taking care to wear protective ear defenders and eye protection. The tile was offered up to make sure it fitted. Happy with the fit of the replacement tile the rest of the tiles were put back with a bead of an MS Polymer exterior adhesive was placed down the edges of the tile that will be in contact with the roofing batten and the felt. This was because it is difficult to get the clout nails back into the tile nail holes without damaging the tiles around it particularly if close to tiles near the hip, valley, or gable end of the roof. Then using the same procedure as removing the tiles were put back by placing a claw hammer under the existing tiles to allow the tiles to be slid in and interlocked, taking care to get the batten lug over the batten.
The last tile which in this case was the replacement tile with the notch cut out was put back having had the fiber cement under cloak nailed back on to the top of the new replaced box end first and a bed of exterior repair cement laid on top that the replacement tile would bed into.
The last job was to screw the gutter clips back onto the facia and put the gutter back up making sure the fall was in the right direction to allow the rainwater to drain away.
