In the early days, epoxy grout gained a reputation for being hard to work with and making the cost of the job too expensive. The product has evolved over the last 20 years and has many different properties to that which it had in the noughties.
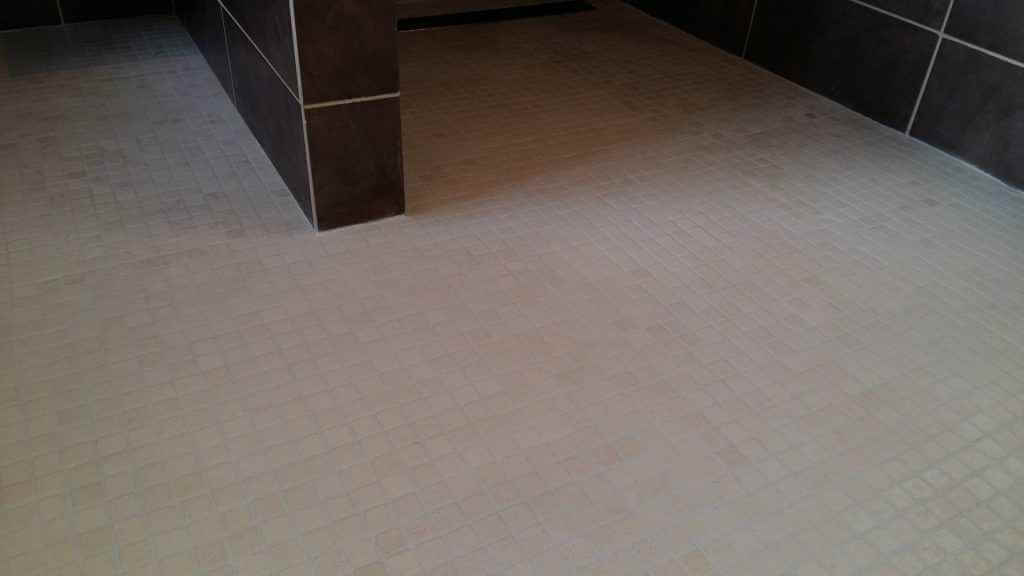
Epoxy grout has excellent properties when used in shower cubicles, wet rooms, swimming pools, and anywhere that requires prevention of mold buildup, staining and requires good antibacterial qualities.
Early products had very short pot open times which means the product cured very quickly and that you had to work fast to get the product into the tile gap and remove the excess. Even straight after mixing the grout and the hardener it still had a plastic-like quality fresh out of the mixing pot that did not make it easy to push into the grout lines.
Modern two-part epoxy is much more like standard grout with a greater pot life and a more fluid consistency making it much easier to work with. It still requires a slightly different approach than standard grout but definitely puts it in the realm of general use.
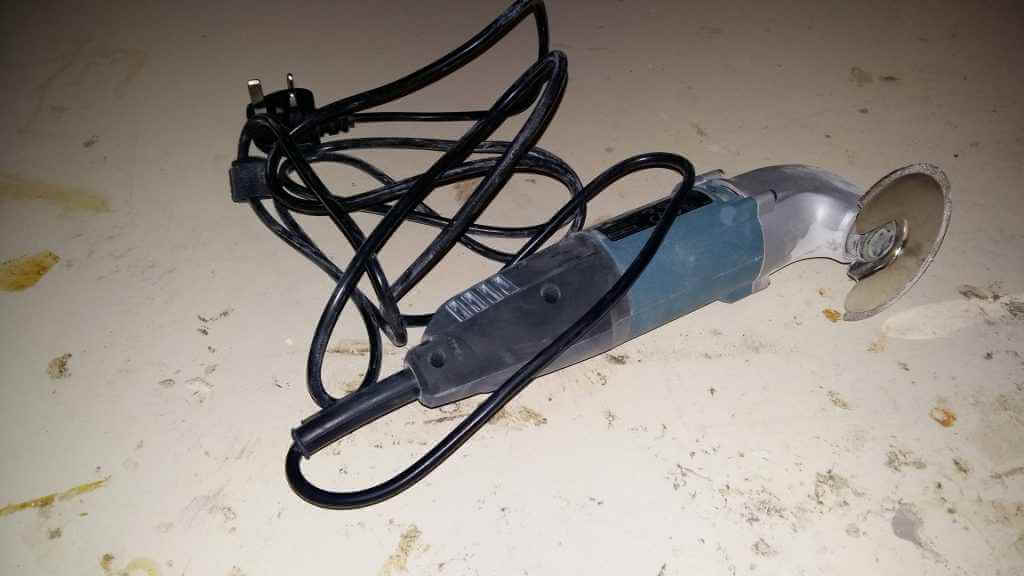
One of the reasons to re-grout an area maybe because old ordinary grout has gone moldy and discolored. The old grout can be ground out effectively with an oscillating multi-tool and a diamond tile/grout cutting blade. Wear eye protection and ear protection as these can be a little noisy. You only need one channel in the old grout to give the epoxy grout a good key to get adhesion when re-grouting.

If you are applying the grout to freshly laid tiles I always allow 48 hours for the tile adhesive to cure thoroughly but check with the guidelines that came with your tile adhesive. Depending on the adhesive you have used to lay the tiles it may be that you can allow a shorter time or are required to allow longer before applying the grout. Wear protective gloves when applying the grout.
Most two-part systems suggest mixing up the entire pot and using it in one go. Even though the pot open times are no longer I still prefer to part mix into a separate pot. If you read the specification sheet supplied with the epoxy grout you should see a grout to hardener ratio specified. Normally it’s around 9:1 grout to hardener. I use some postage scales to work out the amount of grout and hardener to mix together – don’t forget to take into account the weight of the pot you are mixing up the grout in. I normally try and do 2 meter squared areas in one go. The amount to the mix will be dependent on your grout line width and depth but try with about 800 mg total amount to start with and see how far that goes.
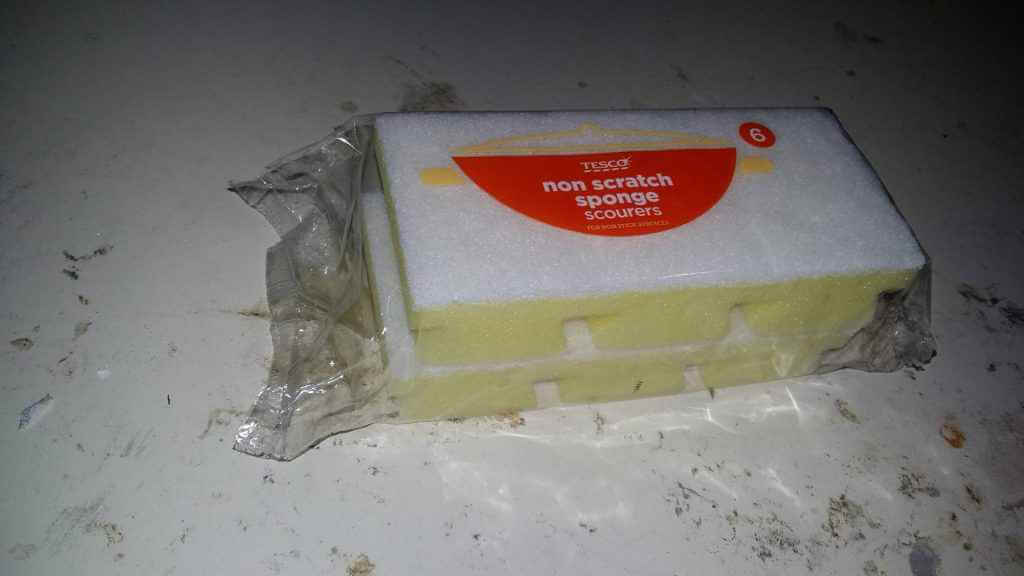
After stirring thoroughly the measured amounts of grout and hardener it’s time to start applying the grout. The epoxy grout should stay workable for between 30 to 40 minutes. I start by working the grout into the grout lines with a metal spatula and then using plenty of water and a rubber grout float pulled diagonally across the grout lines to take off the excess grout from the tile surface. Next again using plenty of water use white scouring pads rubbed in a circular motion over the grouted area to remove the grout residue from the surface of the tiles. Keep rinsing the sponges in water and be prepared to go through quite a few sponges. Keep the circular motions fairly light pressured at a diagonal to the grout lines as much as possible and don’t press too hard so as not to pull the grout out of the tile gaps too much.
Once the epoxy grout has been applied, and as much excess removed at the time of grouting, I allow 12 to 24 hours for the grout to cure and then start the process of removing the haze residue that gets left behind on the tile after grouting. You can buy specialist products for removing epoxy grout haze. Be sure to wear protective gloves and have protection for your eyes. Also, make sure of good ventilation as the cleaners can be rather potent acid-based liquids.
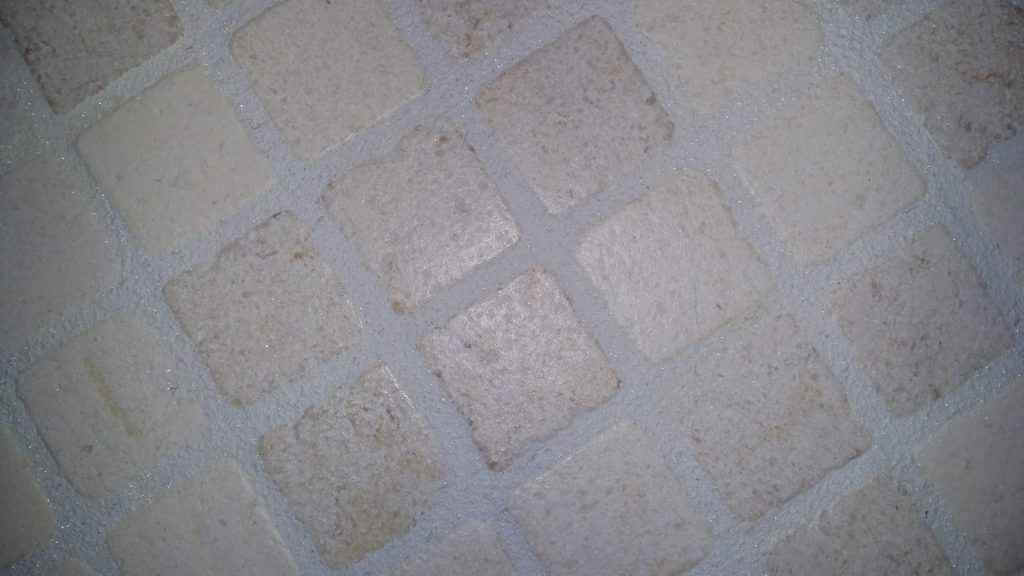
Like applying the grout I try and clean the tiles in 2-meter squared areas. Spray the cleaner and leave to get into the glaze for 30 minutes or so. Then using more white scouring pads start rubbing the leftover grout haze off the tiles with plenty of water and the scouring side of the sponge. You can tell when the residue has gone as the tiles take on a smoother feel. If you find any lumps of the epoxy grout stuck to the tiles then you will need a knife or scraper just to knock the leftover grout off. Keep rinsing the sponge and again like grouting be prepared to go through a few sponges. Once you are happy that all the haze has gone with the sponge side of the scourer and plenty of water, give the cleaned area a good soaking and then mop up the water giving the cleaned tiles a good wipe over.

Now all the grout haze has been removed and the tiles are dry it’s time to seal them. Various types of sealers are available. One that actually soaks into and impregnates the tile and one that just sits on and coats the surface of the tile. For wet environments, I always use the impregnating type. They will not give the surface a shiny finish but you can get ones that improve the luster and intensify the color of the tiles. Non impregnating sealers tend to be used for non-wet high traffic areas. There are also differing sealers for natural stone as opposed to porcelain or ceramic tiles. Check you are getting a sealer for the right type of tile you are working with.

Some of the products like the polyurethane sealers give off lots of vapor so work in a ventilated environment as possible and wear protection and if sealing an en-suite make sure you leave a few hours for the smell to vapourize before going to bed. Pour some of the sealers into a clean dry pot and rub a thin layer over the tiles with a sponge. If you have really porous tiles you may need to apply 2 coats. Allow the sealer to dry for at least 24 hours before subjecting the area to water.
