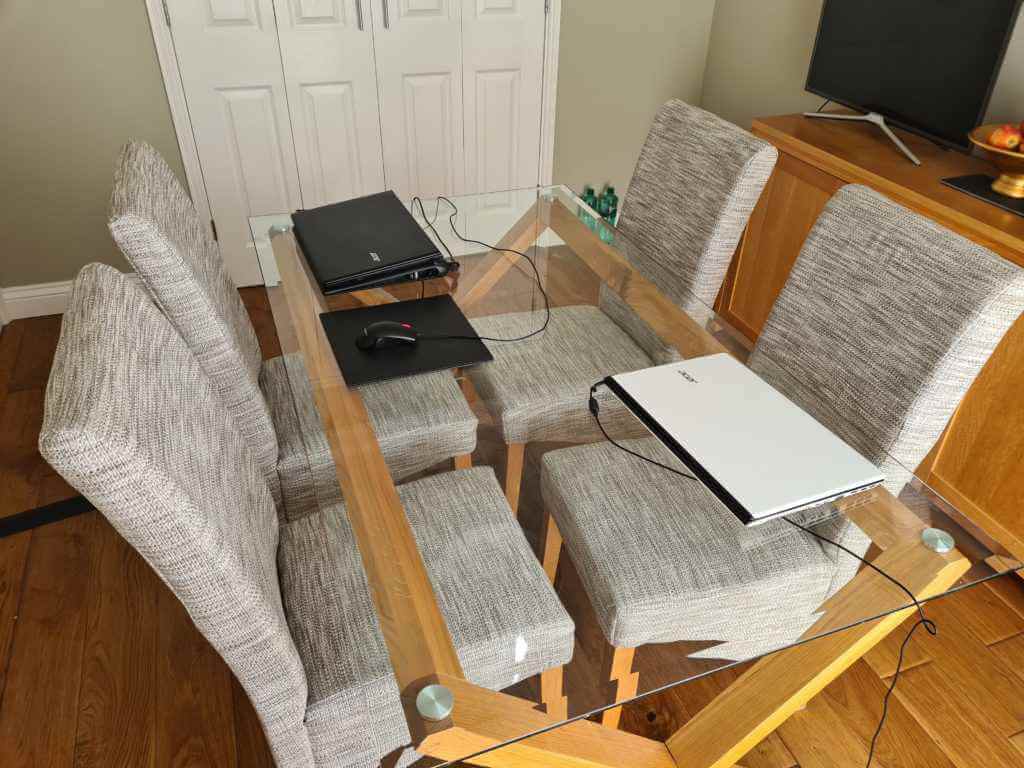
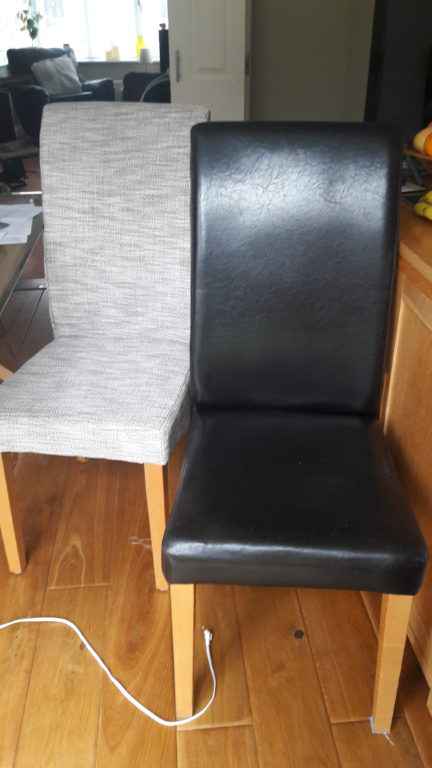
We had six faux leather dining room chairs used as pincushions by three “adorable” cats, hence the need to replace – the obvious options to just to replace right, but what about trying your hand at reupholstering them?

After a little shopping online it was clearly cheaper to reupholster than replacing but before buying anything, I took apart one of the chairs and used the existing pieces as templates to cut the pattern out of a spare piece of material – much to my surprise it actually looked ok so I went ahead and sourced the material, webbing, foam and new upholstery needles for my sewing machine – I was all set.
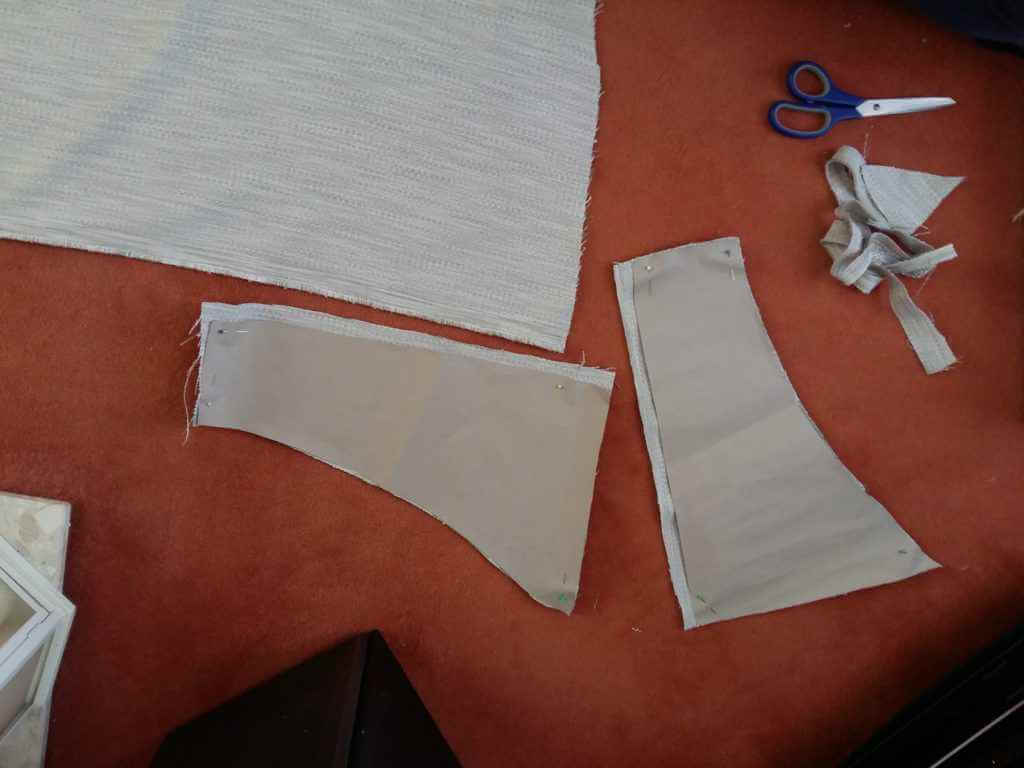
The first job was to make an accurate pattern so I laid all the pieces from the original chair onto brown paper and cut accurately (make sure to note which is the right side as you will need to place this against the back of the fabric). Next, the paper pieces were laid on the material and cut, my material had a definite weave so had to be careful to ensure all the pieces ran the same way as the cloth.
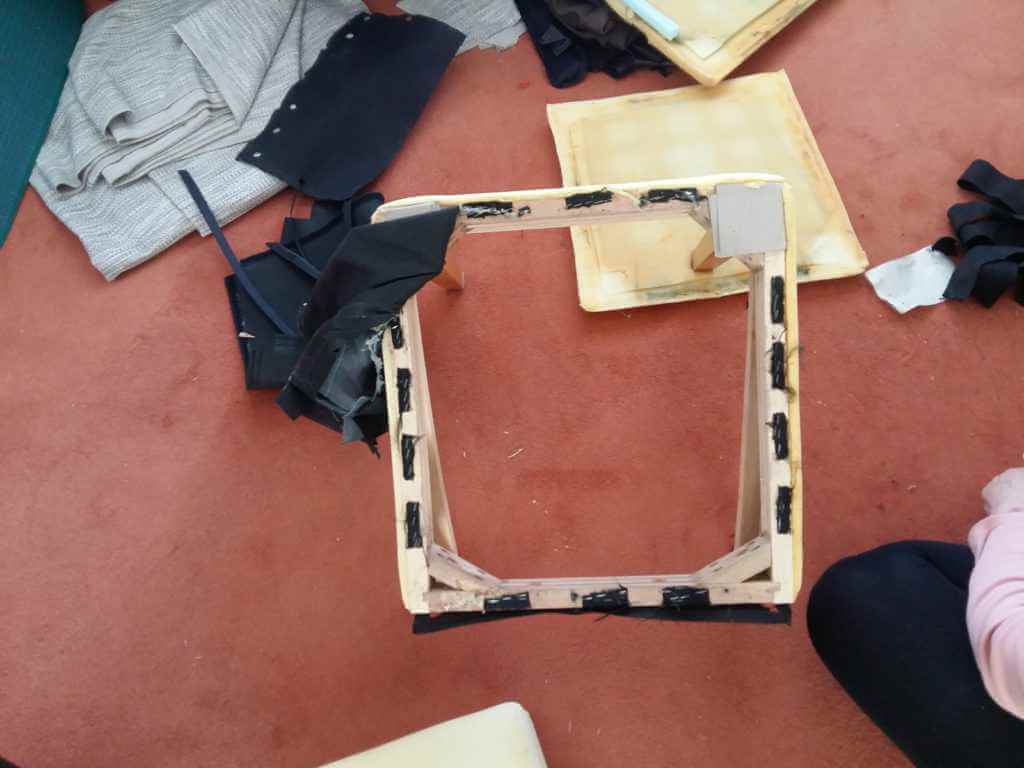
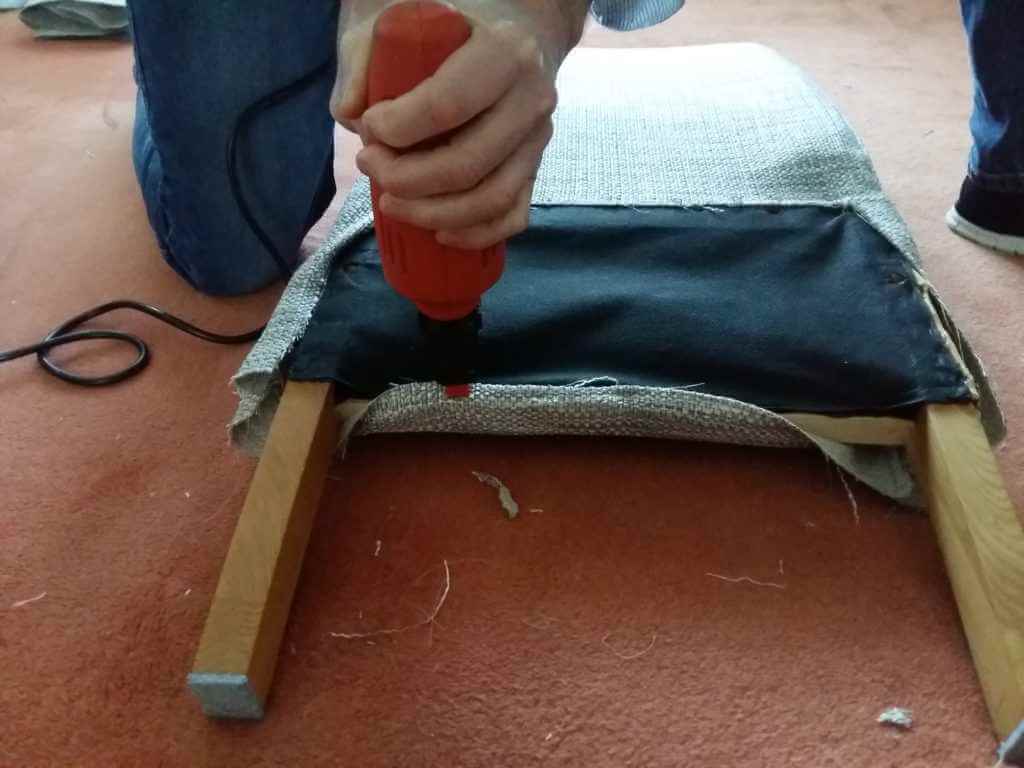
To prepare the chair, as you can see from the pictures ours have material all the way down the back and front so the chair had to be taken apart and completed in two sections, once this was done we cut out the existing webbing and replaced, I say “we” because whereas one person can cut the pattern and sew it up, you definitely need two people to put on the webbing and staple everything in place to get the right tension (unless you splash out on the professional tools like the upholstery grippers, etc).
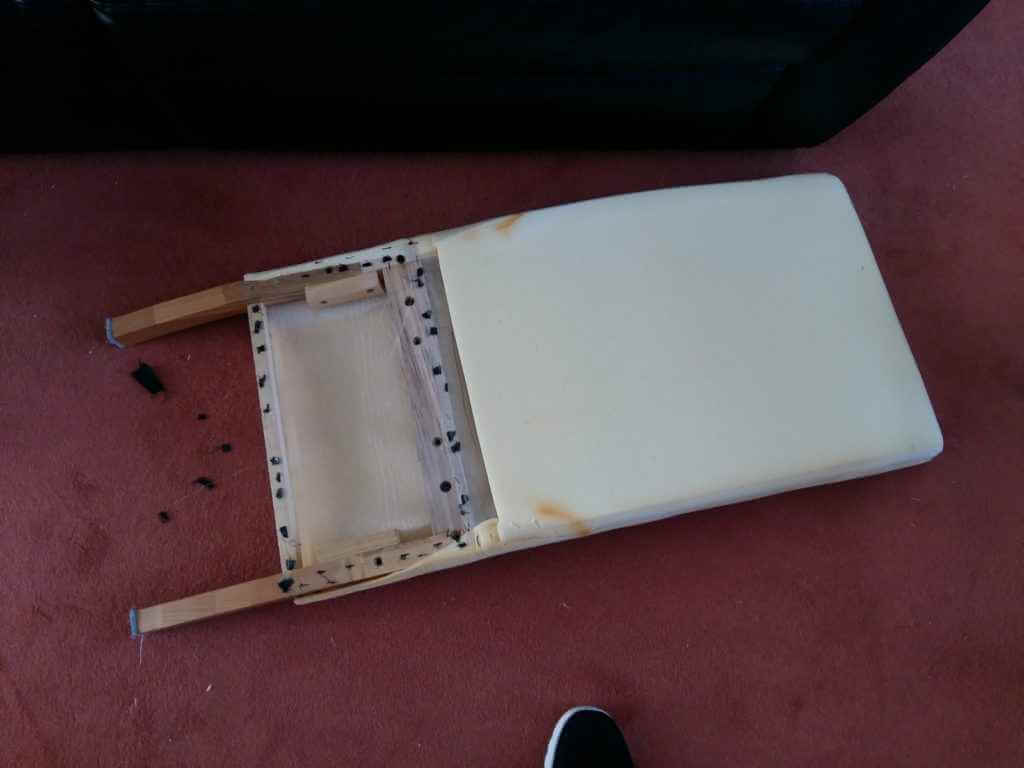
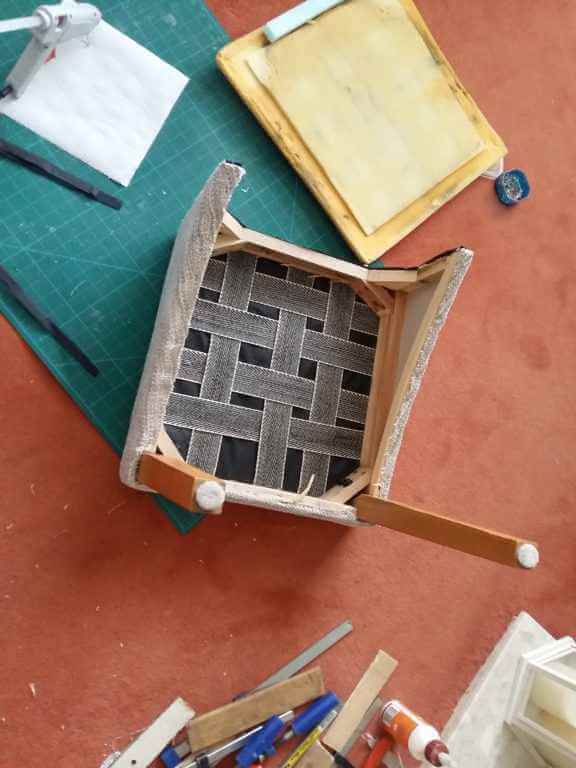
The existing foam had definitely seen better days so new foam was bought and cut to size, to make the padding a bit thicker, the existing foam was left in place with new foam glued on top – obviously, by using both bits of foam it means the sides and seat panel of the chair had to be lengthened to accommodate (love a challenge!). Any excess can be cut off once attached but there really is no easy solution if the material is too short!!
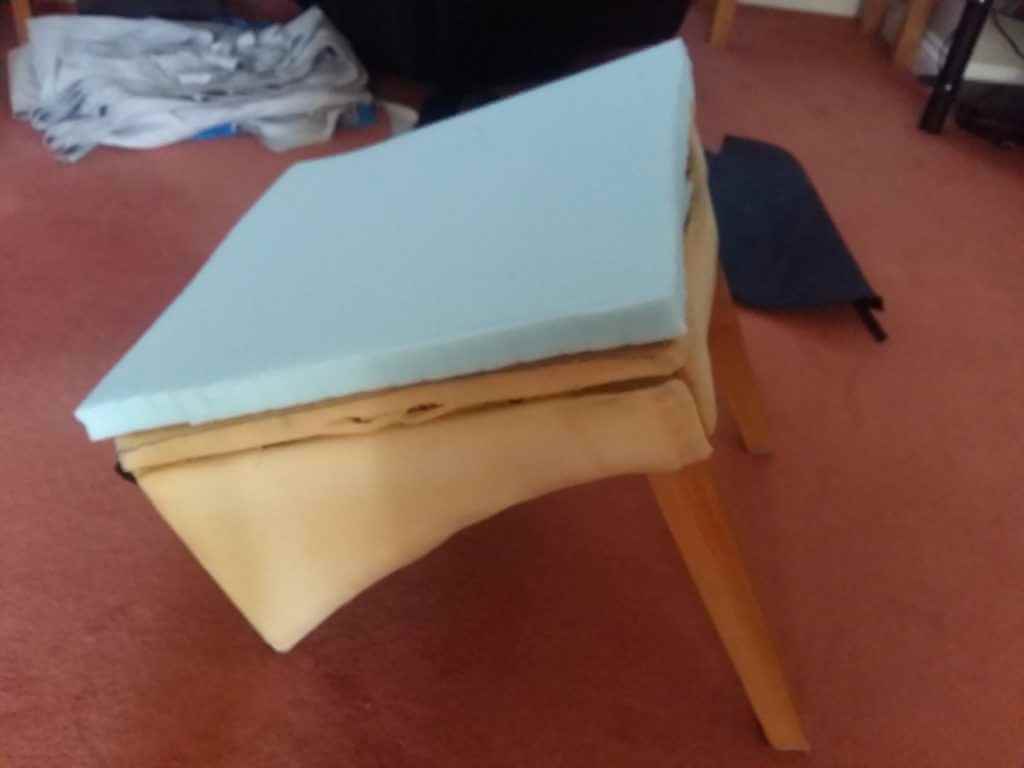
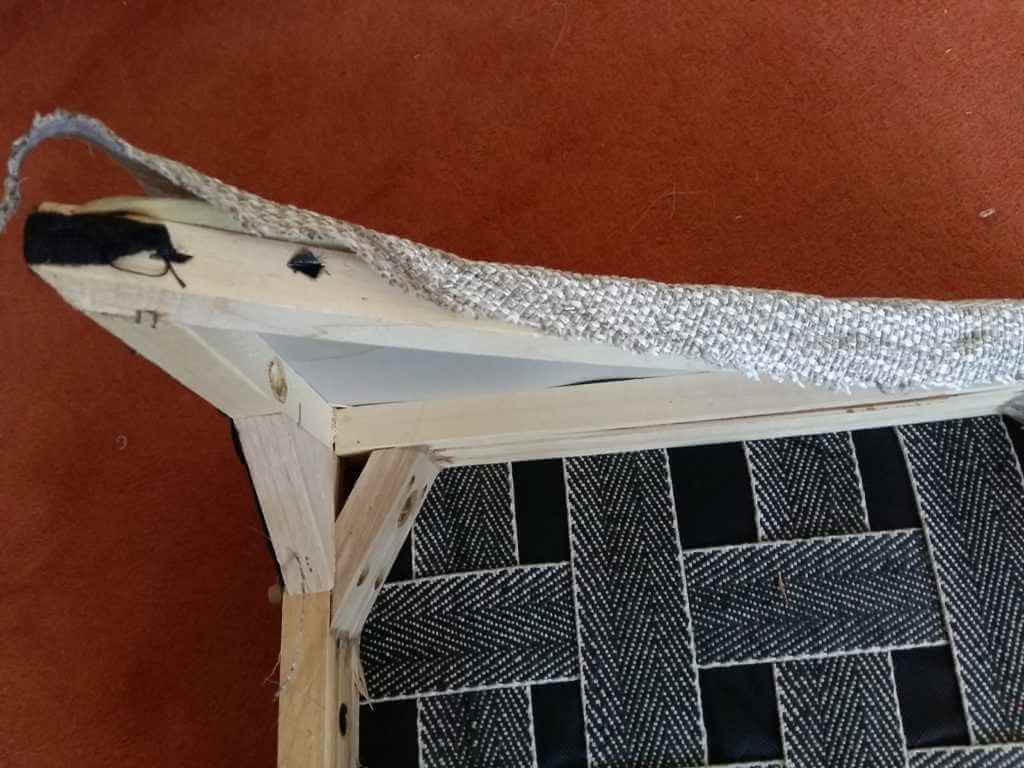
Once the framework of the chair is done, the next step is to sew up the pieces. Done in two sections the sides are attached to the seat cover, making sure to ease the seat material around the corner of the side piece to ensure a neat corner. The back is done separately by sewing front and back pieces together and then sewing in the curved sides, best way I found was to pin them first, cutting small nicks into the straight sides to curve them around the side panels.

Now all the sewing is done, place the seat cover over the base and pull it into position. Now it’s a two-person job – pull front under and staple (or tack) into place. We used a nail gun (use with care!) and U-shaped 22mm staples. Then ensuring the fabric is straight and taught, staple back into place. The sides on our chairs were a little tricky as they are curved but everyone loves a challenge! Carefully tap in any raised staples as you go. The material around the chair legs was tucked under and glued in place and then lightly clamped to hold in place for about 20 mins to dry, don’t leave the clamps on too long or they could indent the material or foam.
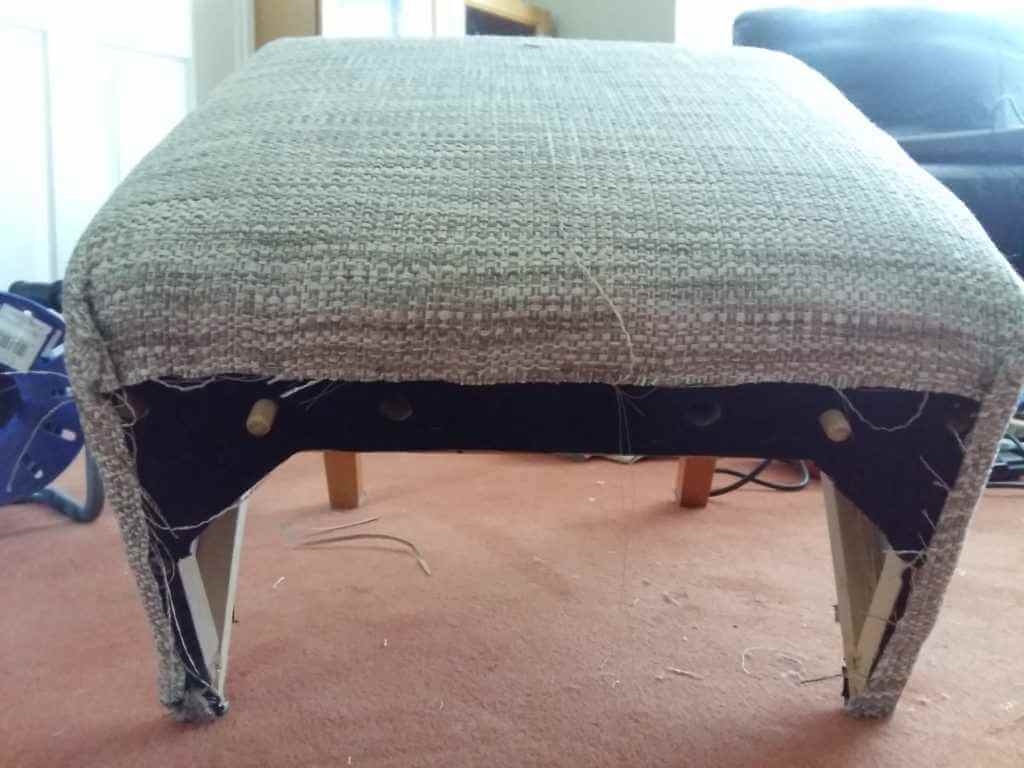
Same principle for the back after sliding the cover on, staple front and back and then making sure the side panels are in the right place, staple the sides. Trim off any excess material, making sure any screw holes are not obstructed by the material (learned this the hard when trying to put the first chair back together!). Tuck the material around the legs to give an even finish.
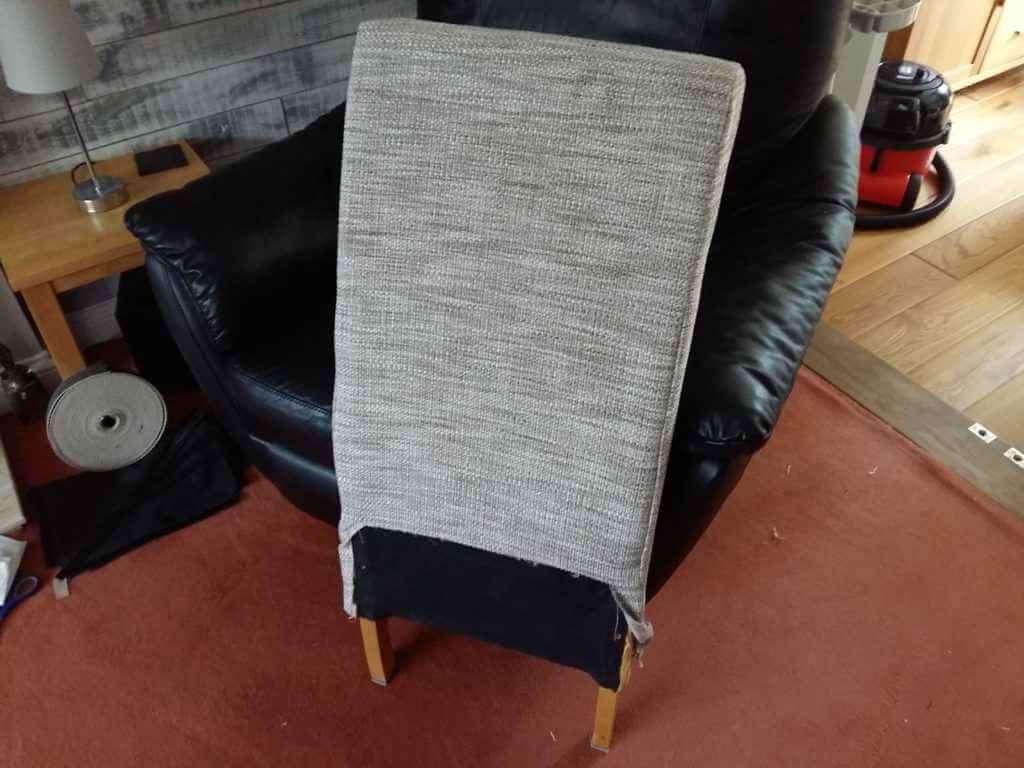
The end is in sight – to attach the cover to the bottom of the chair, I got out my hot glue gun and cut and stuck the Velcro along each side, this not only kept the Velcro in place but also stuck the material flat to the wood.
Now the satisfying part, screw the chair back together and attach the bottom cover, and hey presto one reupholstered dining room chair.
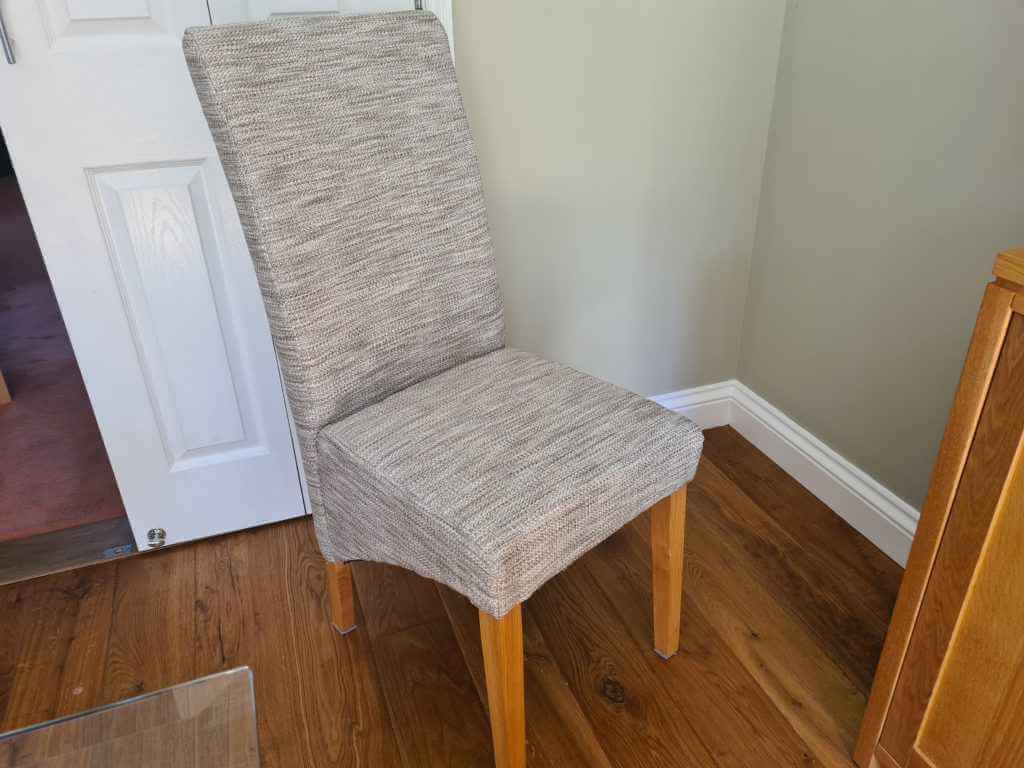
Although daunting to start with the result was surprisingly better than expected. Probably not the easiest chair for my first go at upholstery but has definitely given me the confidence to have a go again, its quite satisfying to know you have customized them to your specific choice and the end result of all the chairs around the table is a job well done!
You can also read – TOP 5 WAYS TO MAKE YOUR HOUSE A HOME THIS CHRISTMAS
