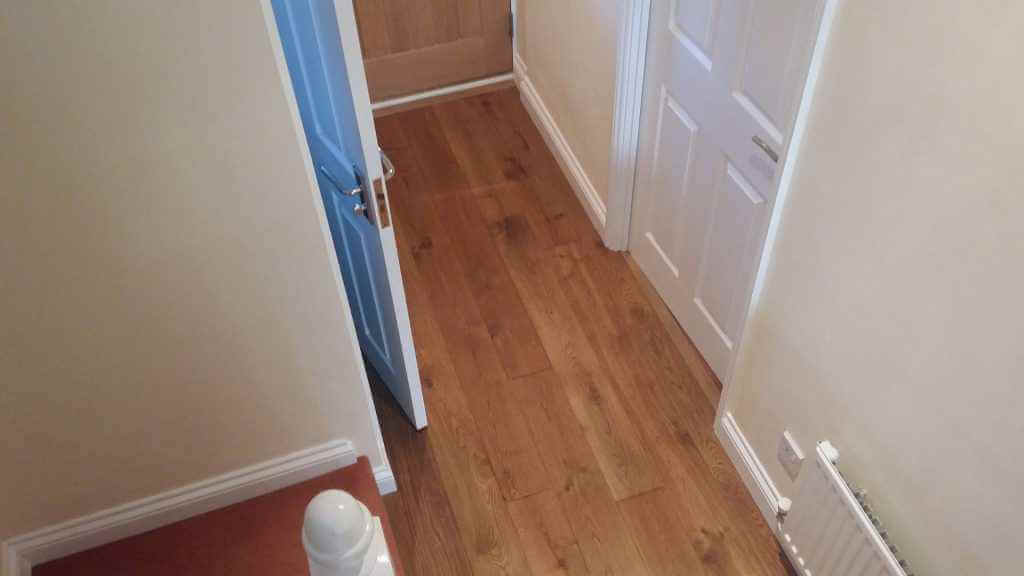
The entrance hall is the first thing that everyone sees when they step into your property. One of the easiest ways to give your house an upgraded entrance hall way is to put down a gorgeous engineered oak floor to really make it stand out.
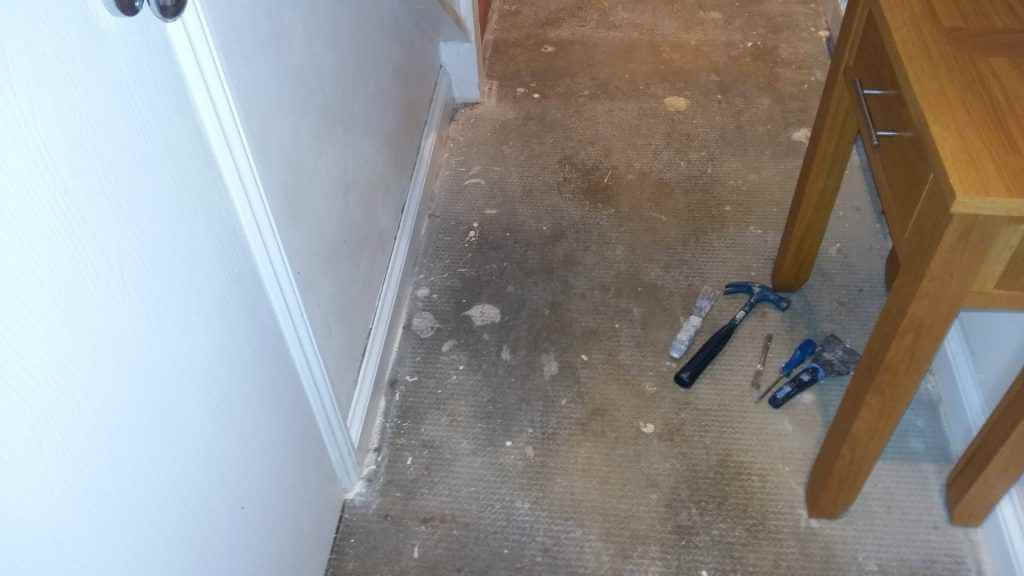
The first job is to remove all the old carpet and underlay along with the gripper rods and door threshold bars. Then all the skirting boards were removed. These were a little tricky to remove because they had been nailed through the drywall and into the thermalite blocks as well as being dot and dabbed but prizing them off the wall using a wallpaper scraper, claw hammer and cold chisel did the job. Then the walls were filled, sanded down, and repainted.
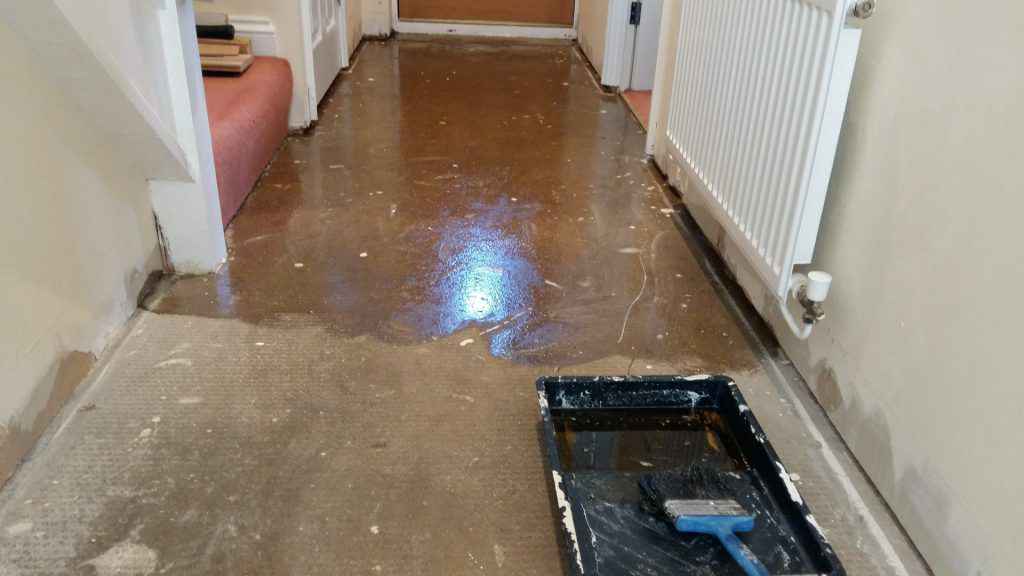
We did a moisture check on the concrete screeded floor and found that the reading was around 3 to 4 percent which is a little on the high side when laying wooden floors. To minimize the amount of water that could permeate through to the engineered boards we decided to apply a rapid drying liquid damp proof membrane (DPM). We painted this on using a large brush and allowed an hour between coats and then let it totally dry for 24 hours.
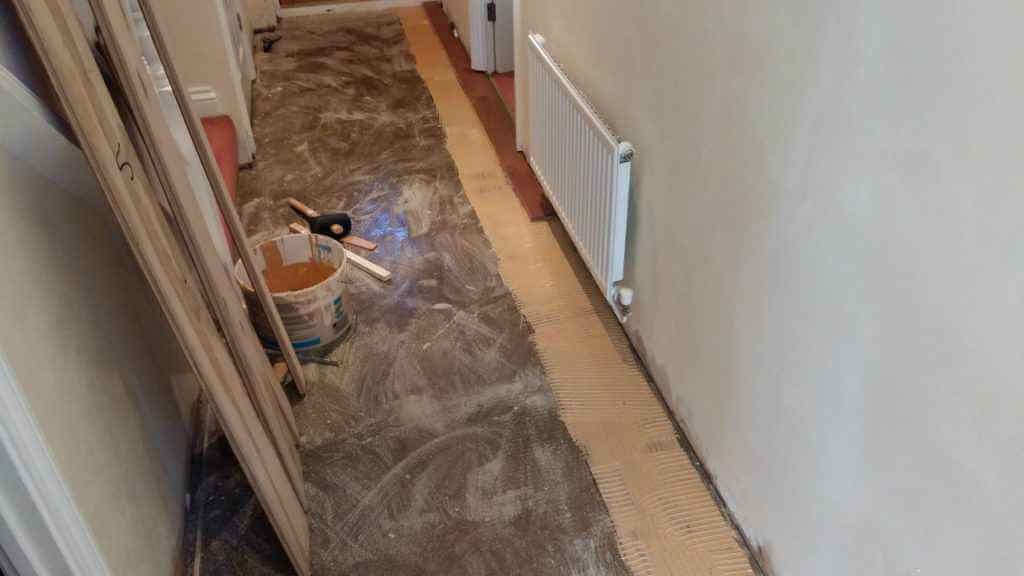
Now it was time to start laying the hand beveled oak smoked engineered boards. The width of the first board was calculated to allow the width of the last board on the opposite side to be a similar width. The boards were laid in a randomized staggered pattern so as not to have any uniformity where the joints were made. A gap of 10mm was left between the drywall and the edge of the board to allow for some expansion. An MS Polymer adhesive was used to glue the boards down with the first row being weighted down and allowed to dry before the rest of the boards were laid. The boards have a tongue and groove joint which was tapped into place with a rubber mallet and block of wood to protect the face of the boards. To apply the adhesive to the floor a 10mm v notched trowel was used to spread the glue after it was poored on the screed. A chop saw with a fine 80 tooth blade was used to cut the boards. But none of the cut ends are on show as they are all hidden under the thresholds.
A multitool was used to cut the architraves at the bottom of the door frames to allow the boards to be slid in underneath.
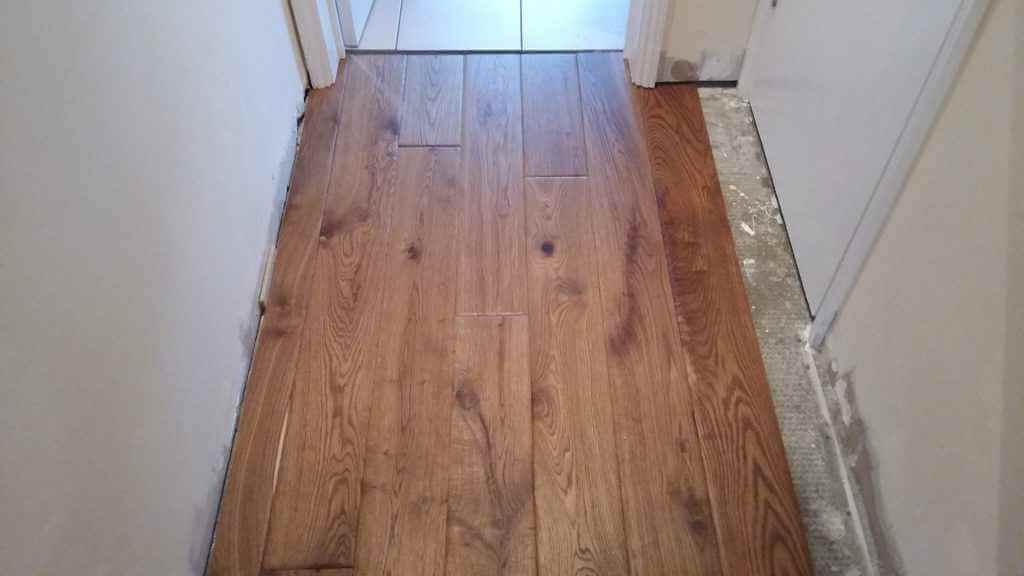
Once all the boards were laid the skirting boards were glued back onto the drywall. Skirting was added around the newel posts and gap filler was run around the top of the newly applied skirting.
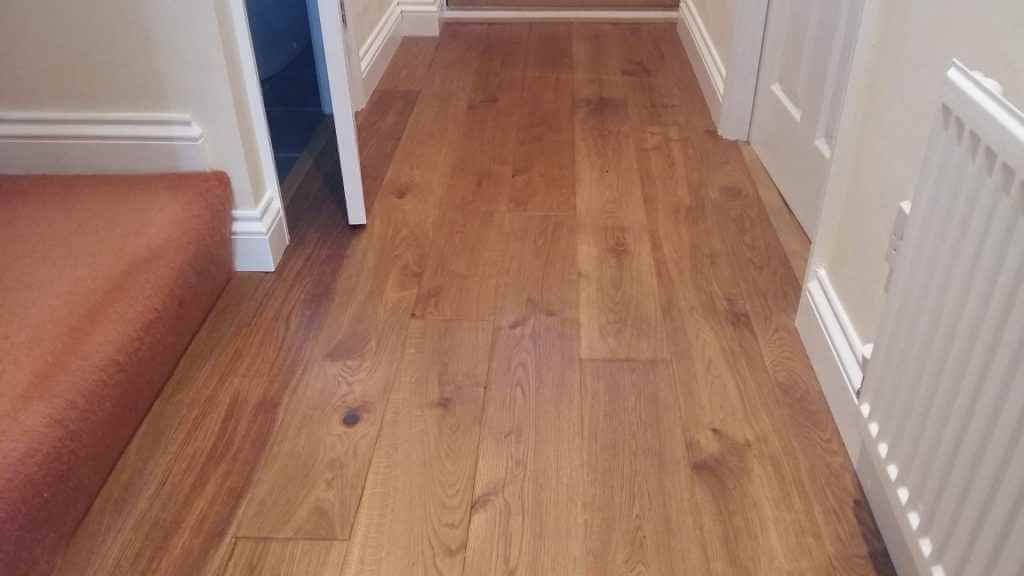
Then solid oak thresholds were added underneath the door stops to finish off the junctions between the cloak room, living room, and kitchen.
You can also read – CREATING THE FINISHING TOUCHES TO YOUR PROPERTY WITH STYLE!
