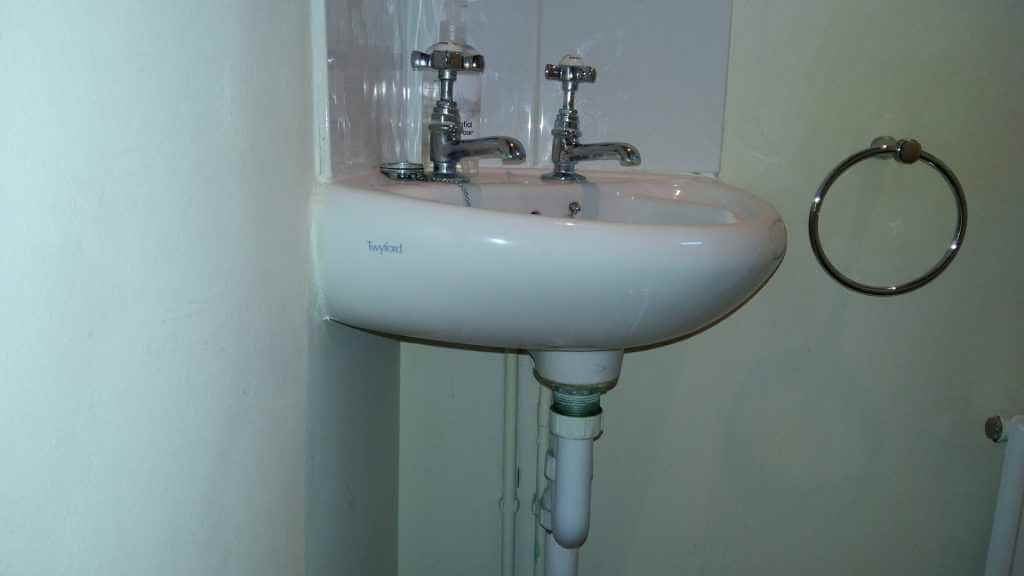
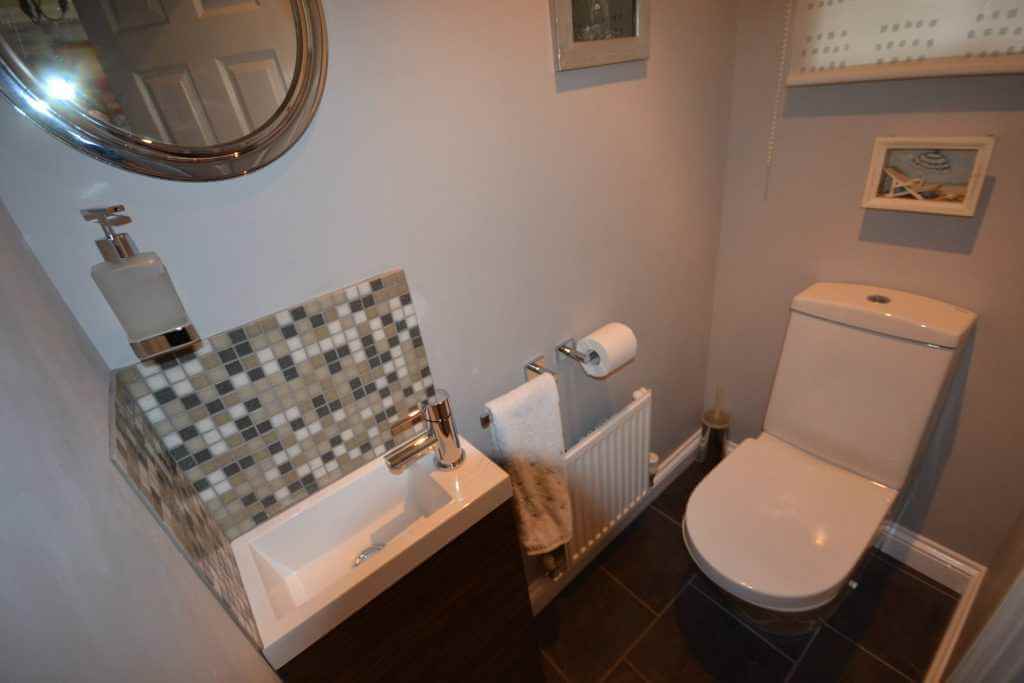
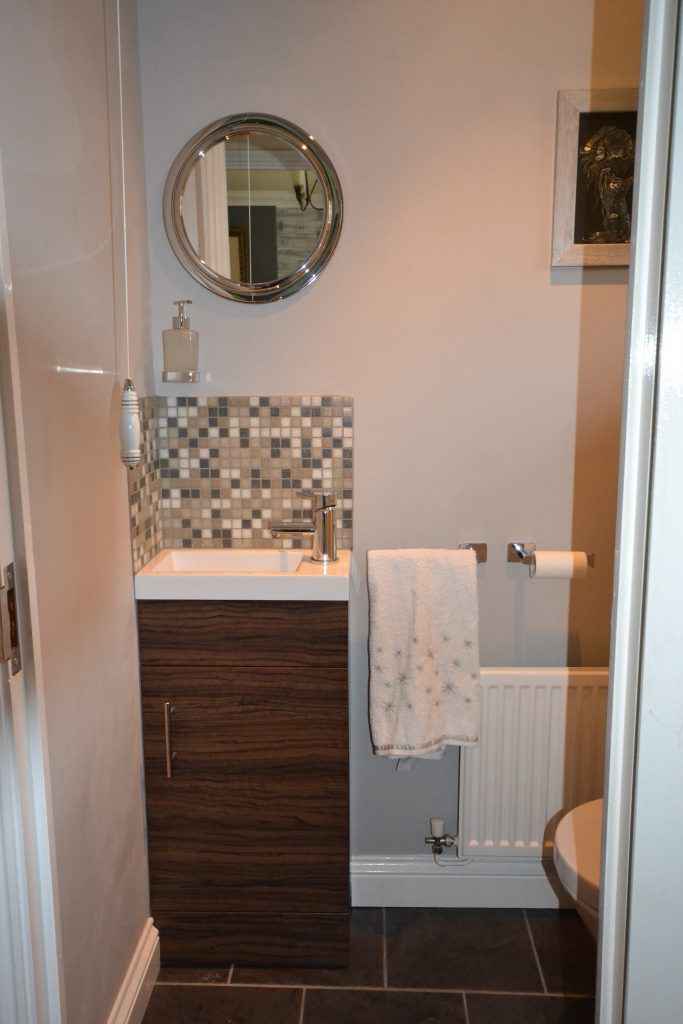
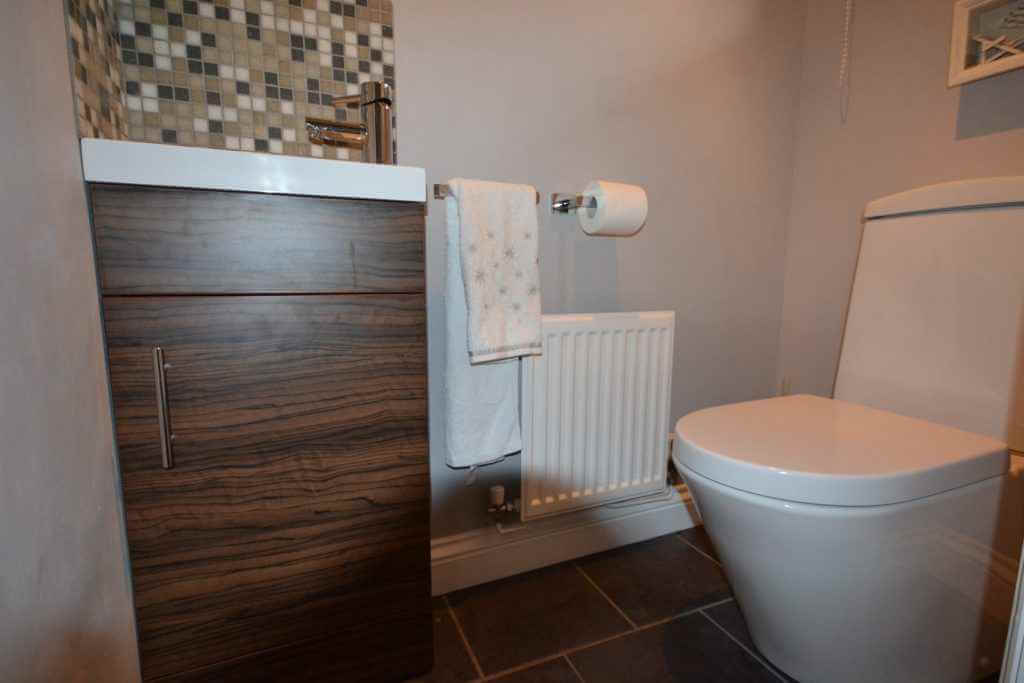
This cloak-room has remained the same since the house was built in 2000. It was uninspiring then with all the inlet and waste pipes unflatteringly on display below the wall hung corner basin. Now was the time to give the cloak-room a makeover and give it a more contemporary feel.
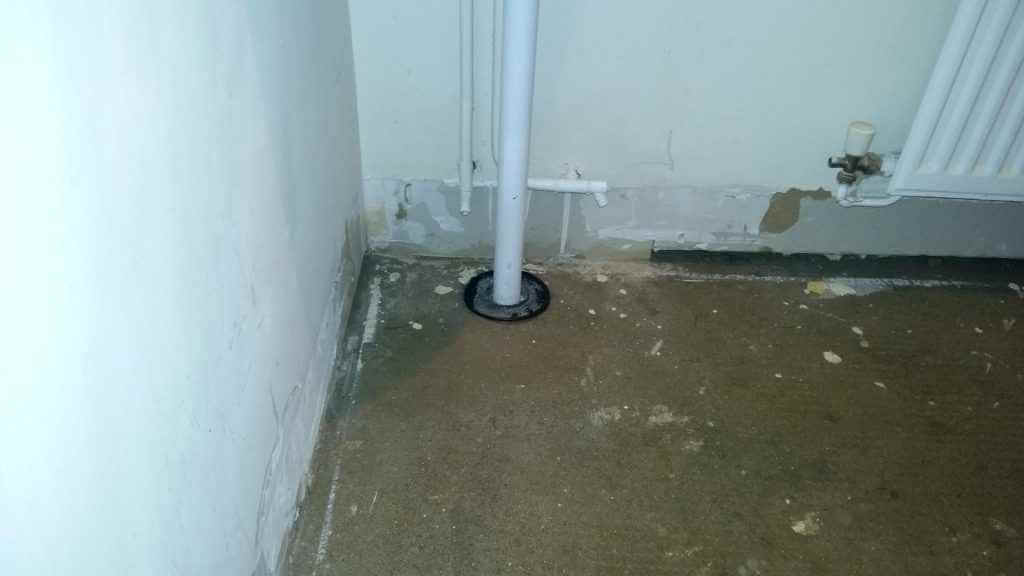
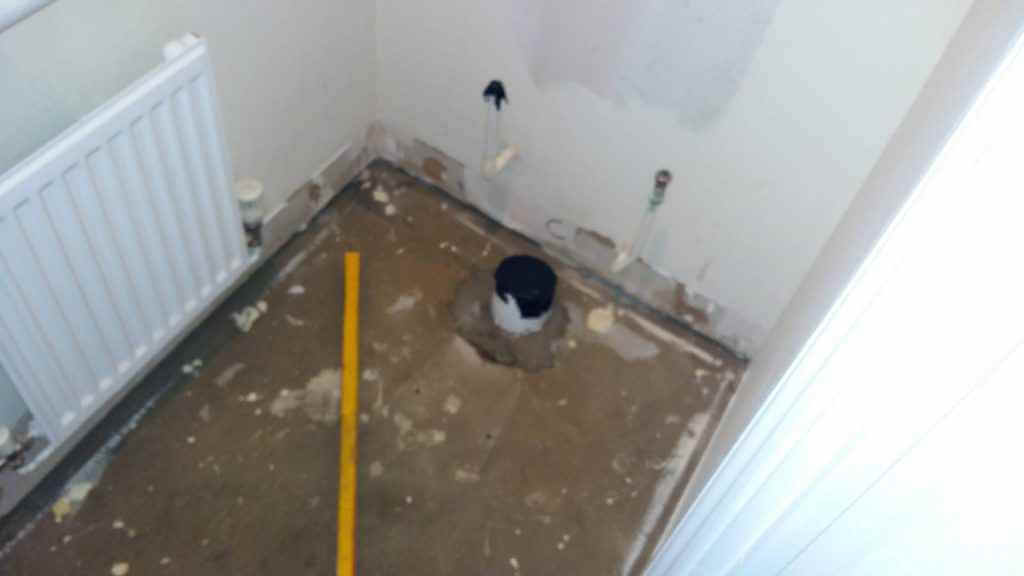
The first job was to pull up the old carpet and level the floor with a self leveling screed. The old toilet was unscrewed and removed (nb the toilet and corner basin were recycled on the freecycle website reducing waste costs and helping the environment at the same time!) making sure the waste pipe was taped up to stop waste gases coming out of the pipe and into the house. A long spirit level was used to show high points in the floor.
Once the floor was leveled it was time to lay some tiles. A dark gray square porcelain tile was chosen and laid in a square brickwork pattern with a 4 mm grout joint width.
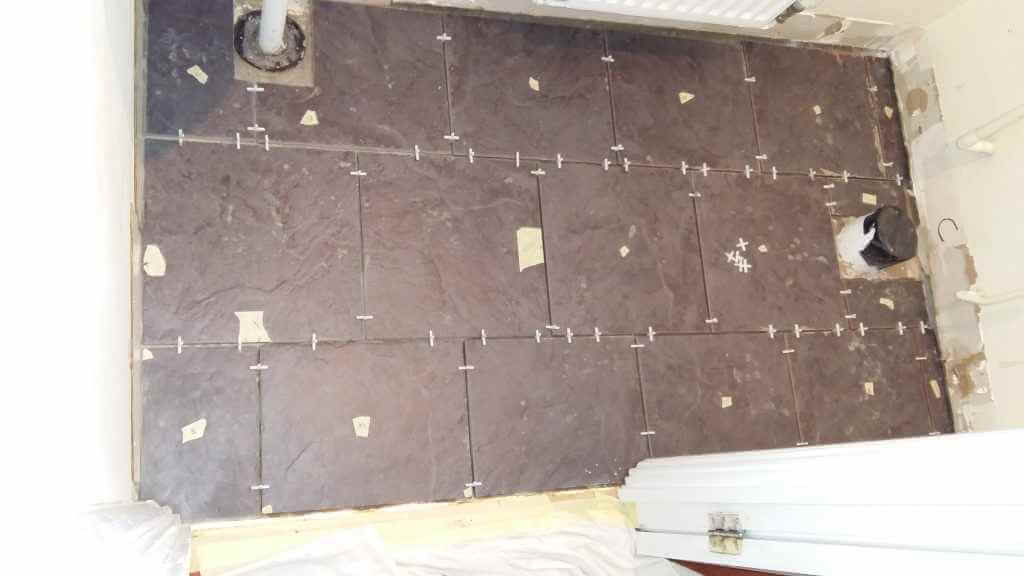
The tiles were laid with a rapid flexible adhesive that requires only three hours setting time before the grouting can be applied. A light gray grout was used and as always pulling the grout float at 45 degrees across the grout lines so as not to drag the grout out of the joints and then taking the excess off with a sponge before it dries hard on the tiles. The grout was left to harden for 24 hours before the tiles were then cleaned up with a grout remover using a non scratch scouring sponge and washed off with plenty of water.

Next job was to cut off the old overflow pipe and fill the remaining hole as the new toilet has an integral overflow outlet that vents into the pan and to re-position the water inlet pipe to accommodate the new back to the wall close coupled WC.

To re-position the copper water inlet pipe the old elbow had to be removed and replaced with a new one at a different angle. First the water was turned off, the pipe was cut after the elbow and any water in the pipe was taken out. The paint around the joint was rubbed off with emery cloth and flux was brushed around the joint. Then to de-solder the elbow joint heat was applied to the elbow very carefully by placing a heat protecting soldering mat over the pipe to stop the flame from burning the wall. Map gas was used in the blow torch as this burns hotter than propane. Heat had to be applied to the joint for about a minute right in the hottest part of the flame about an inch from the torch nozzle before the soldered joint released itself and the elbow could be taken off.
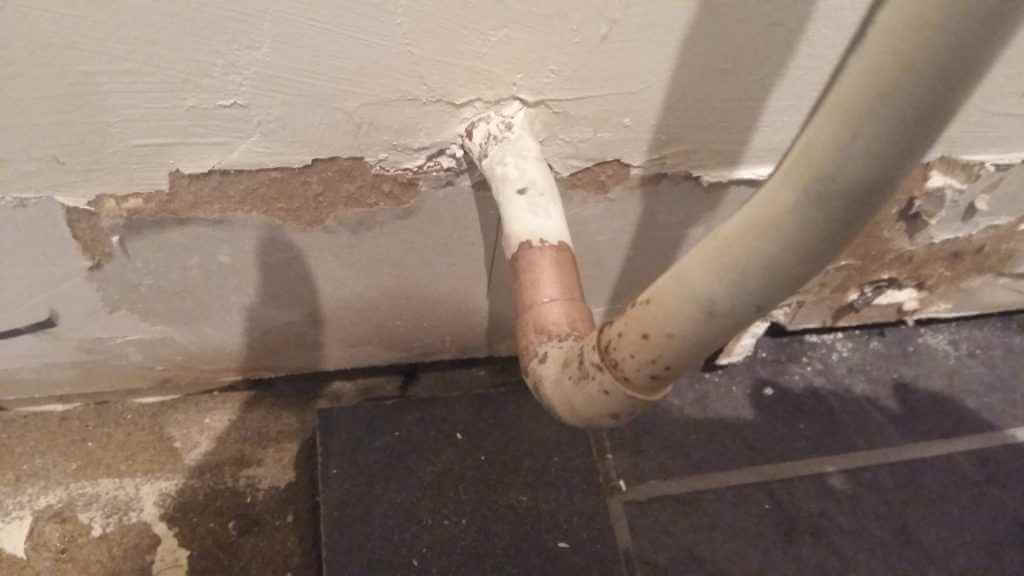
Then a new elbow was soldered on making sure the pipe and elbow were cleaned up first with wire wool and flux was placed around the inside of the copper elbow and outside of the pipe. A new piece of pipe was soldered on the other end of the elbow and a 1/2 inch straight tap connector soldered onto that. This enabled a braided hose with an isolating ball valve to be screwed on the end to connect to the cistern inlet for the water supply.

Next the wall was painted and the new back to the wall toilet and cistern were connected and screwed down. With there being no gap behind the WC it does make connecting the waste pan connector and inlet water supply slightly tricky. A flexible pan connector and 500 mm braided hose for the water supply give enough play to allow the joints to be made without too much trouble. A tip for putting the pan connector on is to put washing up liquid over the exterior of the pan outlet pipe to aid sliding the pan connector on.
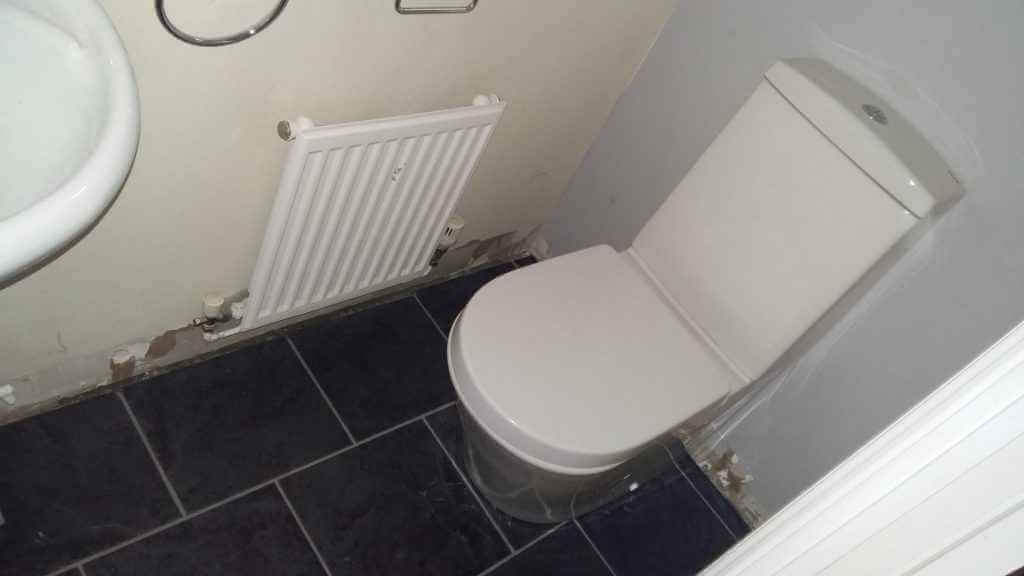
Next the sink was removed and the rest of the walls painted . The hot and cold water supply inlet copper pipes were cut to allow 1/2 inch straight tap connectors to be soldered on and isolating ball valves screwed on to those in order for the tap connectors to be attached later when the sink gets installed.
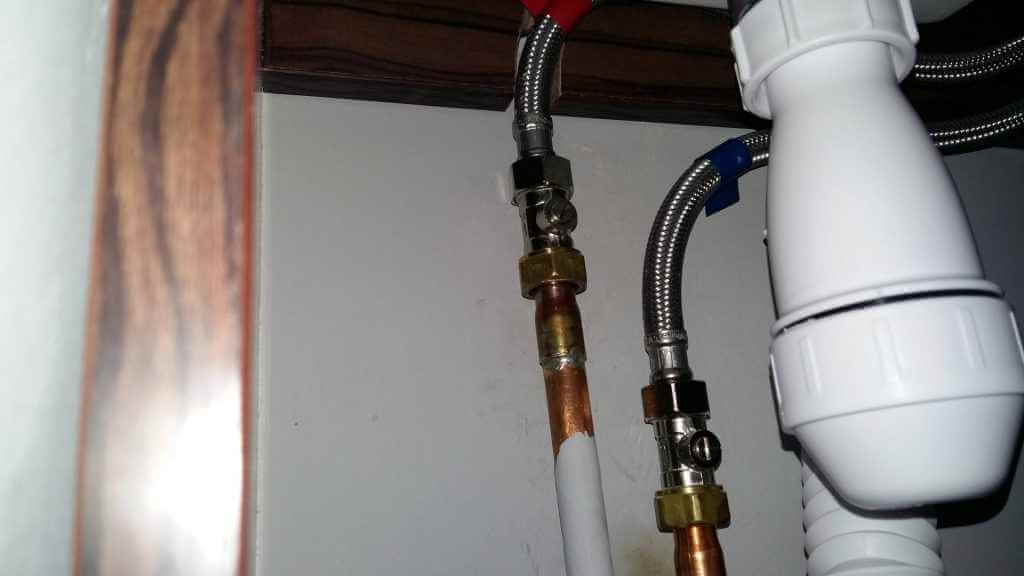
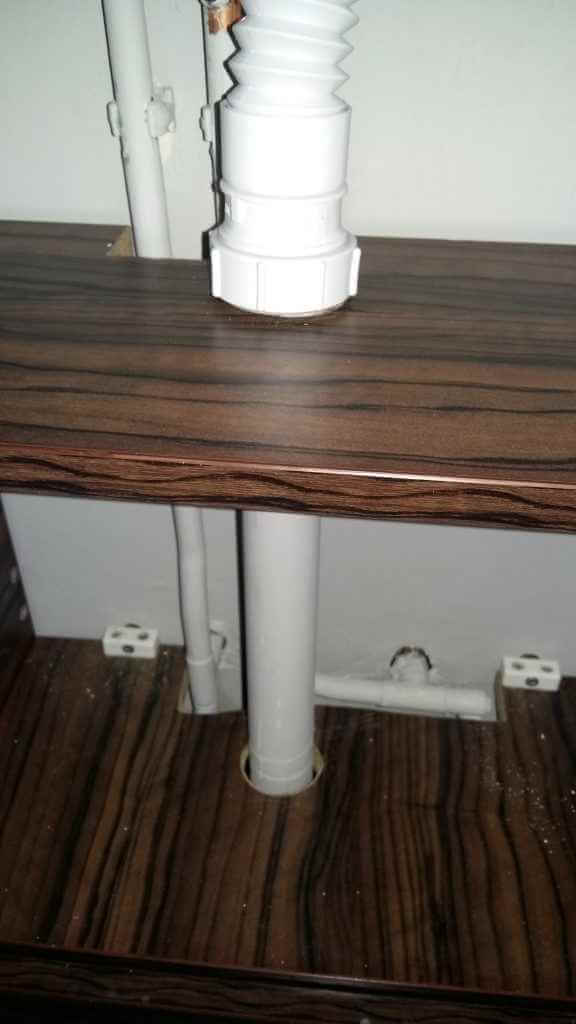
Next the vanity unit was altered with cutouts made in the shelves and carcass to allow it to fit around the pipework. The vanity unit was screwed to the wall at the top and bottom to make it stable.
With the vanity unit fitted the tap and clicker waste were installed in the sink with clear jointing compound placed around the joints of the clicker waste to help the seal and the sink was put in place with dobs of silicon placed around the top of the vanity unit carcass to keep the sink in place. The tap connectors were screwed on and the waste connected up with a flexible hose and the door put on the vanity unit. A tiled mosaic splash back was created around the sink using a contrasting tile of grays, greens and browns with a light gray grout to tie in with the grout used for the floor tiles. Then the skirting board was fitted and the fixtures and fittings put on the wall.
You can also read – MAKING OVER A TIRED BATHROOM WITHOUT BUSTING THE BANK.
