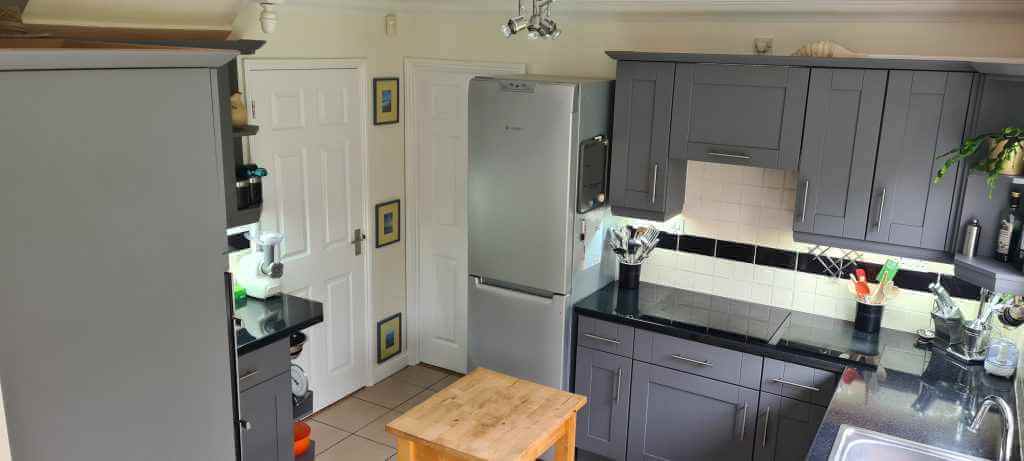
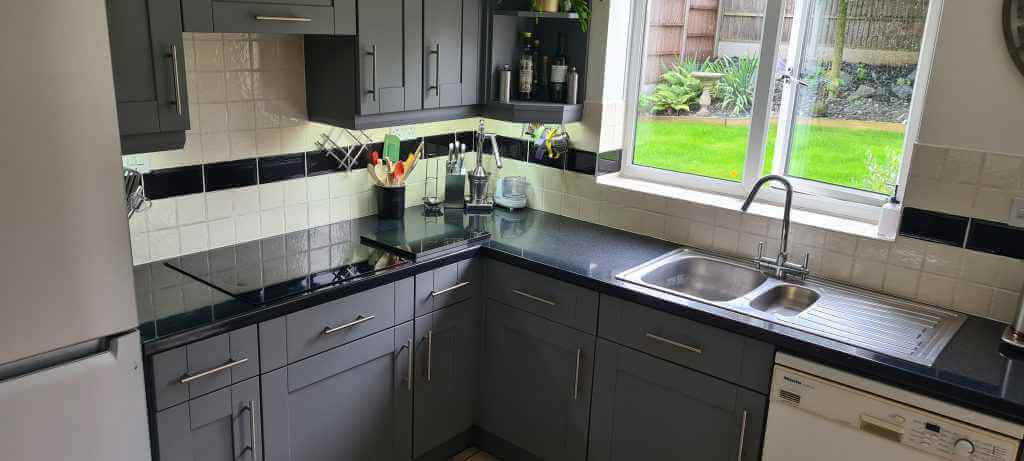
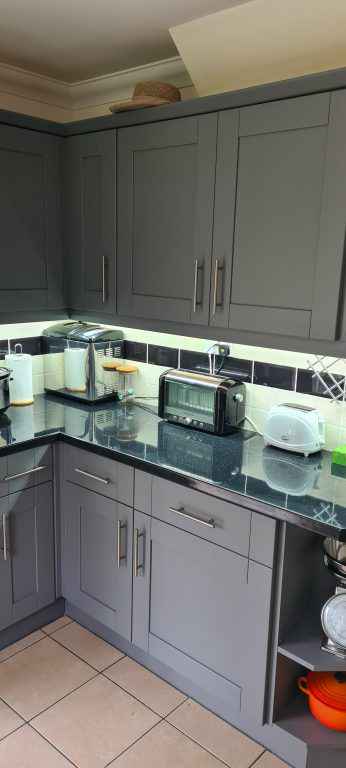
Over time old kitchen cabinets can become dented and marked and the colour that was originally chosen when they were fitted may have been in Vogue then but may not be the height of fashion now. Have no fear with a little prep and the application of some of the latest cabinet paints, your cupboards will be looking bang up to date and just like new.
First of all, decide what colour scheme you are aiming for to paint the walls and ceilings to tie in with the kitchen cabinets. Fortunately, there is now a good range of manufacturers who produce specialist paint for kitchen cupboards in a wide range of colours and shades to suit every taste and meet the needs of the current trends.

Once you have chosen your colours it’s time to get down to the prep for the ceilings and walls. Remove any cabinets, fixtures and fittings that you can from the walls and sheet up areas that need to be protected .e.g. worktops, flooring.
Tip: tape screws to hinges and fix a label on them, I used masking tape folded over, to say where the hinge came from. Do yourself a diagram and number the hinges if it’s easier.
Fill in any superfluous holes and sand down to a smooth finish.
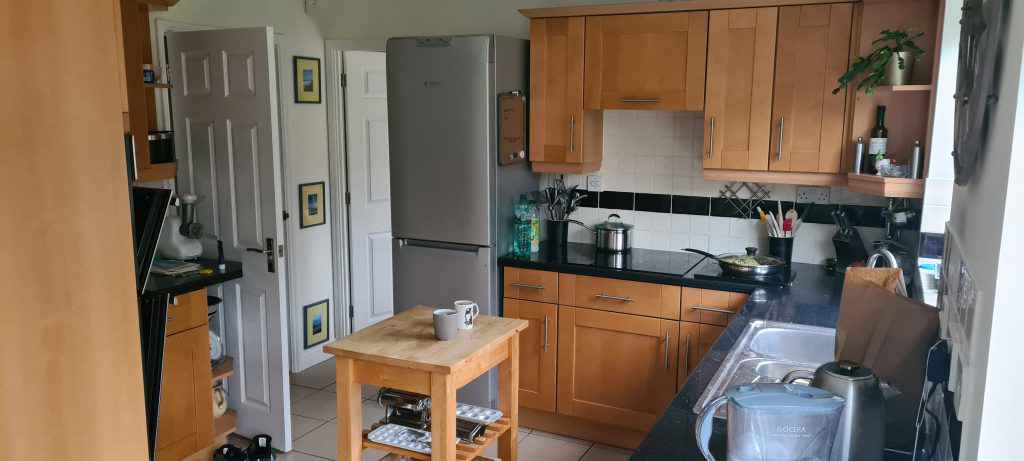
Brush off surface dust then wipe the surfaces down with sugar soap and then decide if you are going to mask up or cut in plain changes between walls and ceilings. You are now ready to start painting. For a really smooth finish use a roller and then a fine brush for the hard to get to places and cutting in straight lines.
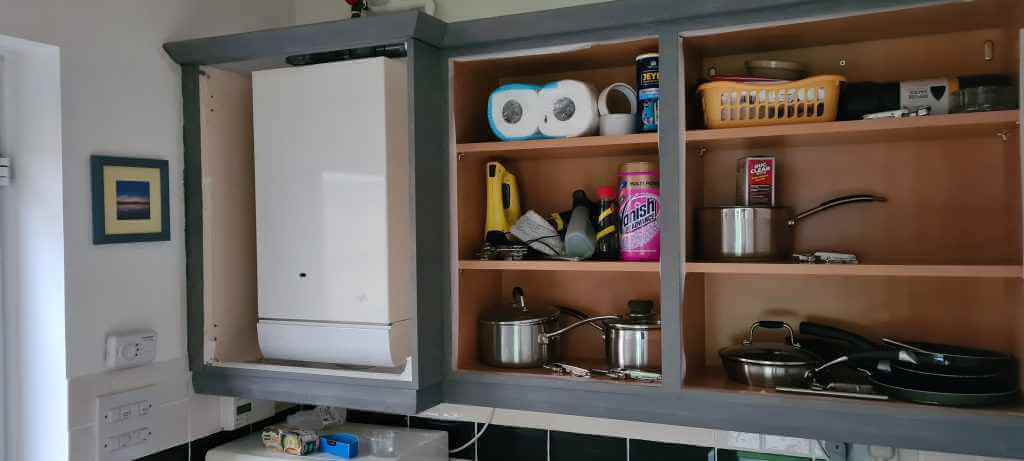
Once the walls and ceilings have their new coat of paint it’s time to turn your attention to the kitchen cabinets. Follow the instructions given by the kitchen cupboard paint manufacturer for any preparation that needs to be done to the cupboard surfaces but as a general rule, it’s about filling and smoothing any dents or scratches in the surfaces and then giving them a good clean with sugar soap to get rid of any surface grime and dirt.
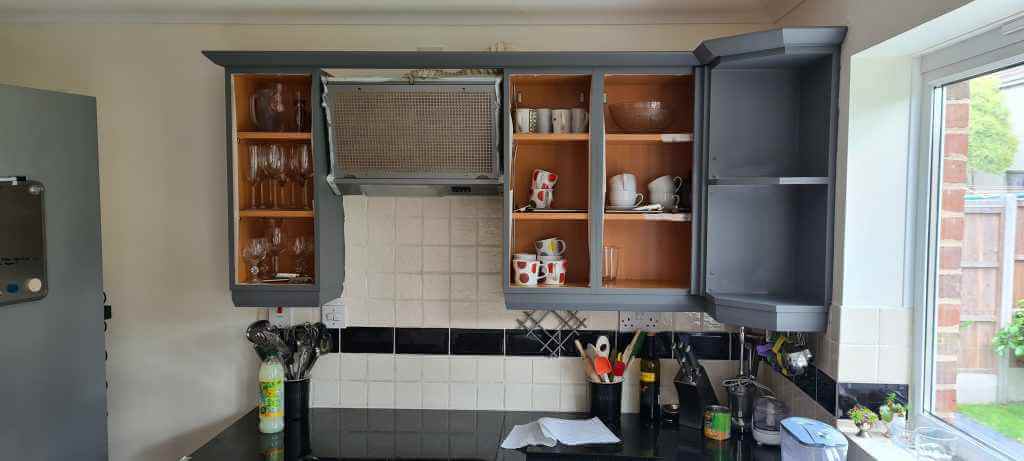
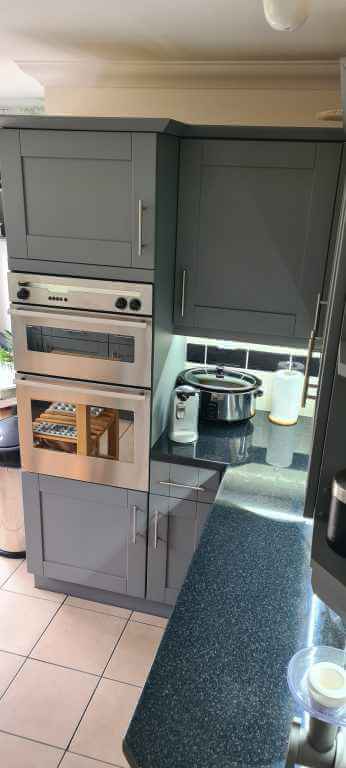
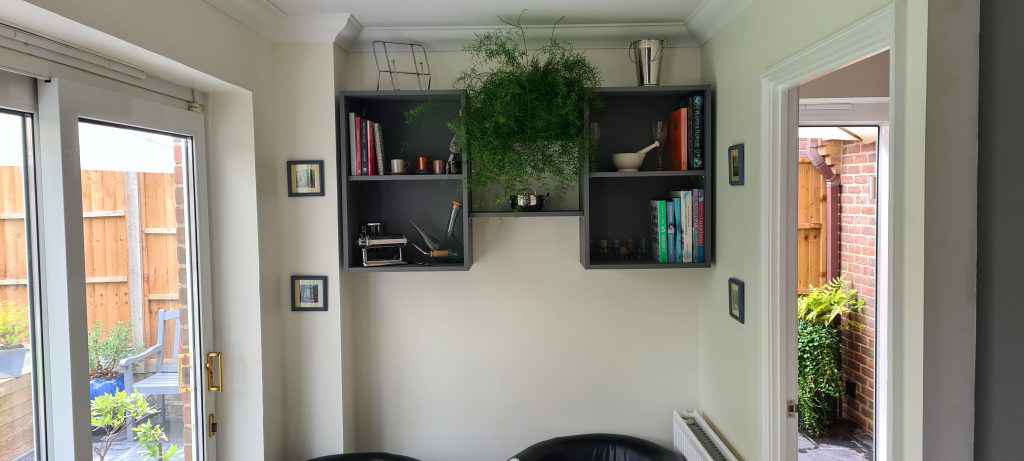
Remove the cabinets that you are able to form the walls but only the amount you can accommodate on surfaces where you can prep and paint and then leave to dry for the recommended period of time. Some of the paints cure to a hard finish over a number of days so if you can leave them to dry somewhere safe out of the way where they won’t get knocked or dusty, then all the better. It is a bit of a juggling act with all the doors, cupboards, and shelves that you have to get prepped, painted, and allow them to cure. On our project we decided not to paint the inside of the cupboards, preferring to leave the wood effect showing as we were using a darker color and wanted to keep the inside bright. We removed handles and hinges as much easier than trying to paint around. We have a number of kitchen doors and cabinets so decided to do them in sections rather than tackling them all at once.
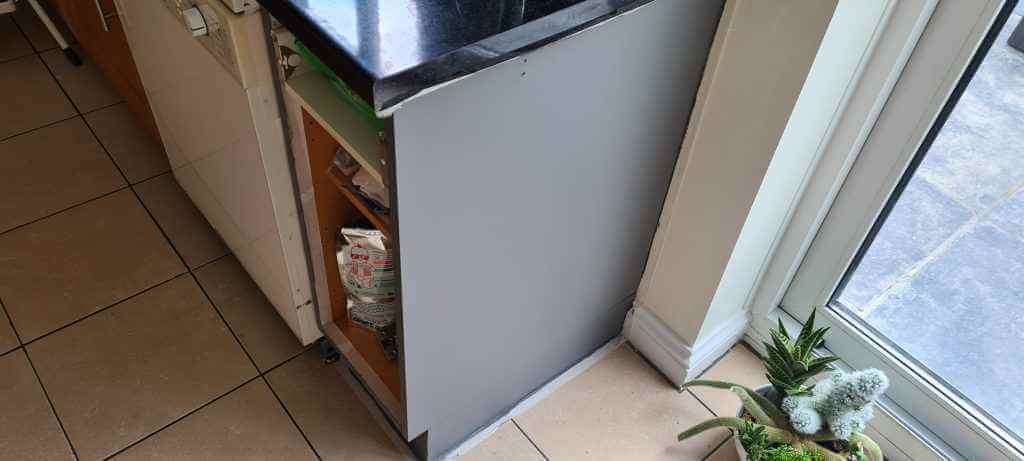
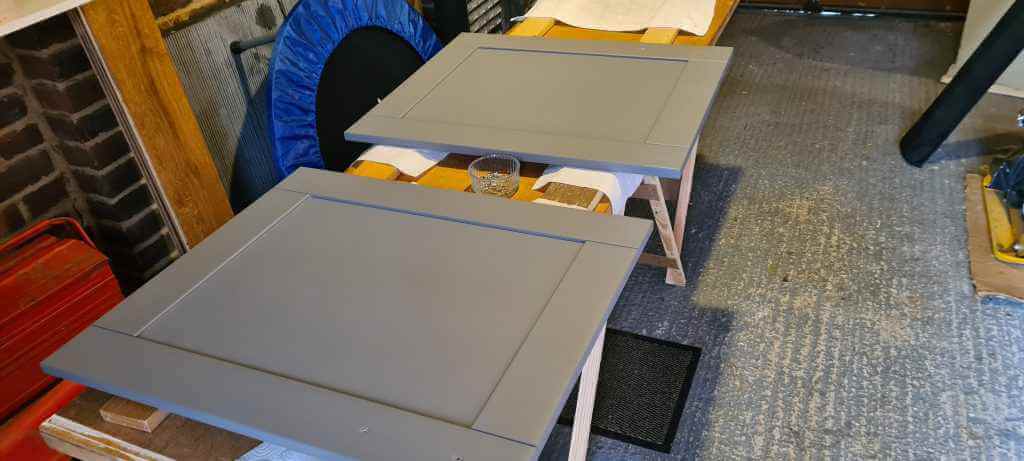
We chose to use a small-medium hair gloss roller with a half-inch brush for hard-to-reach areas. The first coat on our shiny laminate cupboards dried blotchy but after leaving to dry thoroughly, the second coat went on smooth with total coverage.
You can also read – LANDSCAPING CASE STUDY – PLANTING TREES IN BACK GARDEN
