Is your front door looking worn and neglected? Has it been ravaged by harsh, cold, and wet winters combined with baking hot summer days?

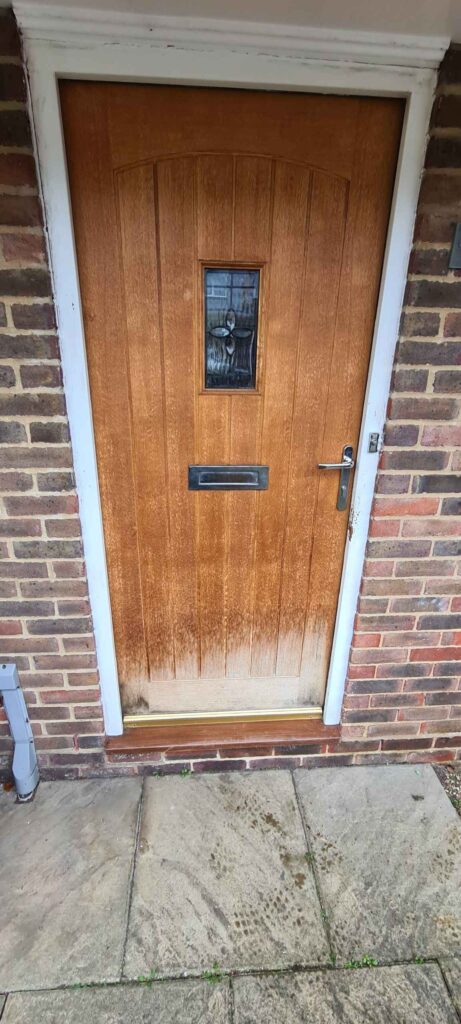
Our wooden front door has started to see the effects of a few cold and wet seasons. The bottom, which takes the worst of the inclement weather, has faded, losing most of its sheen and now letting the rain and damp penetrate the surface. This, in turn, has caused black mildew to start creeping up. Now’s the time to take action before the onset of another winter does any more lasting damage.
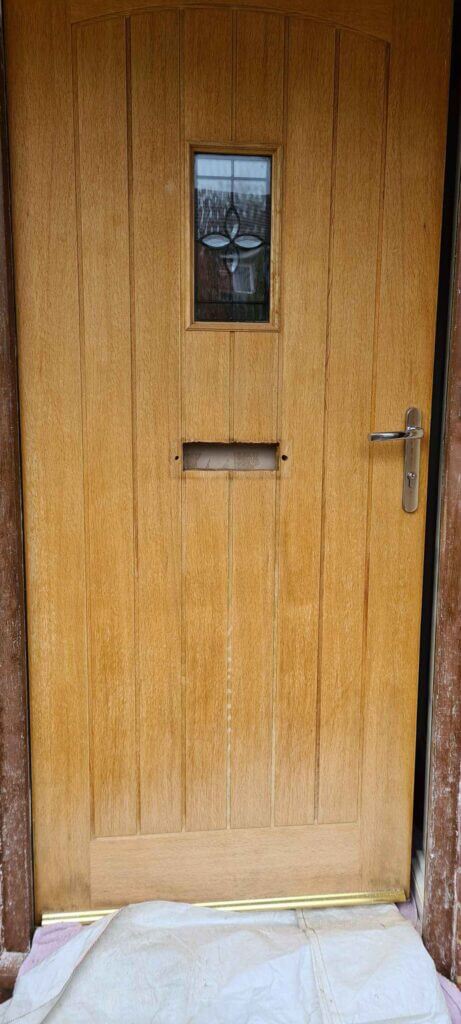
The first step is sanding well to remove old, flakey, and rough wood. Make sure you get right in any grooves or patterns in the door with a bit of folded sandpaper or steel wool. Once the worst surface contaminants have been removed, use a specialised, potent cleaner/gel to remove the mildew and discolouration to return the door to its natural wood patina.
Use a stiff bristle brush to vigorously work the gel into the wood, making sure you get right into any channels contained in the door’s design. The gel we used had to be left on the door’s surface for half an hour to work its magic before being cleaned off. This cleaner must be washed off completely and allowed to dry thoroughly before moving on to the project’s next stage.
Please do not use a pressure washer to clean the door down. They are powerful and will make the wood too wet.
Once dry, various options are open to you, from painting, staining, using a clear oil, or, as we chose, using a slightly tinted light red cedar oil. Picking a good dry day is important, as our product takes 12 hours to dry, so planning ahead is essential.

We rollered our product on with a wooly roller to give a smooth finish and used a brush to get into the channels that decorate the door.
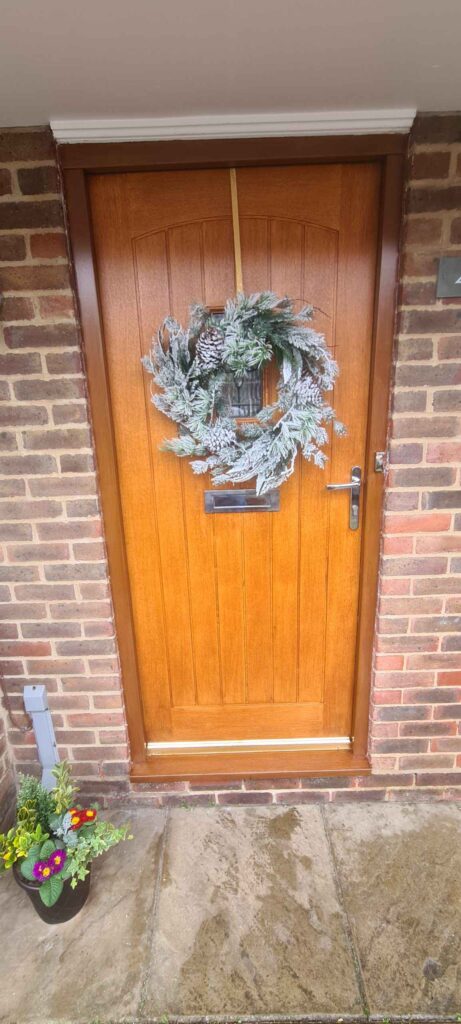
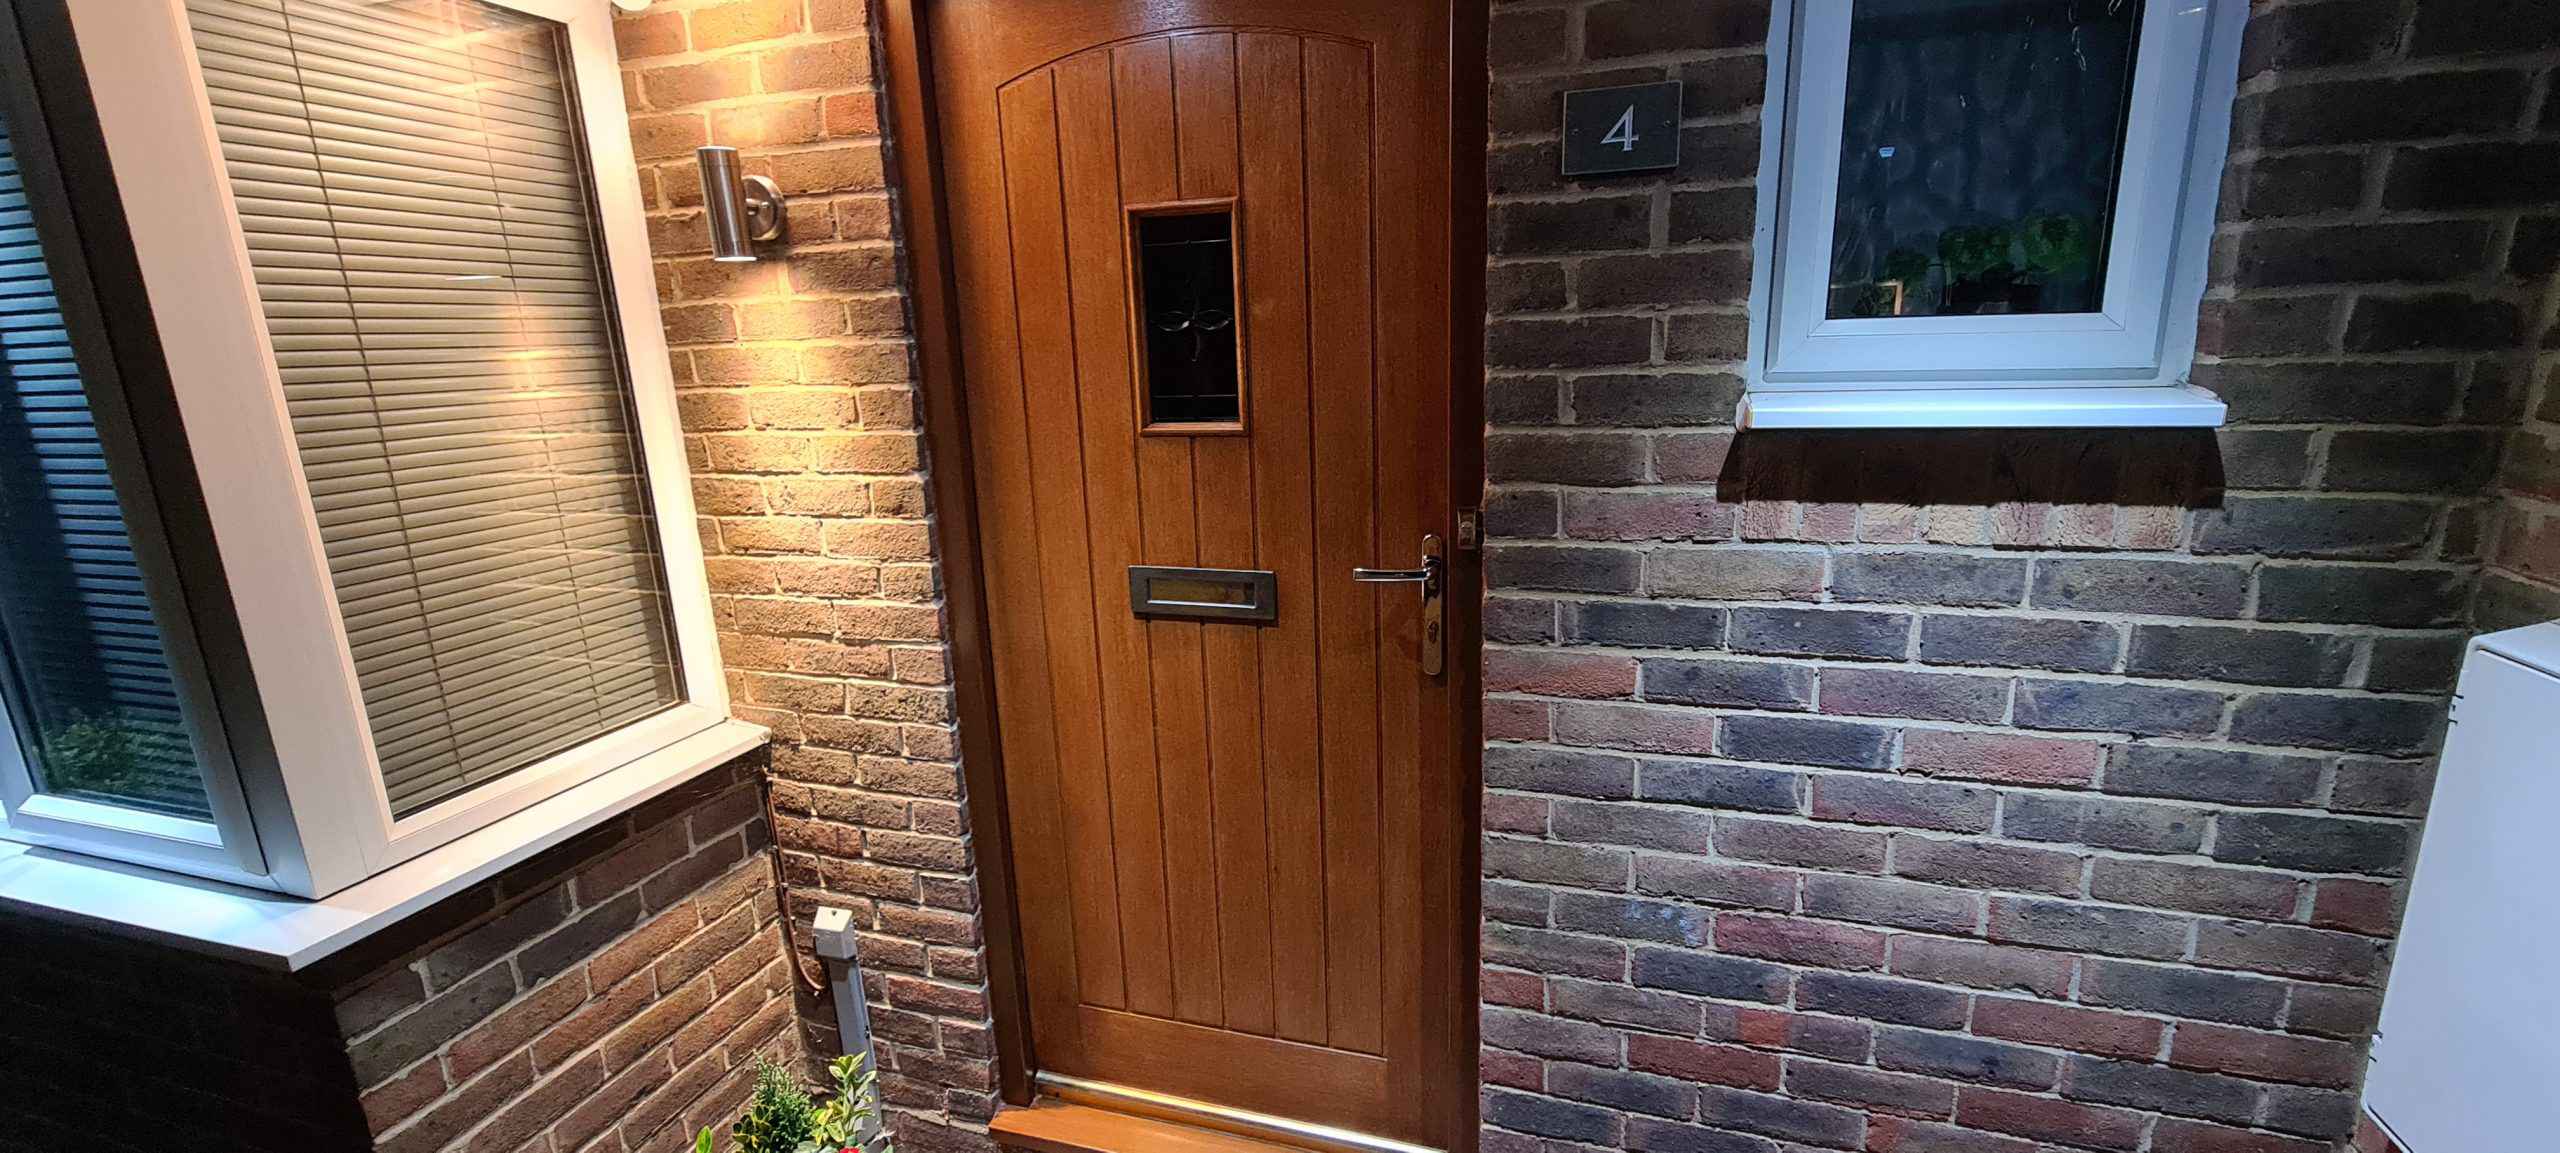
The last thing to do was put the door furniture back on, including the letter box and drip cap. Now, the door is ready to serve another five years before it needs some more attention.

