Project details
- Developer – Managed project
- Property detail – Residential
- Project detail – Conversion of En-Suite into a Wet Room
- Location – Hertfordshire
- Duration – 6 Weeks
Overview
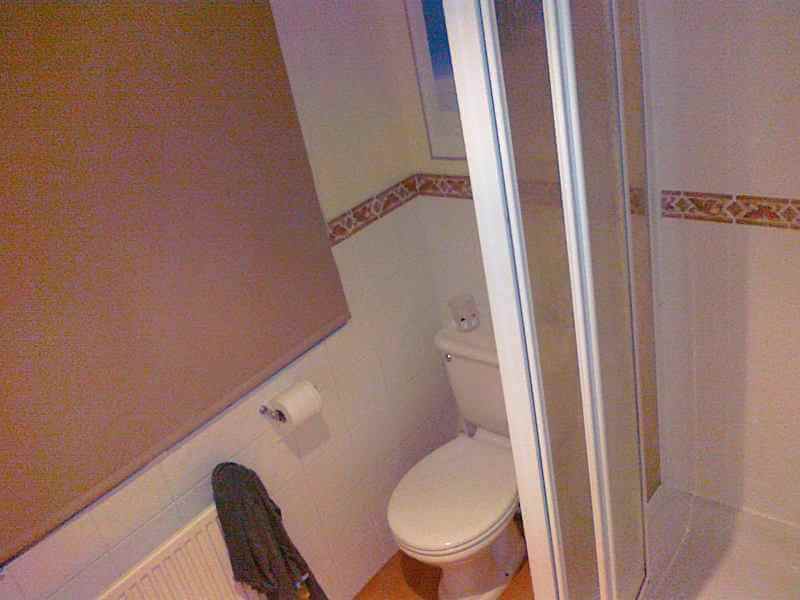
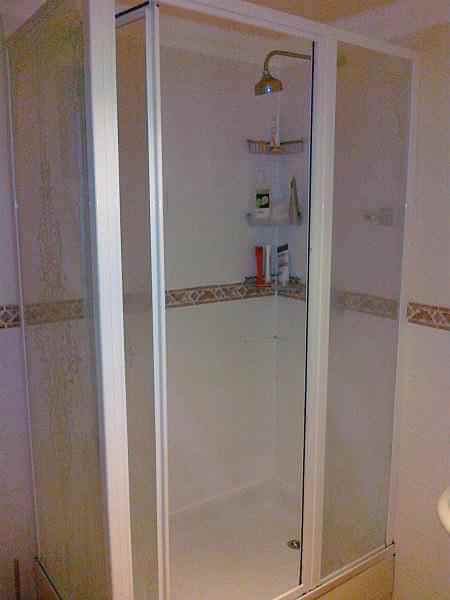
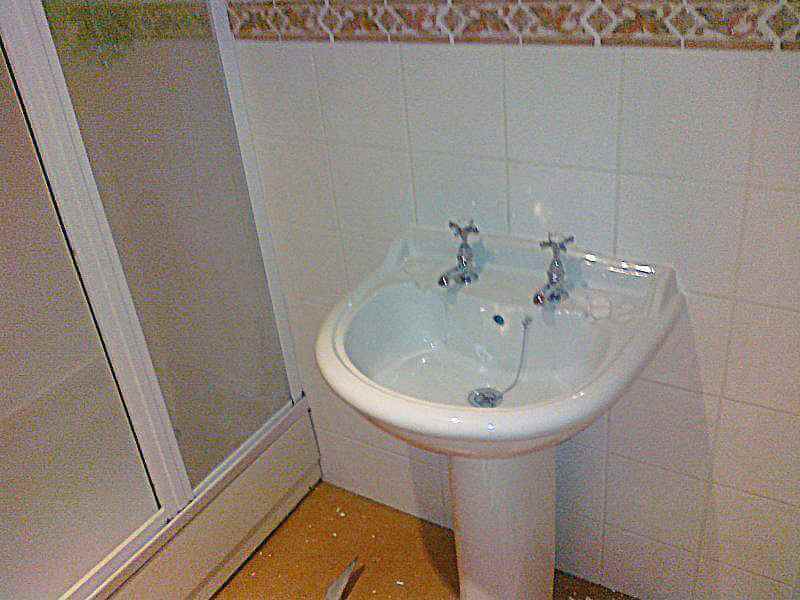
Here are the details for a wetroom we have just completed. The old ensuite was in need of a makeover. The shower cubicle was falling apart and there was water ingress between the tile and the dry lining causing mold issues. The thermostatic shower valve had started to give up the ghost and the shower head had split both because of calcium build-up and corrosion.
Stage 1 – Demolish old Ensuite
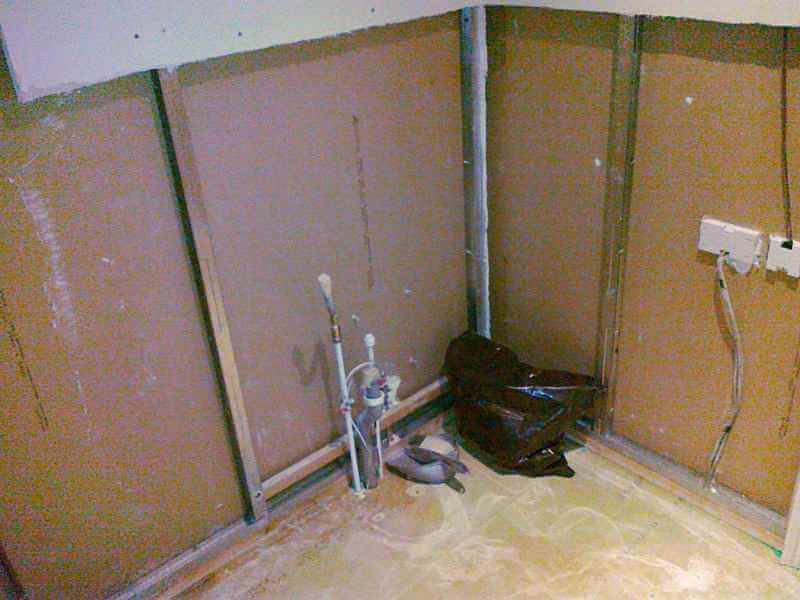
The initial part of the project was to demolish the old shower cubicle and remove all the other sanitary ware. Some tiles were chipped off to allow the tiled dry lining to be cut away. We wanted to save as much of the dry lining as possible (where it had not been subject to any attack by mold). The water was turned off and the feed pipes into the sink and toilet were cut. The pipes were also capped and taped up to the waste outlets, once the sanitary ware was removed. A scraper hammered in behind the coving allowed it to be prized away from the ceiling without too much damage.
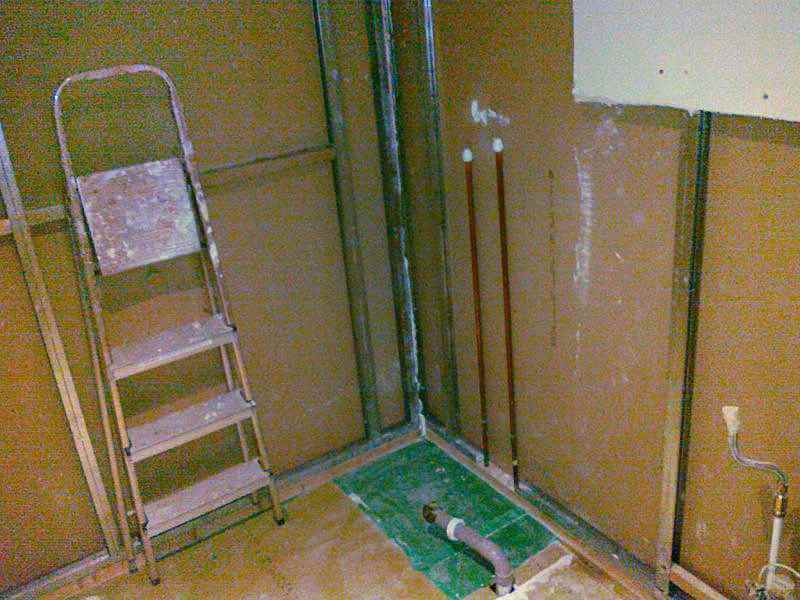
Having pulled the carpet up, a square was cut out of the floor – from joist to joist oncentres in front of the radiator – using a circular saw set to the depth of the floorboards. This allowed access to the plastic 10mm microbore inlet and outlet pipes for the radiator. Having turned off the heating to let the pipes cool down, they were then frozen using an Arctic Spray pipe freezing kit. These pipes were then cut and capped off. The radiator was then removed and tidied up with a ‘dot and dab’ between the dry lining and thermolite blocks – ready to cut the channels for 15mm chrome pipes accommodating the new towel radiator.
Some remedial work was still required on the noggins, which were slapped in by the original builders using one nail bent (and only halfway in most cases). Also, a lot of the floorboard screws they had put in had missed the composite joists completely – no wonder the floor used to creak a lot!
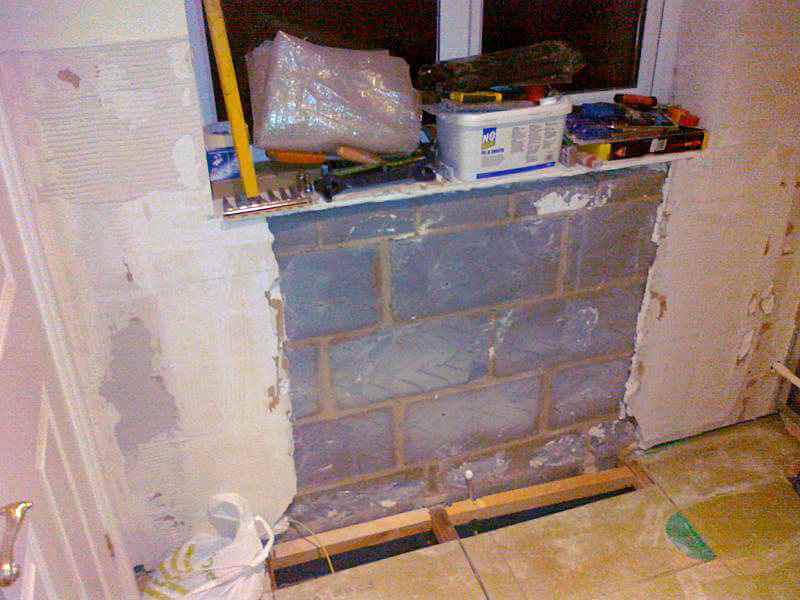
Sink and radiator preparation
Channels were cut in the Thermolite blocks to enclose the radiator pipes. Battening was then screwed into the blockwork to take the radiator supports and the new dry lining which was applied, taped, and filled.
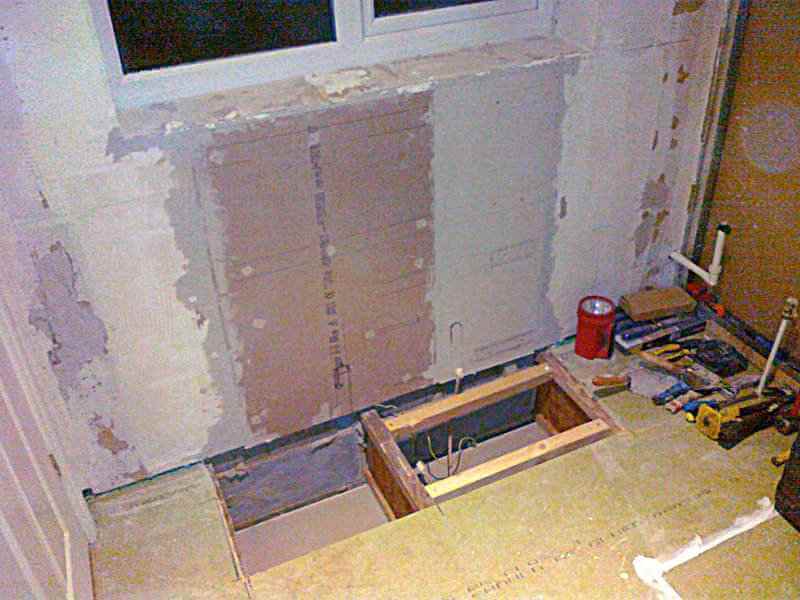
Sink and radiator preparation
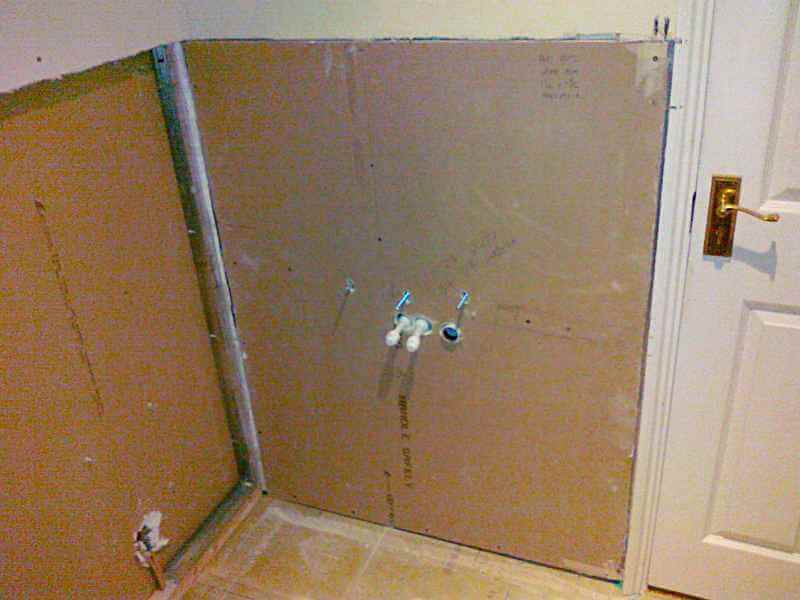
The hot and cold pipes and the waste pipe were re-routed through the joist using a hole cutter. John Guest Braided 15mm flexible push-fit hoses were run-off the old copper pipe and into a plastic pipe with push-fit elbows into plastic and out through the wall. The pipes were run up the stud wall using holes cut through the stud wall bottom plate to accommodate them. The waste was run in a 32mm solvent weld. The old holes for the pipes were filled and the was floor strengthened by adding ‘glued and screwed’ noggins around the floorboards that were cut. Battening was added to the inside of the stud wall with threaded inserts screwed into the batten. Threaded studs were also screwed into the inserts ready to take the plinth hanging off the wall to carry the glass sink bowl.
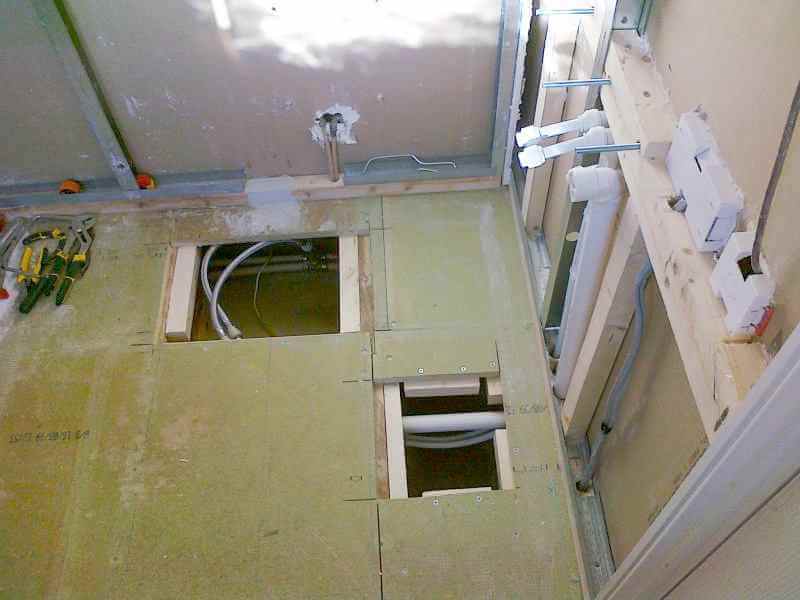
WC and Shower pipes
A circular saw was used to cut the floor to allow access to the supply pipes for the shower and to create the opening for the deck former. Battening was added for securing the pipework and to allow the Pioneer twin Concealed thermostatic shower valve to be fixed securely. The existing hot and cold pipes have been cut off below the floor and re-routed in John Guest push-fit and plastic up to the shower valve. Double-check valves (Non-return valves) were inserted to prevent crossflow. The valves chosen were rated to 65 degrees Celsius – normal temperature for a hot water tap in the UK is between 45 and 50 °C, though it can be higher if you wish.
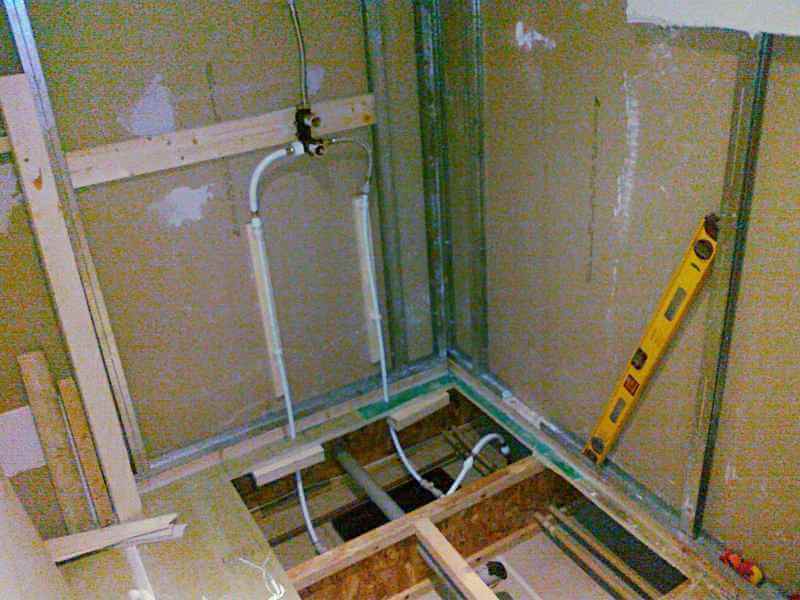
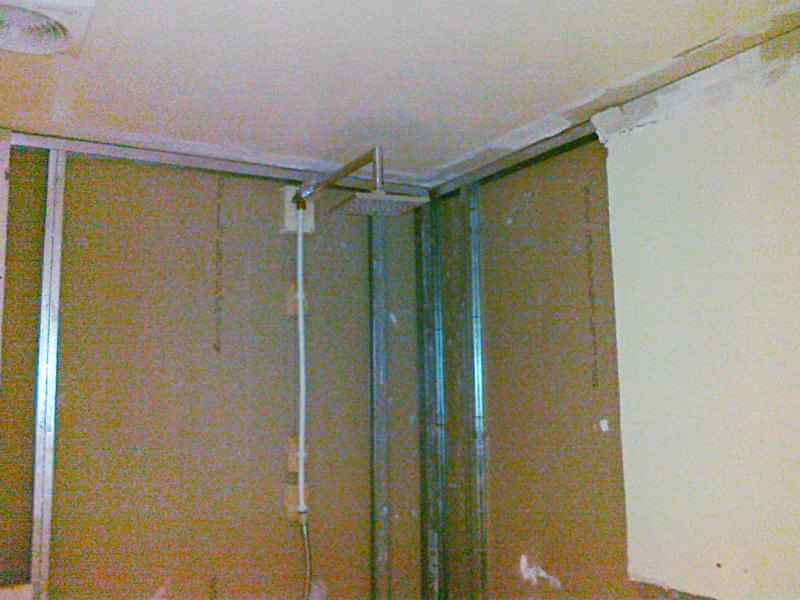
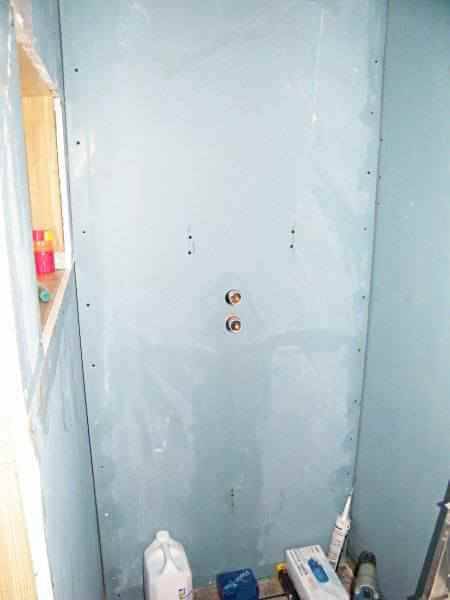
The wall plate elbow for the shower head was then fixed to battening. Some strengthening was also added behind the 15mm plasterboard, in order to allow the shower arm cover plate to be tightened when the shower arm was permanently fitted. This was because there was no room for the shower arm backplate nut to be used in between the wall plate elbow and the dry lining. We knew this wouldn’t be an issue, as the 15mm plasterboard and the strengthening plate we were adding later, would be more than adequate to support the showerhead. The arm and head were temporarily fitted, with around 15 turns of PTFE tape on the shower arm thread into the wall-plate elbow, allowing the pipework to be tested and the adjustment of the thermostatic range of the shower valve.
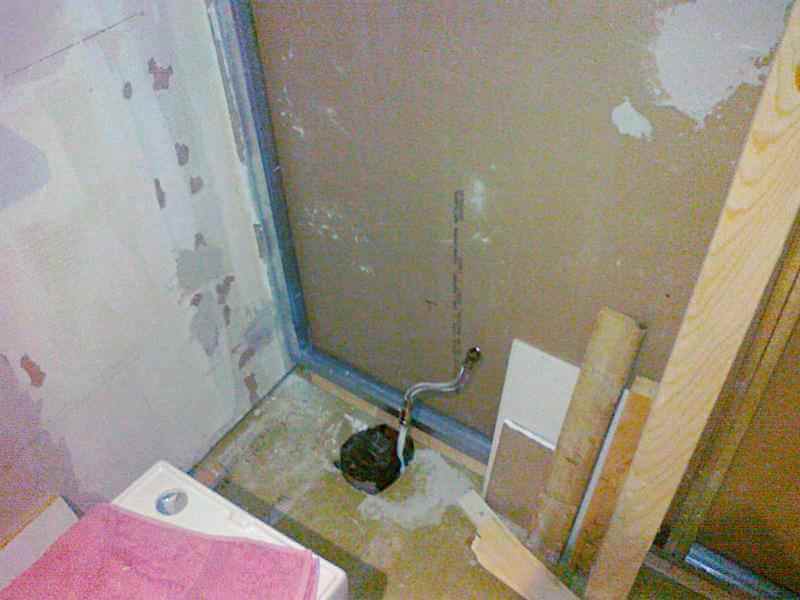
The WC soil pipe was adjusted to repair a fault left over from the original builders where the pipe was under pressure. The cold water supply pipe was also moved to allow placement of the new WC.
The dry lining for the sink wall was cut to size with holes inserted for the supply pipes, waste, and support studs. Everything was screwed to the wall studs.
Shower and waste trap
The shower waste has been installed. The original solvent weld waste was cut back to the 50mm pipe which has a ‘reducer’ down to 40mm. This was then teed off into the shower trap and then continued on via a ‘reducer’ to the sink in 32mm pipe, maintaining the fall back to the 50mm pipe.
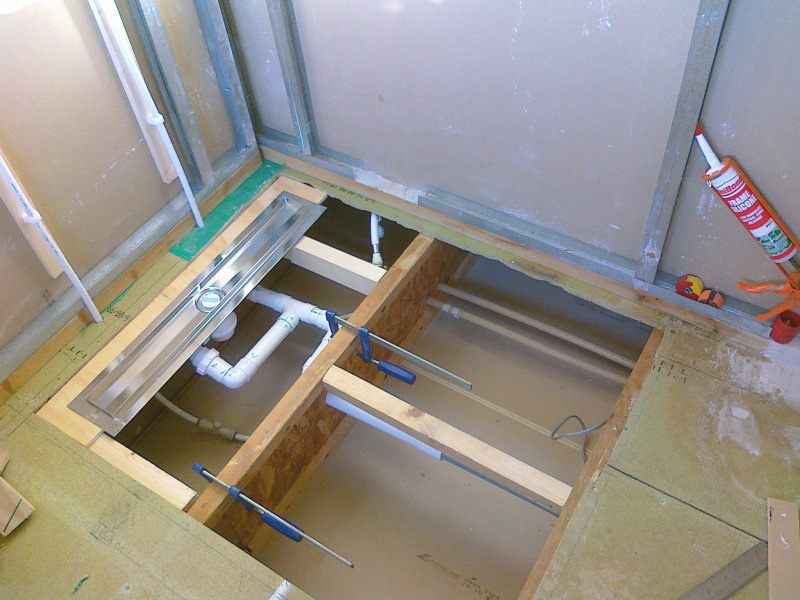
Shower deck construction
The shower deck needed to fall towards the Acco linear channel drain at something like 6mm per meter. Pre-formed decks such as Impey and Milano etc. are available to create a ready-made shower deck. Pre-formed decks simply slot into a cutout in the floorboards on ply inserts across the joists. On this occasion, the homeowner opted to make their own deck using tapered noggins, plywood, and Hardiebacker board. The fall on the deck constructed is a little higher and was achieved by inserting tapered noggins across the joists giving the fall angle required. As the house was been built using composite joists, modified joist hangers were used to get a good fix for the noggins. The noggins were screwed and glued, for ‘belt and braces, using Evo-Stik Resin W Polyurethane Wood Adhesive which sets in around five minutes – it’s very strong, but don’t get the stuff on your skin and use in a well-ventilated area as it contains isocyanates. Extra strengthening was also added around the exterior deck area.
The compression fit waste for the drain was connected to a 40mm solvent weld pipe before putting the final ply infill piece down.
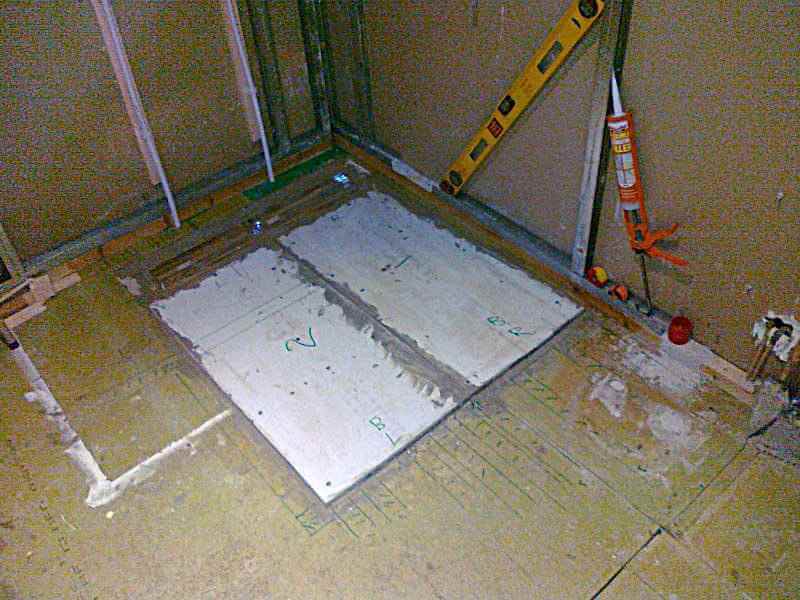
The Aco linear channel drain is 700mm long and allows a flat deck to fall into the drain, facilitating the use of large format tiles on the deck surface, as opposed to center drains, which either use mosaic tiles or angle cut large tiles. 12mm Hardiebacker board was placed over the noggins to create the deck. The noggins were placed at 200mm centers, with 15mm marine ply set in between on battens glued and screwed to the noggins. The noggins were only tapered up to the linear channel drain. From the drain onwards the noggins were level back to the joist. A piece of Hardiebacker was been cut to size with a cutout for the drain and placed at the back. The drain was then screwed into the Hardiebacker. 2 pieces of Hardiebacker used to create the fall were glued to the noggins and ply using Bal rapid set flexible and screwed at 300mm intervals using Hardiebacker screws. To cut the Hardiebacker, a P3 mask was used and a Malco Siding Shear attachment for an electric drill which can be found on Amazon http://www.amazon.com/dp/B0014E9WN2/ref=…s_sce_dp_1. These prevent excessive dust from being created when cutting the boards which contain silicates.
The adhesive was run around the edge of the drain and over the drain screw heads, as well as in-between the Hardiebacker boards, where they join and butt up to the floorboards.
Stud wall and towel radiator
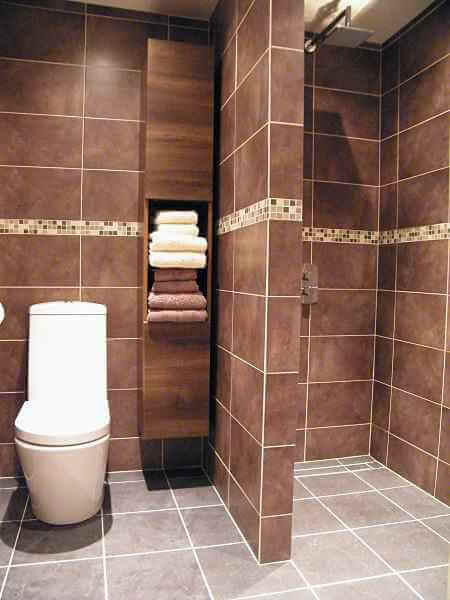
A stud wall was built to separate the shower and the toilet. The stud wall was chosen because the house is likely to be let and a large glass screen would be impractical, not just because of the safety aspect, but because the water is exceptionally hard and calcifies glass surfaces on contact. A shelf was been built into the stud wall to keep shampoo bottles etc. The wall was built out of 44mm x 75mm studying and drywalled in a 15mm acoustic plasterboard, like the rest of the wet room. The remaining dry wall was put up around the room.
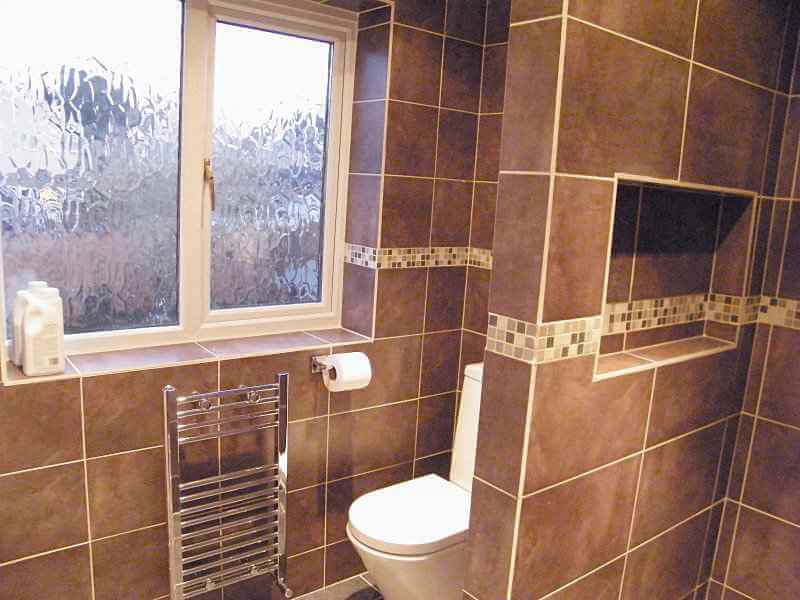
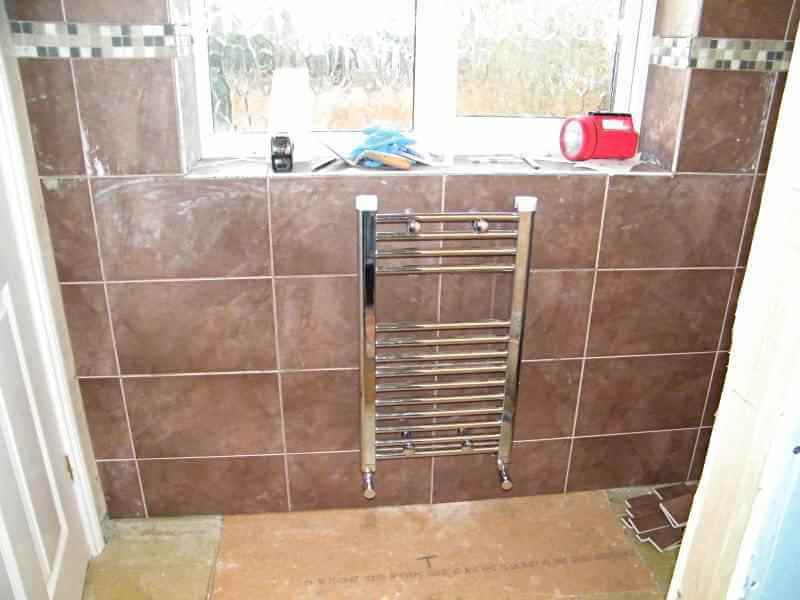
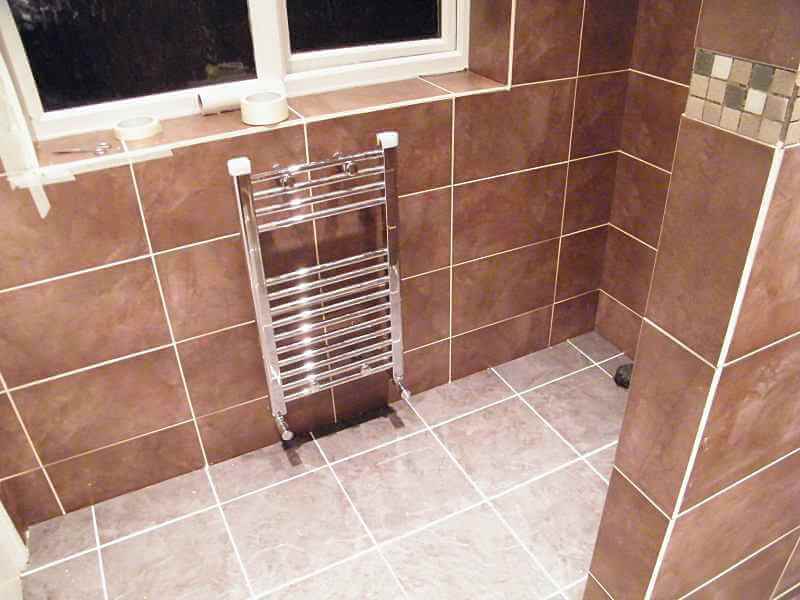
Tiling around the towel radiator was completed so the radiator could be fixed into position, plumbed in, and tested before the floor was over-boarded and tiled. Fernox LS-X was used when making the compression joints for the Lock Valve and Radiator Valve, with the chrome pipe, and for the threaded joints into the radiator itself. This gives the joints the best chance if the radiator is knocked, or if the joints don’t quite seal properly. The chrome was removed from the pipe where it goes into a 90-degree push-fit elbow. This process was because the chrome was too hard for the teeth of the push fit joints to bite into, and is likely to pop off, if not removed to reveal the softer copper underneath.
Tanking
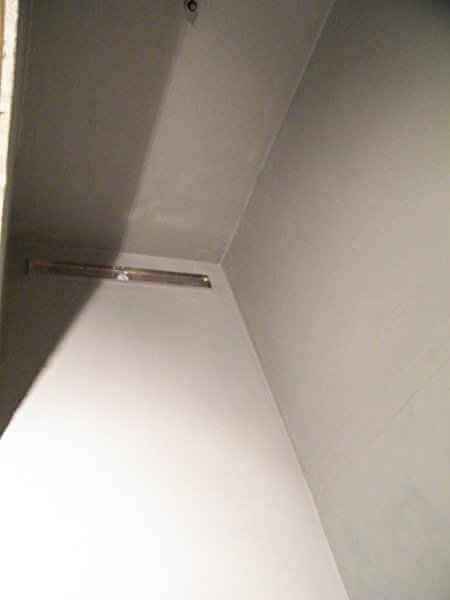
The whole room was then over-boarded with Hardiebacker board and the walls partly tiled. The shower area was tanked using the Mapei wetroom kit. This involves first applying a coat of the Primer G after making sure any gaps are filled and then applying a coat of the Mapei WPS gum. The joints were then taped with Mapei tape – internal and external corners as well as the pipe collars over any pipes, by applying another coat of the gum. As recommended, 24 hours were then left before tiling.
Tiling walls and floors
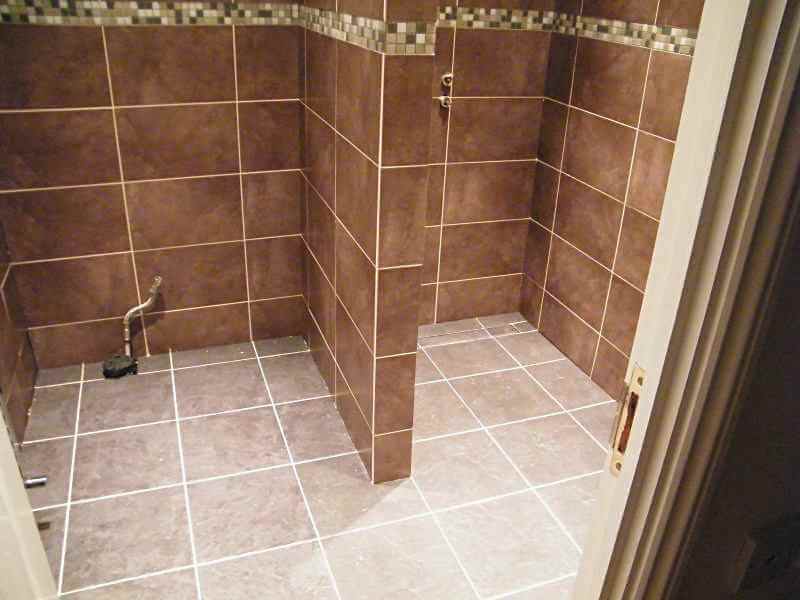
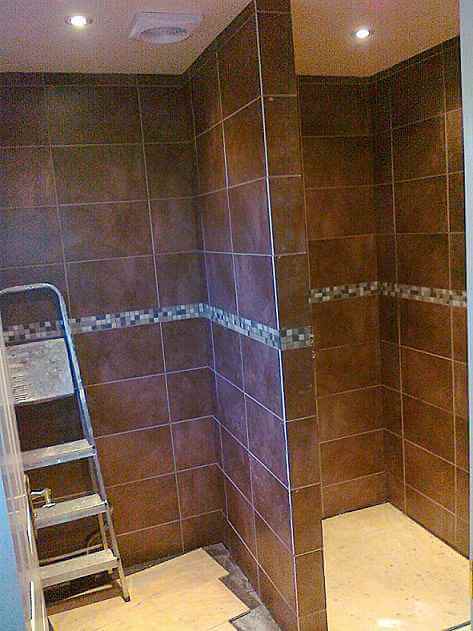
The floor was tiled with a black slate effect ceramic tile from http://WallsandFloors.co.uk using Bal Rapidset Flexible. At this stage, the walls have nearly been fully tiled with a stone effect tile from http://TileSupermarket.com using a couple of bags of adhesive (Mapei Keraquick, leftover from another property). The Keraquick was mixed with Latex Plus, not water. There is a mosaic being run through the middle of the tiles which was sourced from Wickes.
Down lights and tiling
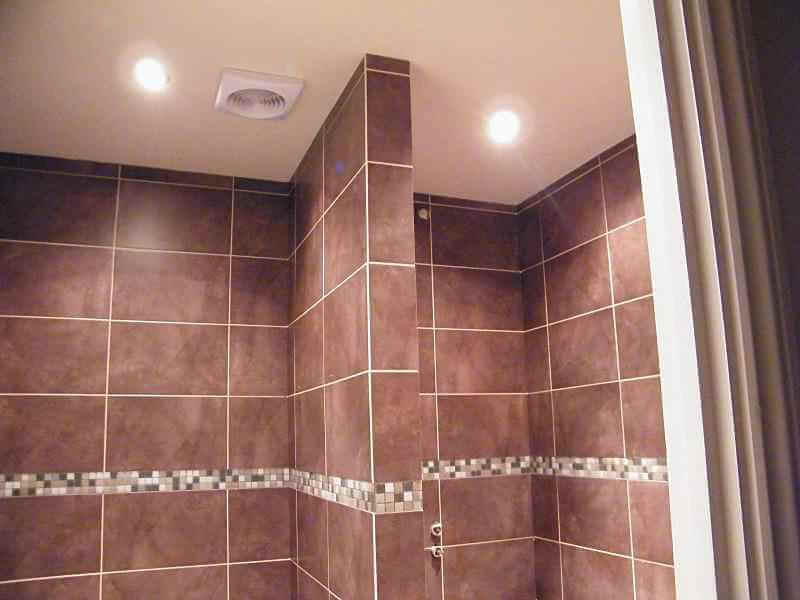
The ceiling was skimmed and painted with moisture-resistant paint and four downlights were installed. The tiles were grouted with epoxy grout in an Ivory color. The Grafix epoxy grout was supplied by Horncastle Tiles Ltd and was a two-part epoxy. The pot life of the grout, when mixed is about 30 minutes. The tiles were masked with tape to limit the amount of epoxy that had to be removed once applied with a finishing knife. Epoxy grout has been used to limit maintenance and maximize water resistance.
Installing the toilet and the sink
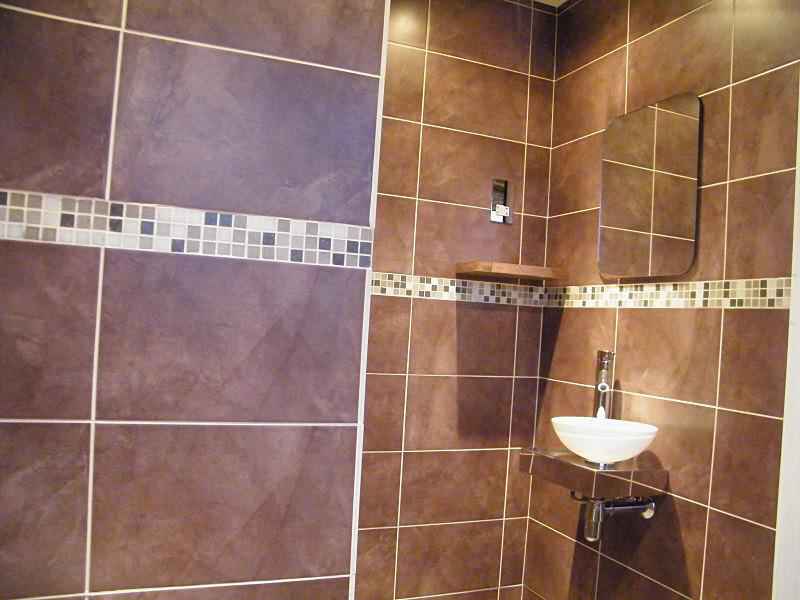
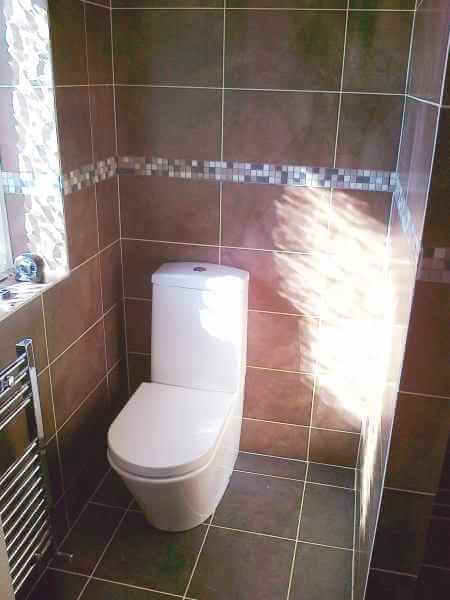
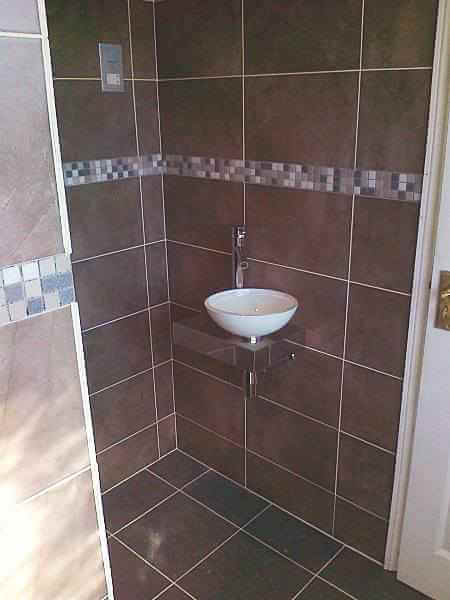
The toilet (Ceramica Genoa Close Coupled Toilet) was sourced from http://www.plumbworld.co.uk and the sink (Savona Glass Wall Mounted Basin) was sourced from http://www.clickbasin.co.uk have now been installed. The non-standard 30mm chrome waste pipe on the sink was fitted to the 32mm plastic waste pipe in the wall with some Fernox LSX around the joint. Some caulking was also put over the top to hold the chrome pipe collar in place, where the pipe goes into the wall.
Finished wetroom
The epoxy grout has now been applied. The grout used was a two-part epoxy in Ivory made by Grafix and supplied by Horncastle Tiles http://www.tile-dealerhq.co.uk. Using epoxy means the grout needs less maintenance over a longer period of time than conventional grout.
The grout is more workable when stored and mixed at room temperature with a pot open time of about 30 minutes – although, it starts to get a slight rubber-like texture at around 20 minutes. Always mask the tiles with masking tape when applying the epoxy. This involves a lot of masking tape but means that larger areas can be grouted with one mix. The epoxy is worked well into the gaps and then once the masking tape is removed, is wiped over with emulsifying pads and rinsed in warm soapy water. Work on all the vertical lines first and then the horizontals. Because the epoxy sets very hard and has very strong adherence, use it to seal the floor and wall joints around the shower area. For the rest of the floor and wall, joints use Mapei’s Mapesil in Vanilla.
To clean and protect the tiles, the two products used were from LTP called Grimes and Glaze Protector which you can source from Tile Giant http://www.tilegiant.co.uk.
