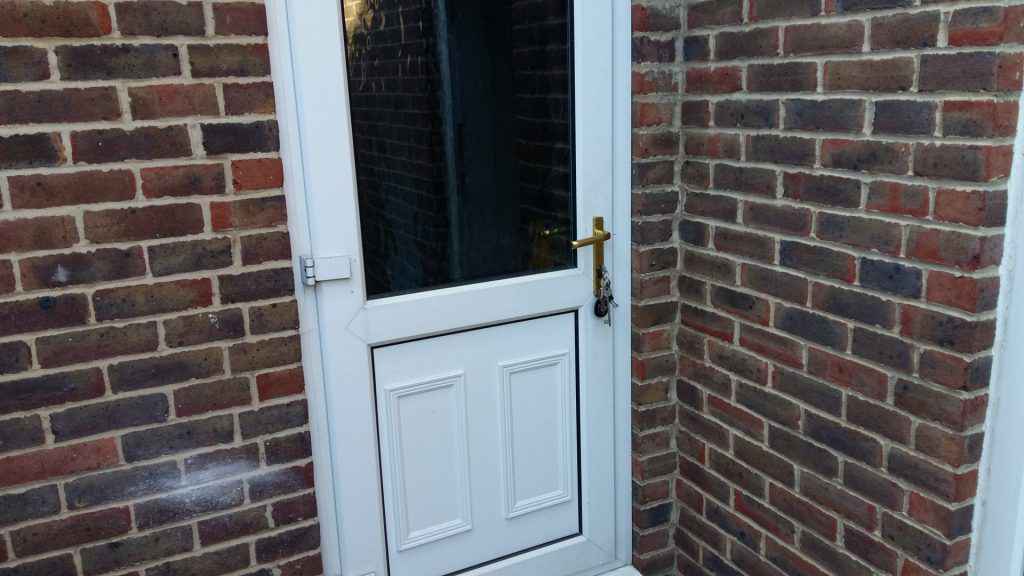
The deadlock in this uPVC door failed so it was time to replace it with a new one. For the most part, there are a couple of variants for the dimensions of Euro Profile door mechanisms. The faceplate can be 16mm or 20mm in width and the depth from the centre of the cylinder to the faceplate can be 35mm or 45mm. This one was a 16mm faceplate width and 35mm cylinder depth.
First, unscrew the handles and take the bolt out of the faceplate that keeps the Euro Cylinder in place.

Then using the key adjust the revolving cam inside the Euro Cylinder to be in the downward position and pull the Euro Cylinder out. This will be used in the replacement system.
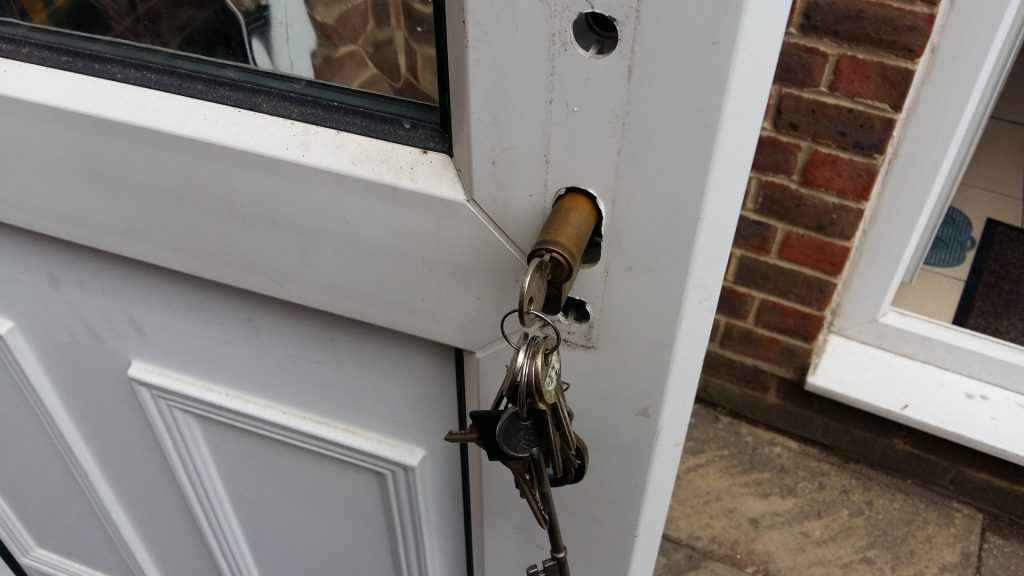
Then remove the face plate. Some times there can be separate face plates for the hooks at the top and bottom and the latch and lock in the middle. The replacement for this system has separate plates so the latch and lock plate is offered up first. The existing housing in the uPVC door needs some adjustment so that is cut using a drill and multitool to fit the new latch and lock case.
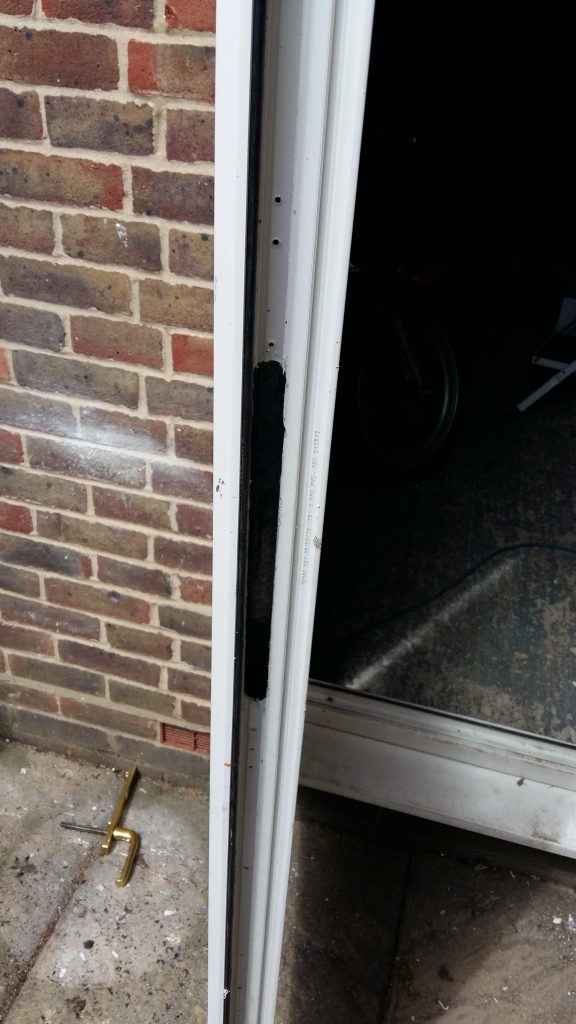
Once the lock case fits into the door then pilot holes are drilled in the door in the positions where the screws will be fitted to secure the faceplate. The screws are then put into the faceplate and tightened up. At this point put the Euro Cylinder is put back into the lock case using the key to make sure the revolving cam is in the downward position and the bolt is screwed back in to secure the Euro Cylinder.
Put the spindle back through the latch and place the handles back on the door and do up their retaining bolts. Make sure the latch and deadlock move freely when turning the handle.
Offer up the latch and lock plate keep to the frame and make sure the existing keep housing in the door frame is in the right position otherwise adjust as required. On this system, there is a datum line on the faceplate in the door that has to match up with a datum line on the keep.
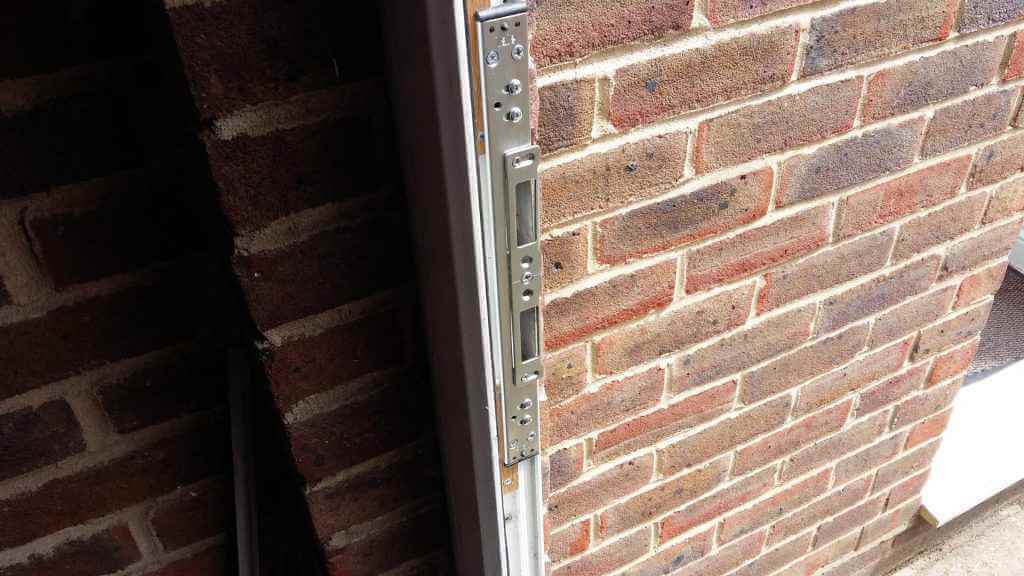
The keeps for this system have packing grub screws to allow a secure footing when they keep overlaps thinner keep gully’s of the old door frame but they are not long enough for these older frames so I used pieces of wood screwed into the metal part of the door frame by drilling pilot holes and securing the wood strips with self-tapping screws. Then drill pilot holes for the keep screws and screw the keep to the frame. Test shutting and locking the door and adjusting the keep plates as necessary with the grub screw adjusters.
This system has a roller as well as a hook to pull the door tight when turning the handle but some just have a hook. Offer up the bottom hook and roller face plate and adjust the housing in the door by cutting the uPVC as necessary.
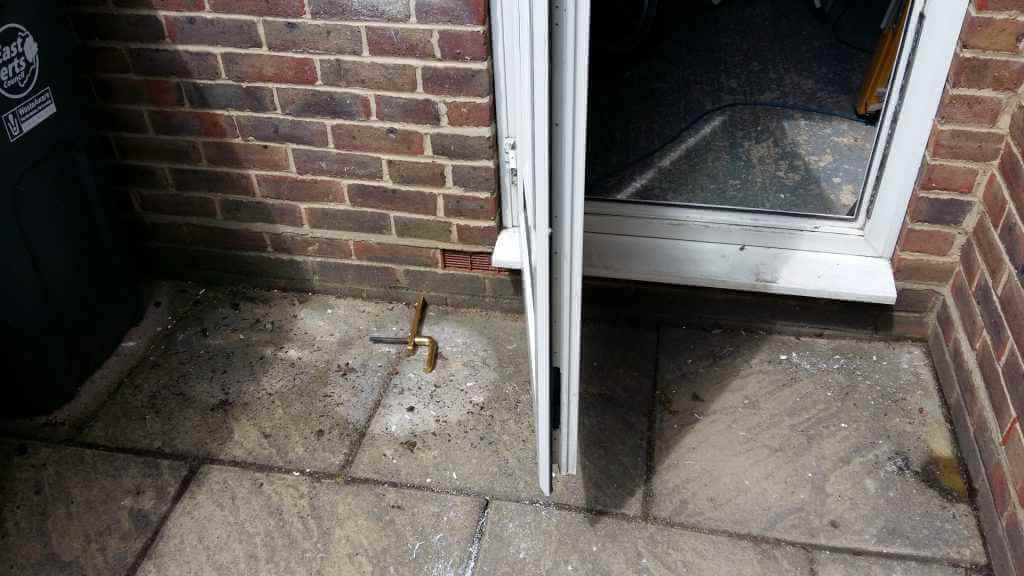
When offering up the hook plate make sure the hook is in the fully retracted position when you place the outer male toothed conrod of the hook face plate into the female toothed conrod of the centre lock plate.
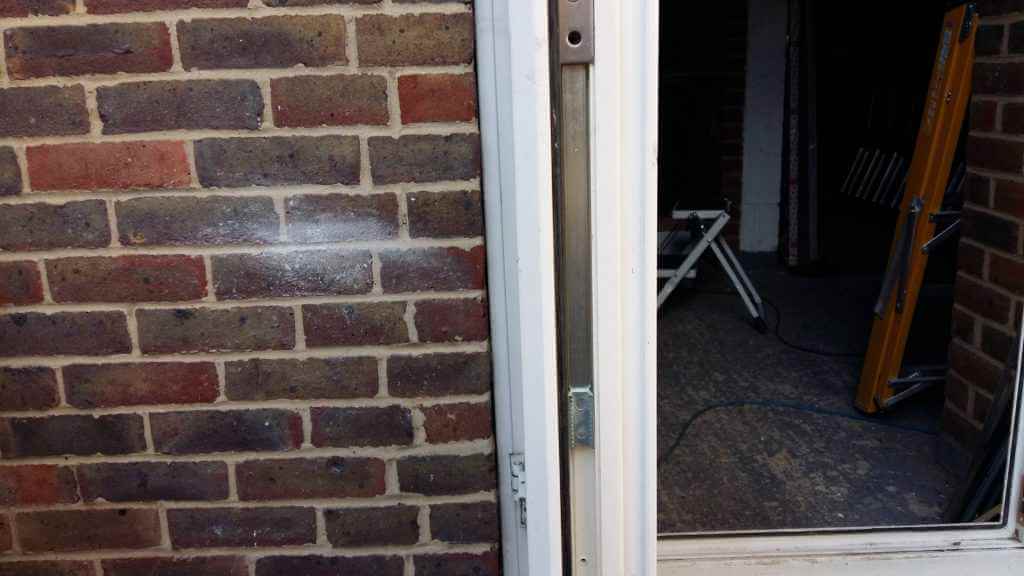
The hook unit case is also sometimes called the gearbox. When you are happy that the hook plate is in the best position to work with the centre lock plate and the existing keep housing in the door frame make pilot holes where the fixing screws should go through the door and then insert the screws and do them up.
This system has a cover plate which has a location pip which locates in the centre lock plate and then a grub screws into the hook plate to cover the join between the two.
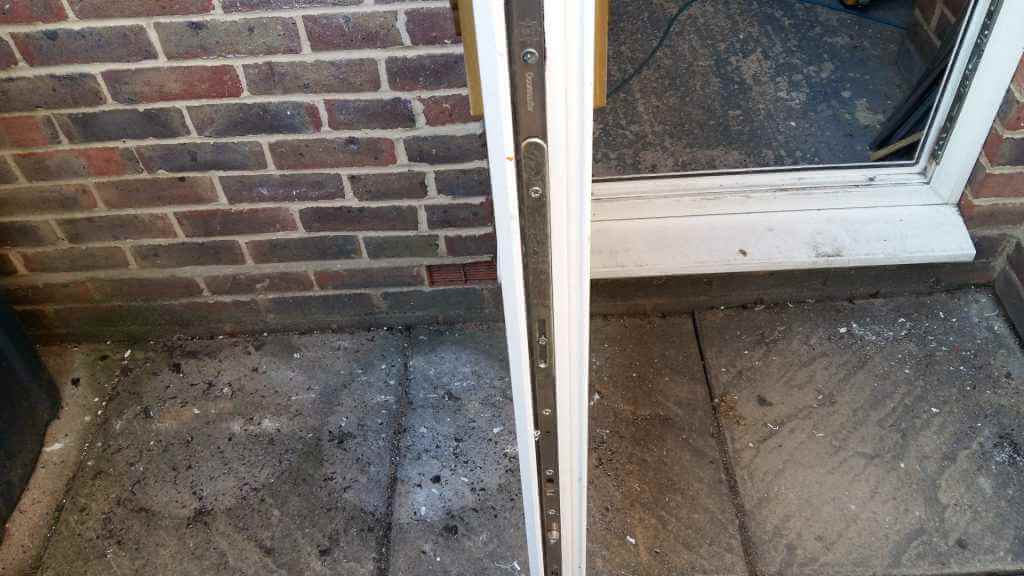
Go through the same process for the bottom hook plate keep as was applied to the centre lock plate keep and test the mechanism. Pay special attention to the hooks and that they clear the bottom of the keep when closing. Repeat the process for the top lock plate keeps.
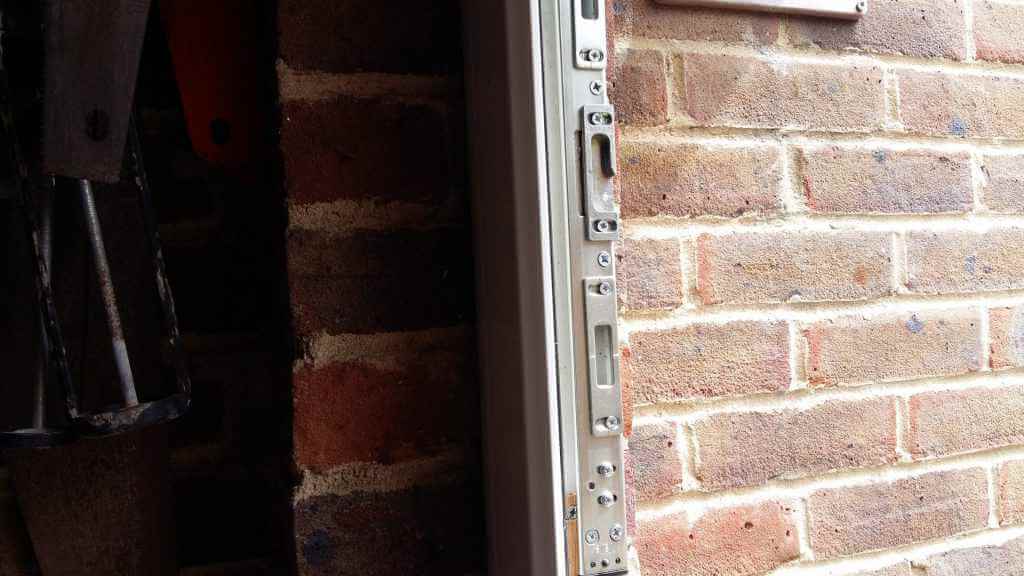
Top Hook and Roller keep fitted to the frame with packing

You can also read – GIVE YOUR WALL A TOUCH OF LUXURY WITH A BOARD AND BATTEN PANELLING STYLE MAKEOVER
