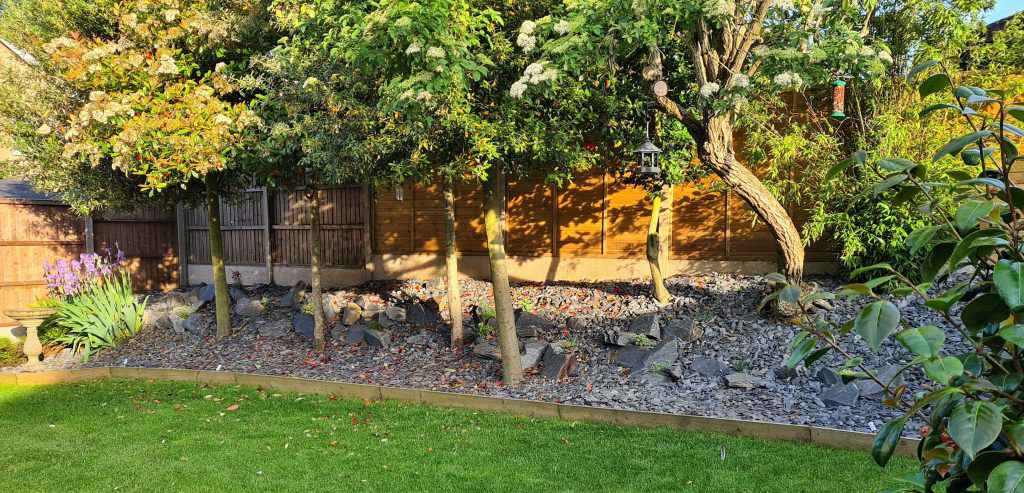
Do you have a bare slope on your property that is hidden by trees and partly in the shade? If so then you probably find it difficult to get plants to grow especially if you have trees growing on the slope.
Trees tend to drink a lot of water so any plants that are growing in and around them have to fight for the nutrients and the light that they need. The ground tends to become very hard and compact and the only things that seem to thrive in this environment are the weeds.
It can be really frustrating trying to maintain such a piece of ground so that it looks good all year round and doesn’t need constant attention.
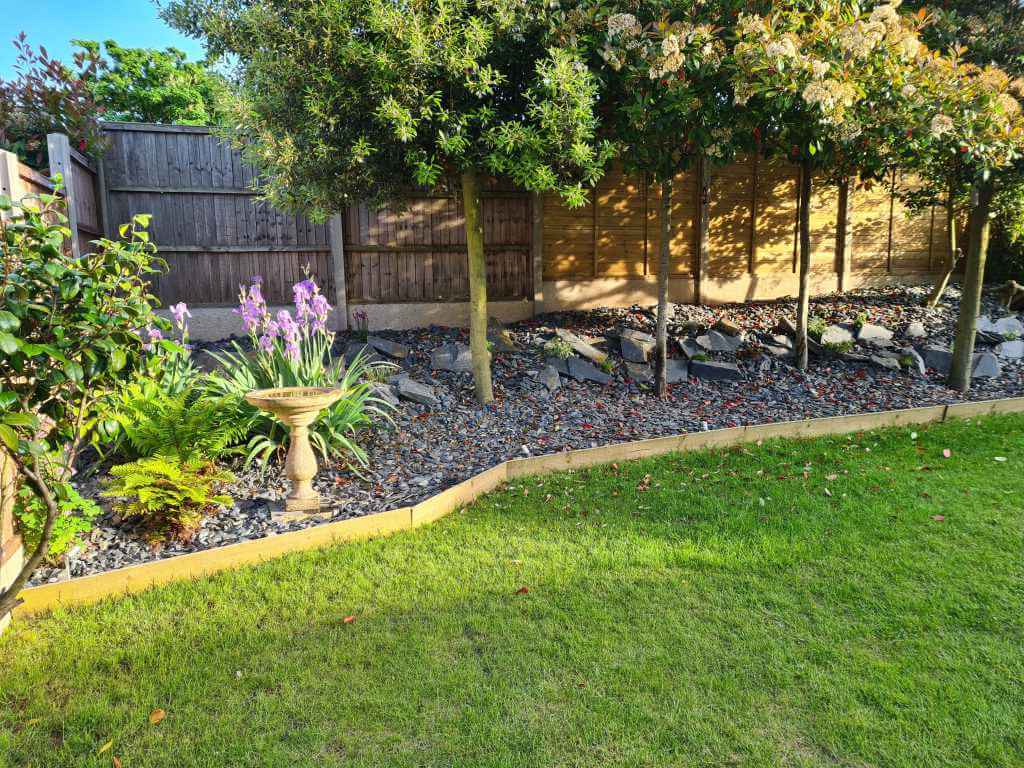
We had a project to landscape just this sort of area and decided that a rockery was the ideal solution. We could infill the stones with alpine plants that would add all-year-round interest to the space but wouldn’t need a huge amount of tender loving care in order to thrive.
The first stage of the project was to calculate how much material was required and place an order with the suppliers. The slope in question is approximately 25 square metres. Using an online aggregate estimation tool and adding a reasonable amount for good measure I calculated that we would need around 3 tonnes of 40-millimetre slate chippings to cover the entire area.
The supplier we used delivered the chipping in 3 formats, loose, palletised in one giant bag or in small 20 kilogramme bags also on a pallet. From personal experience, it’s much easier humping aggregate when it’s delivered in small bags and can be easily lifted and wheelbarrowed to its required destination. Shovelling loose slate from a pile into a barrow is back-breaking work. In this instance, we ordered 3 tonnes of the large bulk bag as this was a bit cheaper than the multi-bag option.
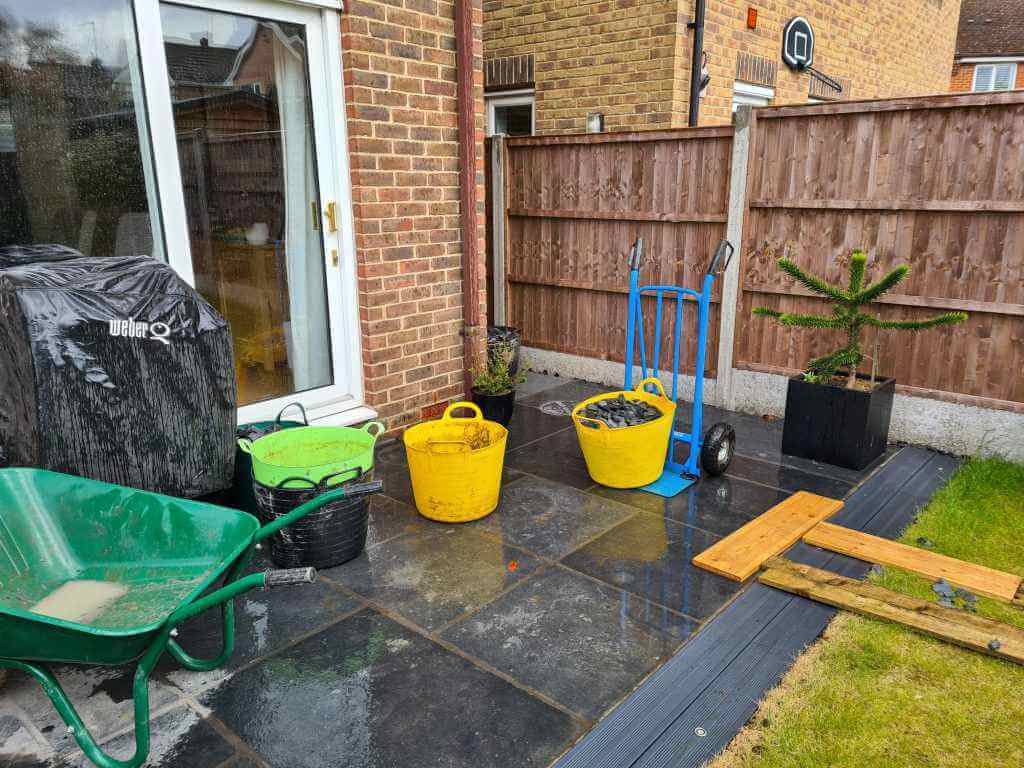
No rockery would be complete without the large rockery stones themselves. The supplier that I was using for the slate chippings also did a 1-tonne caged pallet of large grey slate rockery stones. The order was placed and delivery was set for 2 days from the date of the order.
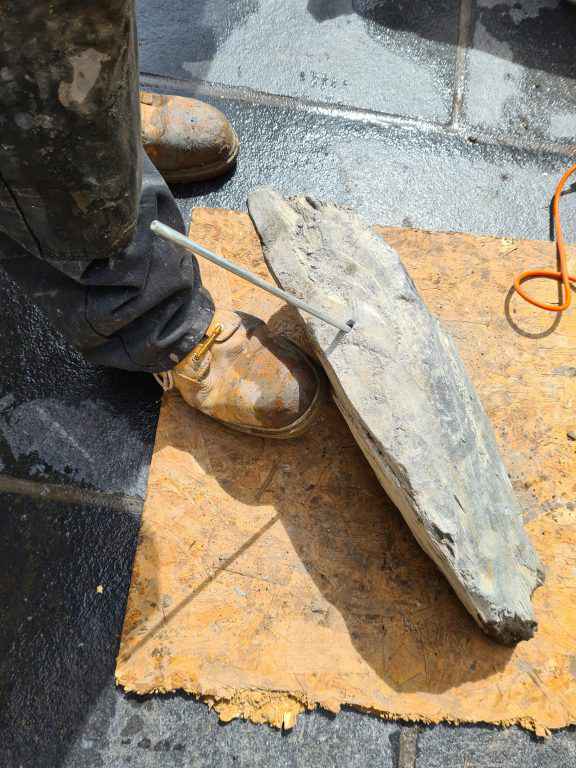
For the retaining edging, I decided to do it in treated 19 x 150 timber. A breathable and permeable membrane would be laid to help prevent weeds from growing. Because the slope is quite severe in places, I decided that in order to prevent the large rockery stones from rolling down the slope after they were placed in a position that I would drill a hole in some stones and insert a steel round bar which would be driven into the ground and hold the stone in place.
The round bar I sourced as a 6 millimetre chromed threaded bar at a reasonable price from a well know trade counter along with a diamond-tipped drill to put the holes in the stones. I also placed some of the 18 x 150 timber strategically along the slope to give the stones some support in particularly steep areas.
The first job was to clear any existing weeds from the slope and then roughly place some of the large stones to get an idea of how they would look and make sure that the 1 tonne of stone was evenly distributed.
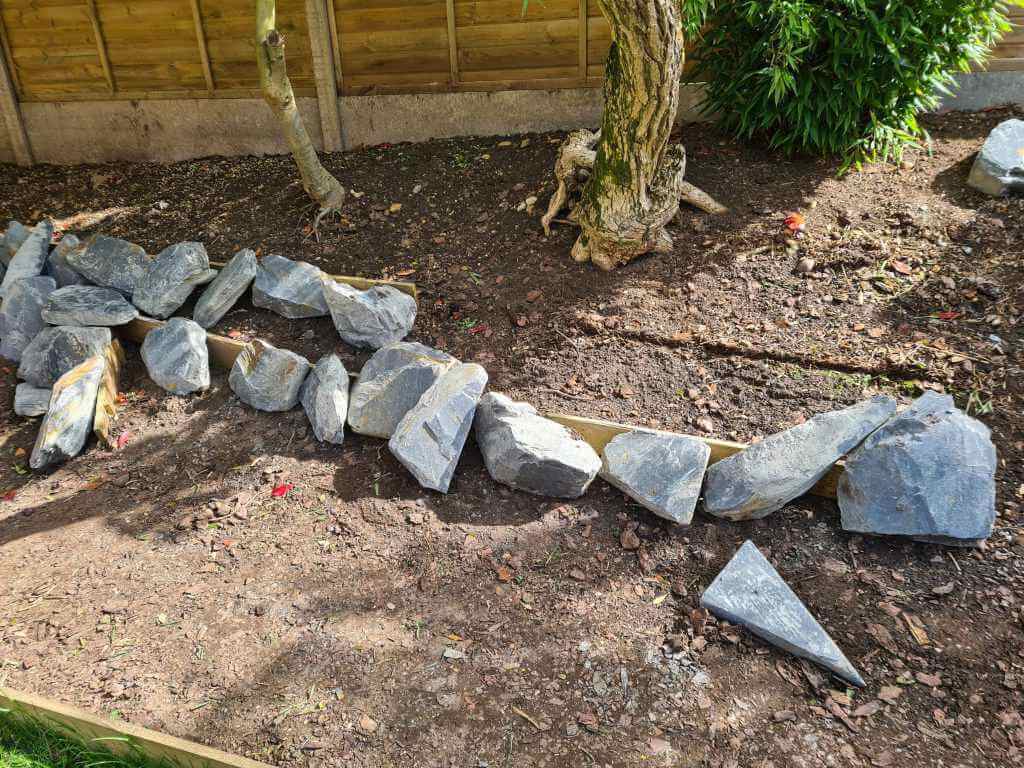
The next job was to cut and lay the membrane. Use a few stones to hold the membrane down or some long pins that can be purchased online.

Then it was time to start placing the large stones permanently. Any that were in a precarious position on the slope I drilled a hole in the bottom and inserted the round bar.
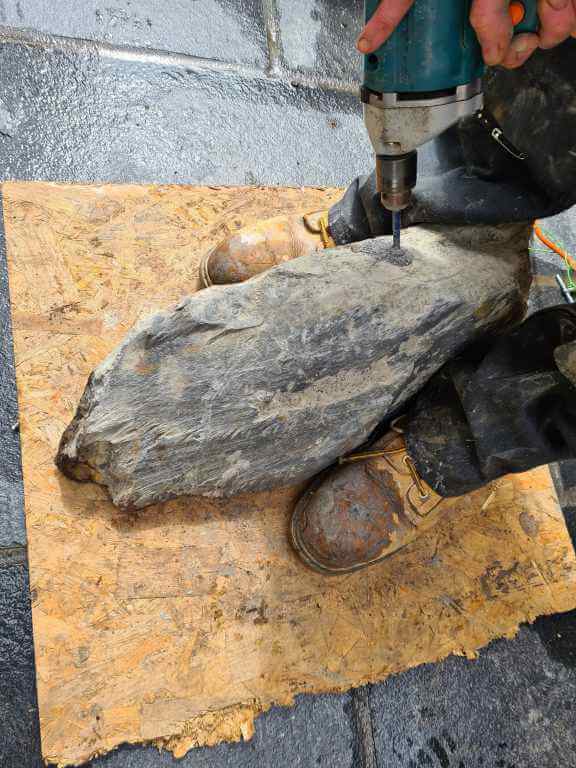
The round bar was then driven into the ground to support the stone and stop it from running away down the slope. Other stones were then placed around the supported one to create a clump of stones.
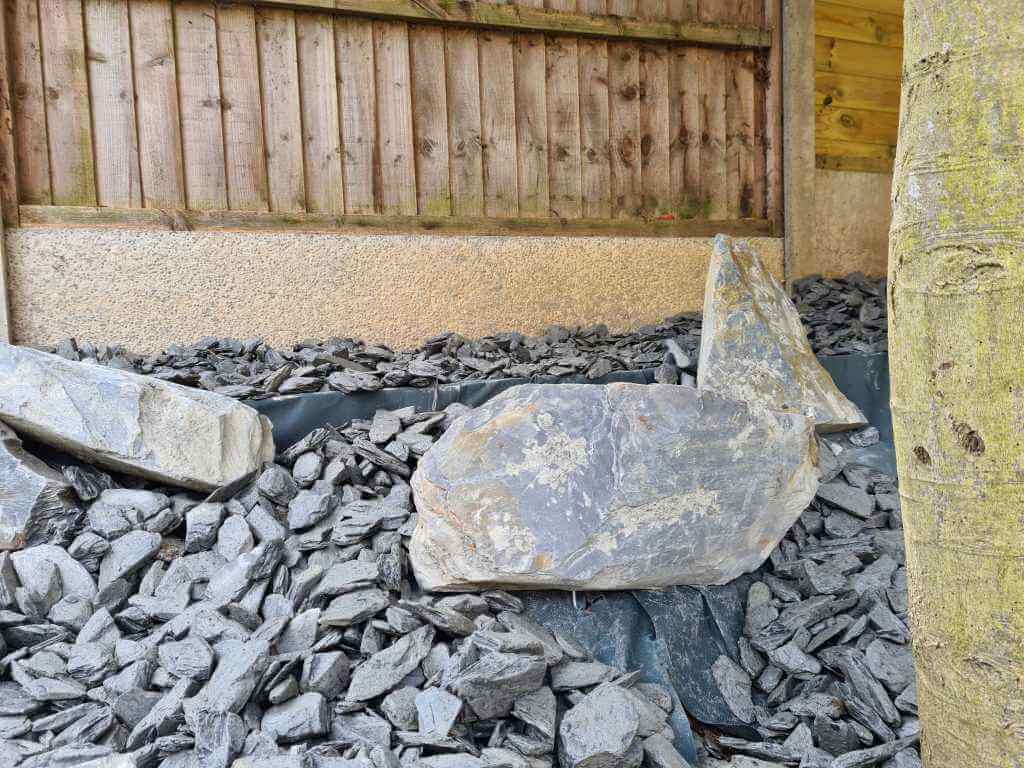
Once all the large stones were in place it was time to start spreading the chippings around. I started from the bottom up so that the chippings were supporting each other as they were applied further up the slope.
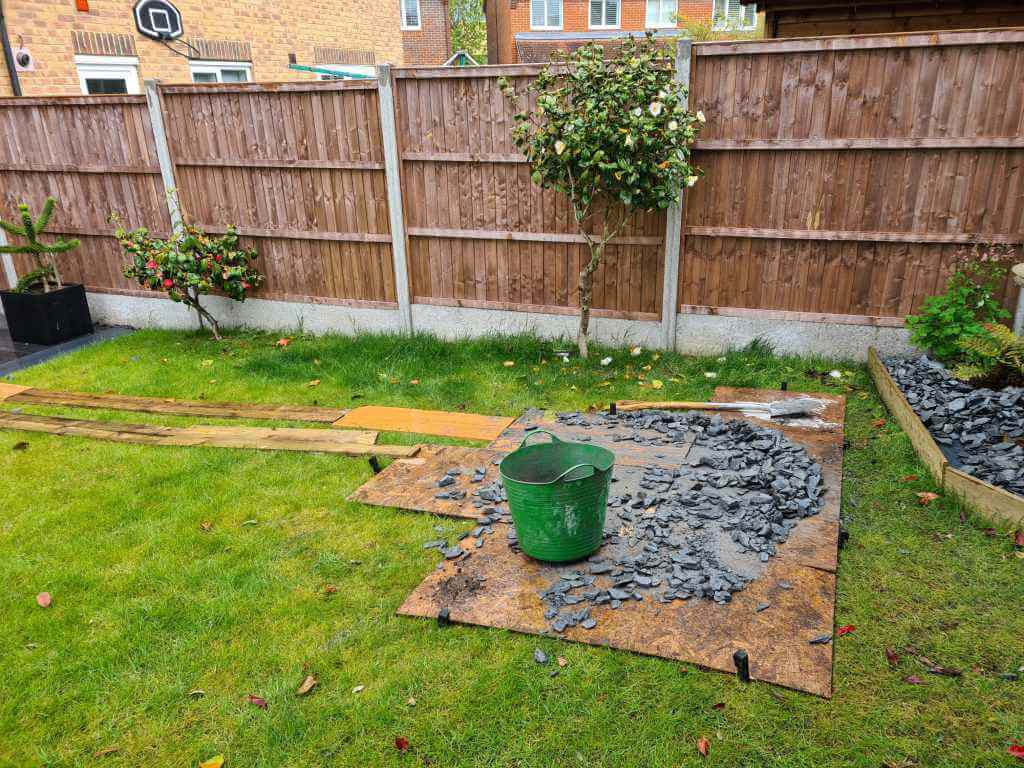
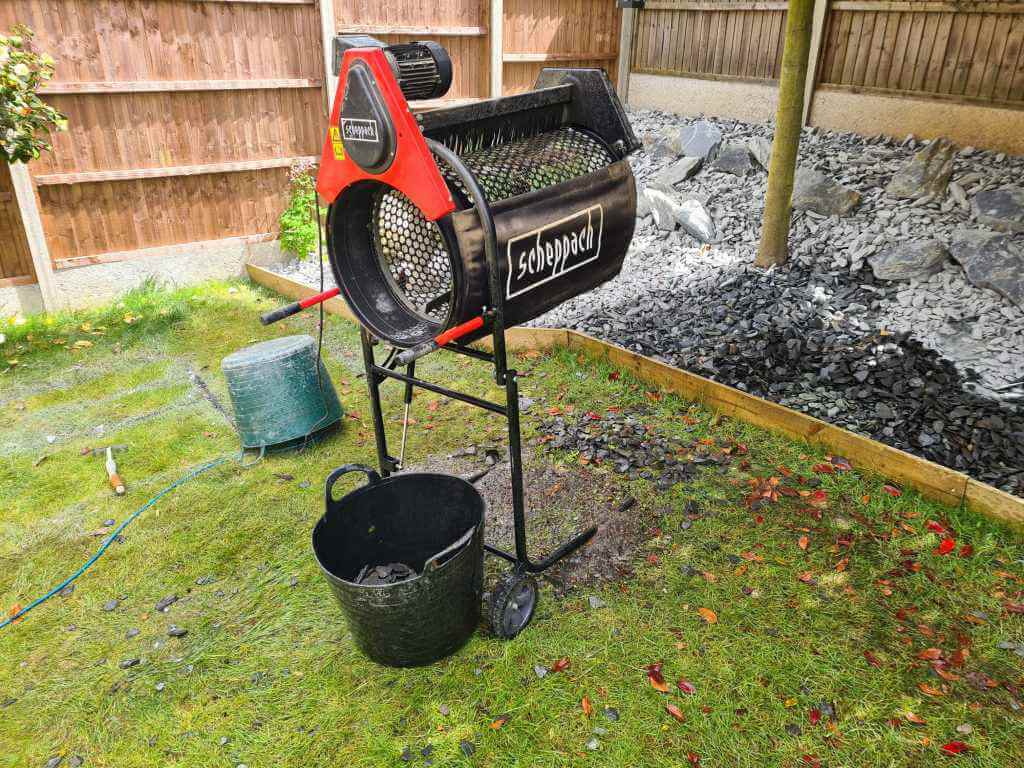
We also had some chippings that we had collected from clearing another project but these chippings had been laid for quite some time and were covered in earth, mulch and roots from other plants so we used an electric sieve to wash them down in order to prepare them for putting on the rockery.
Once all the chippings had been spread over the slope we washed them down to get rid of the slurry that is made during manufacture.
The final stage was to insert some alpine plants into the crevices of the stones, we chose alpines that flowered at different times to give year-round appeal with a mixture of different coloured flowers and bright green foliage to add contrast and made sure they were ideal for shady or partly shaded locations.
You can also read –
