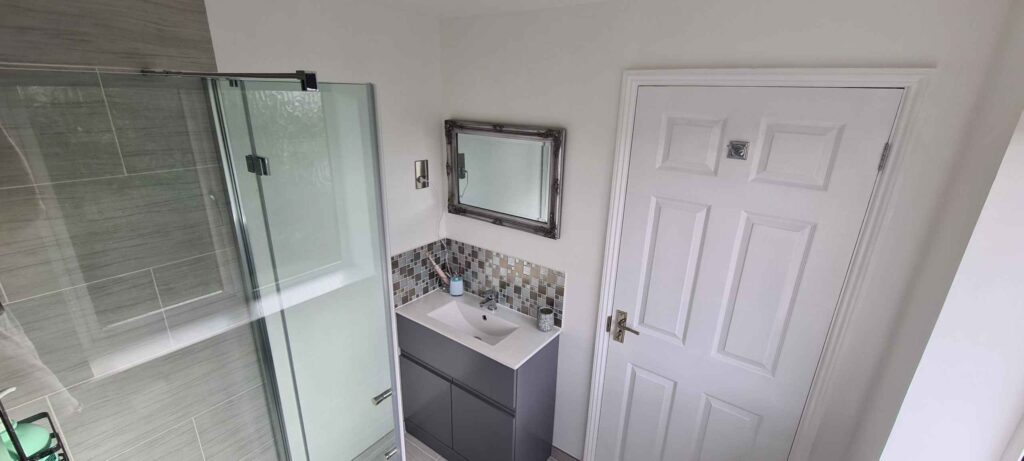
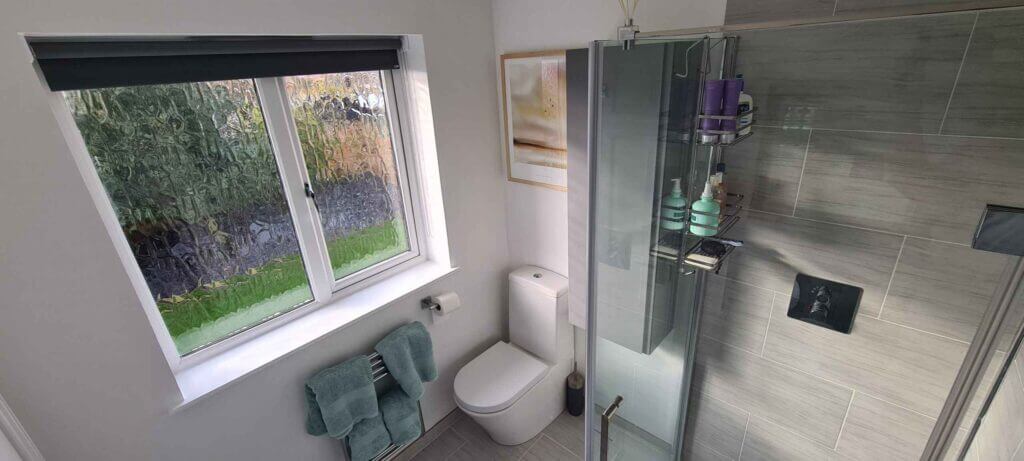
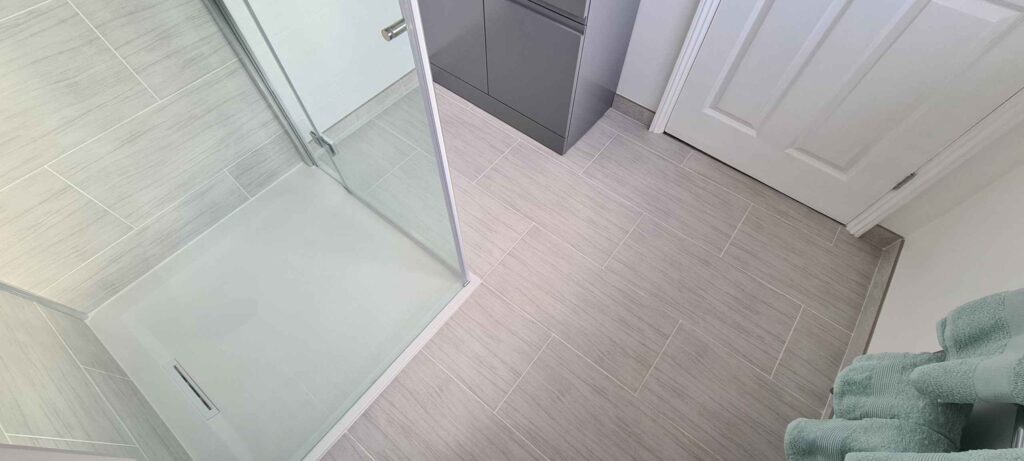
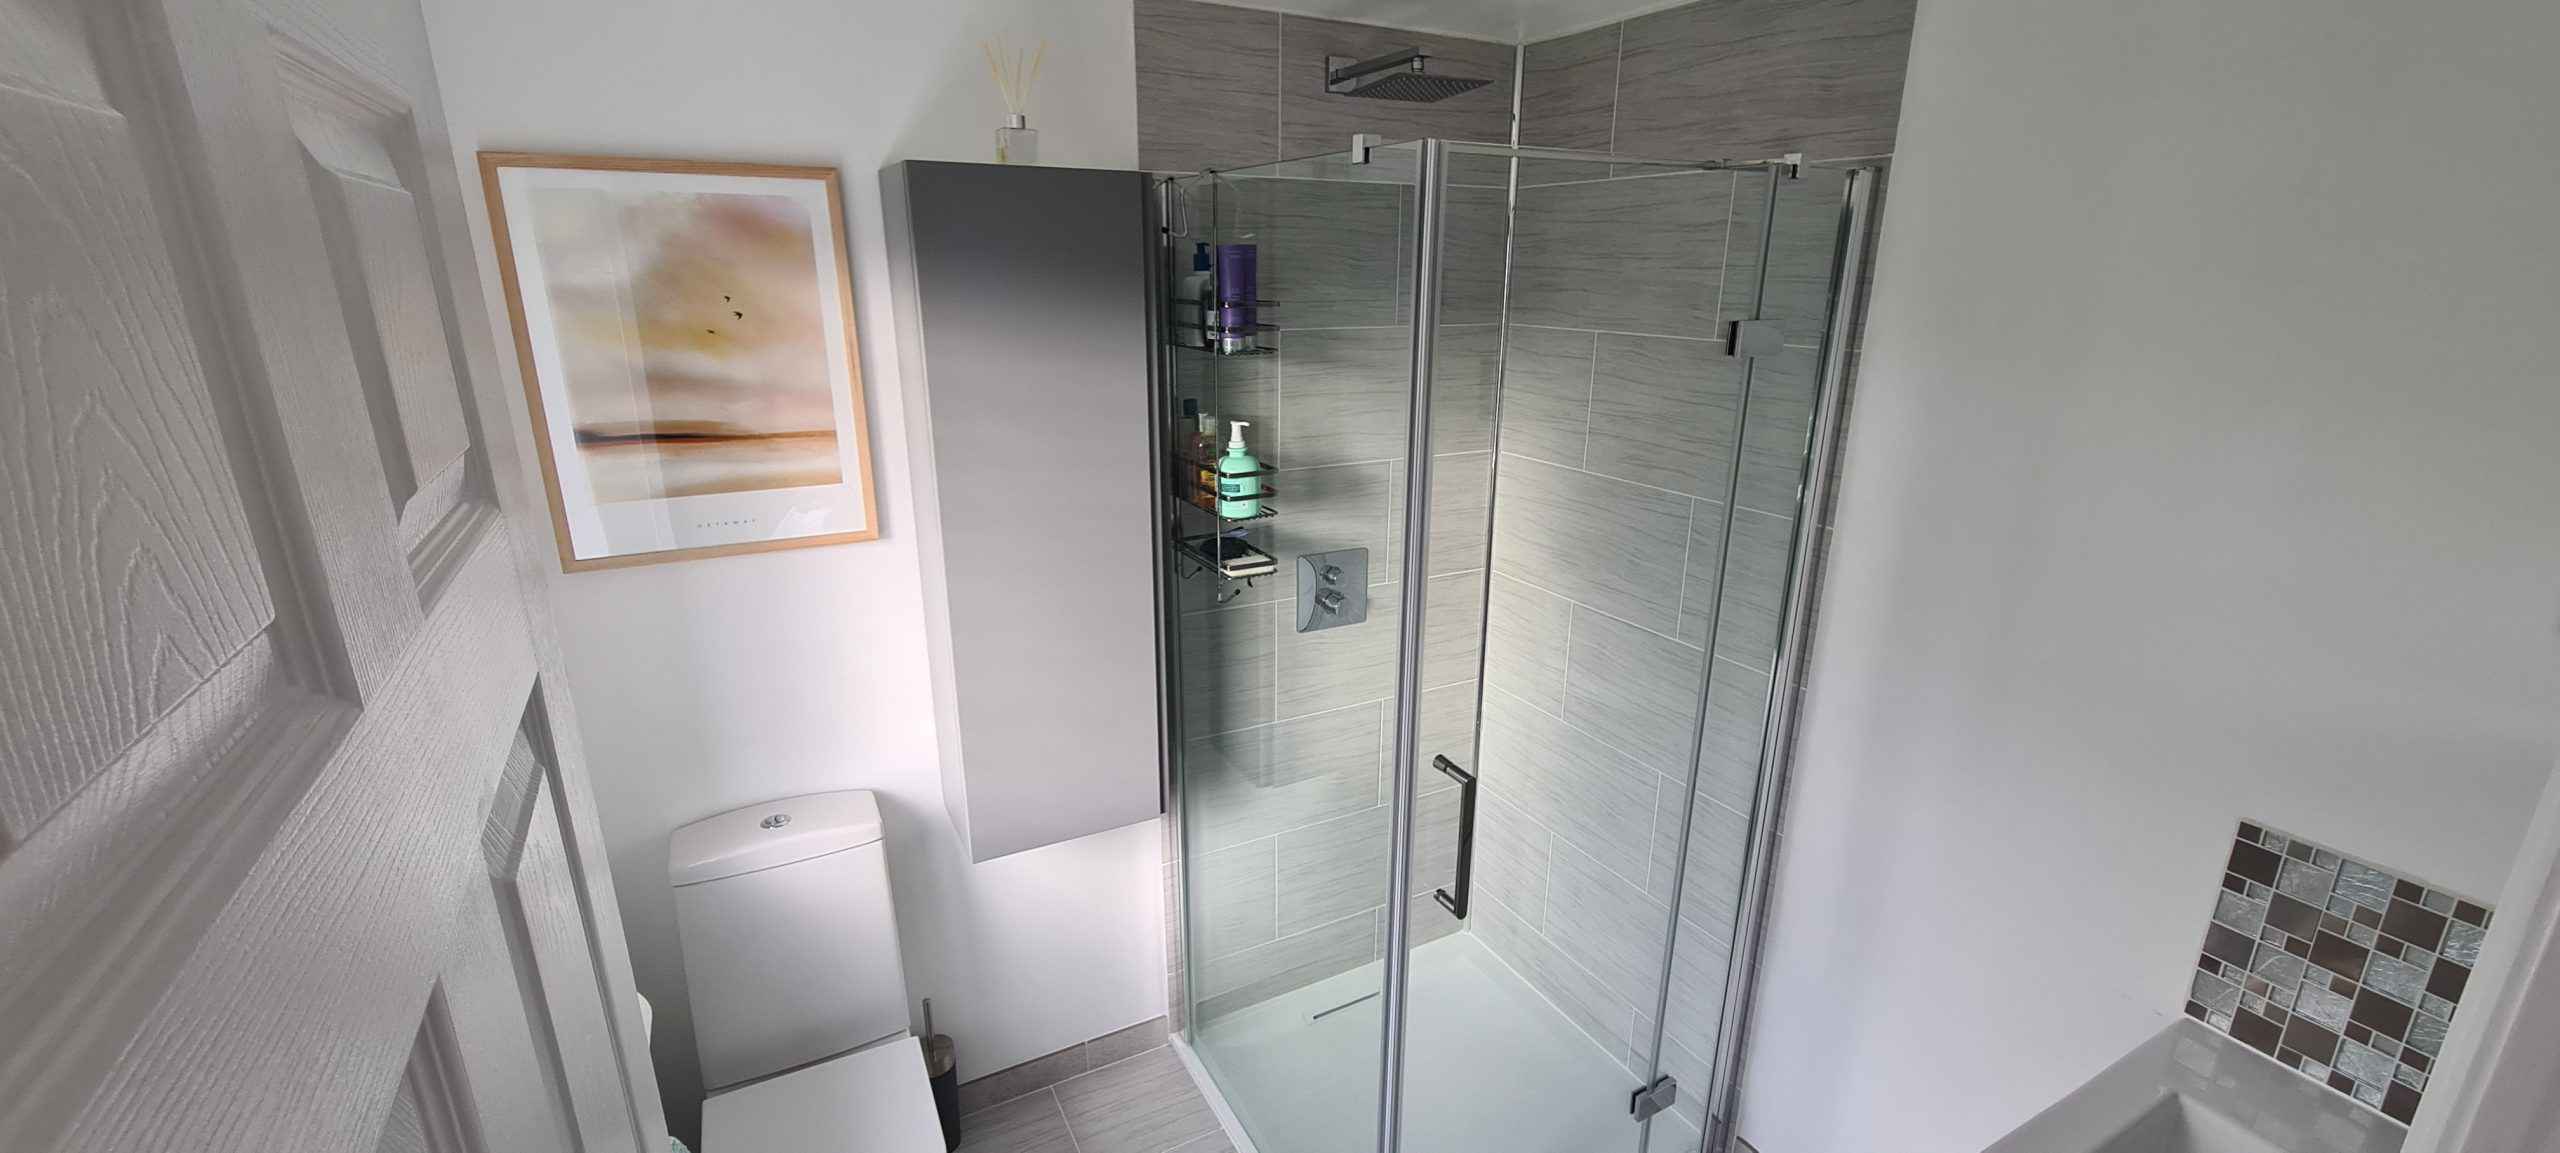
This wetroom was tired and in need of a total makeover. The previous reno had included making the ensuite into a wetroom. The entire room had been tiled and a stud wall erected between the WC and the shower. The original slate tile floor had been over-tiled with travertine mosaic tiles.
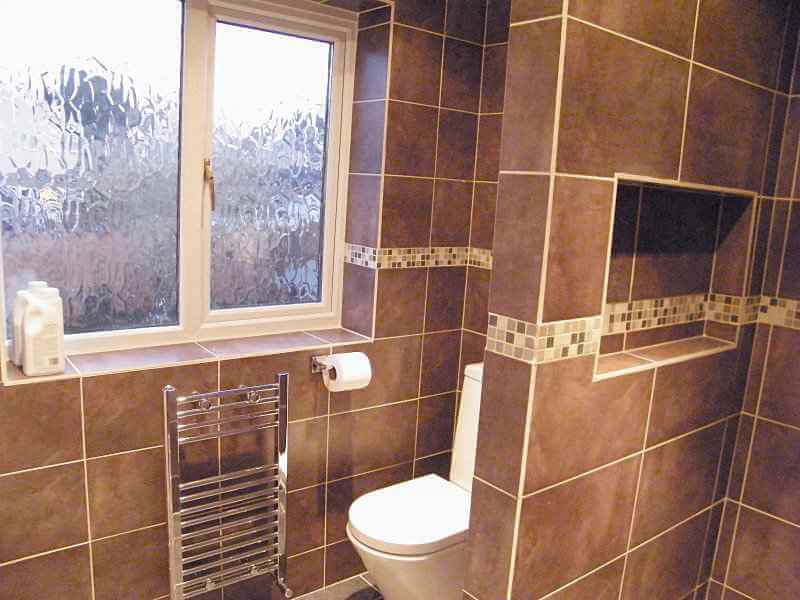
First job involved taking out all the fixtures and fittings, WC, basin, cupboard, radiator etc and then cutting the stud wall out in sections as it was tiled on all sides so was quite heavy. A reciprocating saw with a bi-metal blade was used and as with all the rip-out jobs that involve power tools full PPE was worn including a P3 respirator half mask, protective goggles, gloves and ear defenders. The skip outside very quickly started to fill up. During the ripout we kept the door taped up to minimise dust spreading to the rest of the house. An M-Class Hepa H13 dust extractor was used to hoover up the dust and debris from the floor.
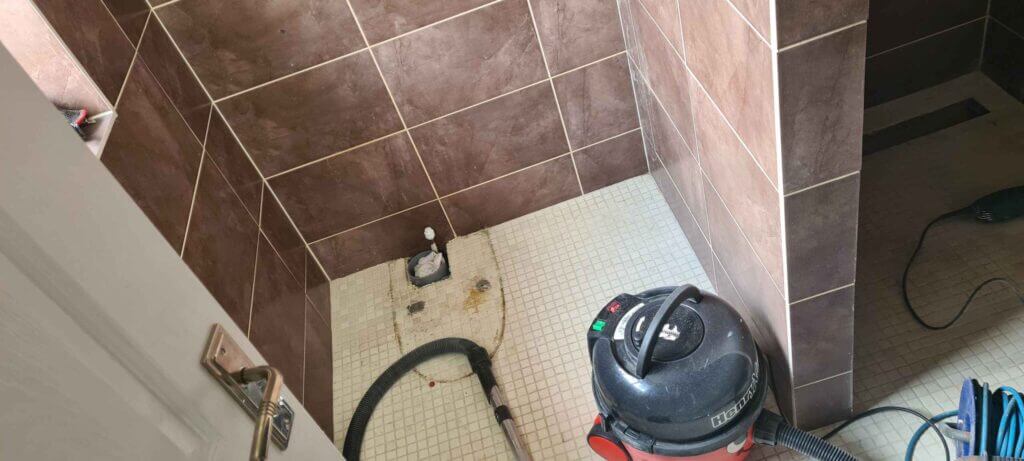
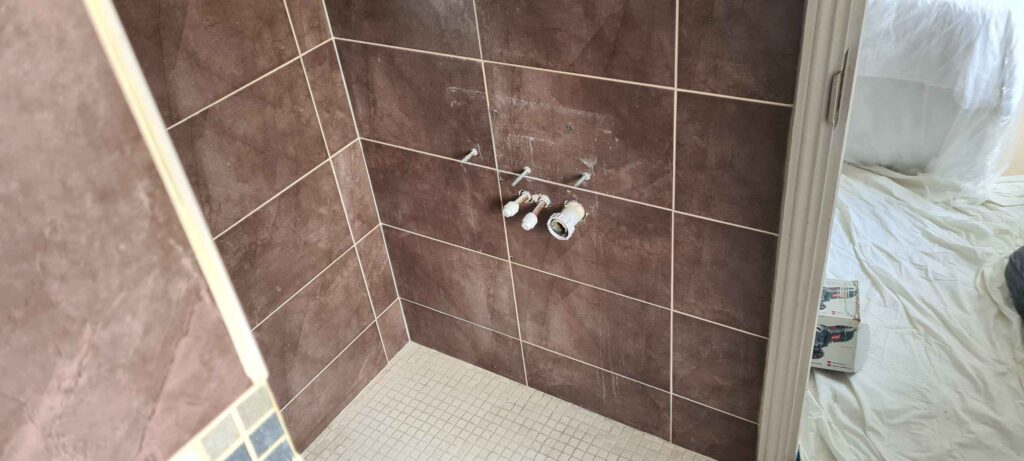
The next job was to break up the mosaic tiles that had been laid over the original slate tiles. For this we used an SDS breaker drill with a fairly large chisel bit in hammer mode. Once the mosaics were gone it was time to tackle the slate tiles underneath. These had been laid on cement fibre board for which care needs to be used when taking it out, you definitely don’t want to be breathing in any of the dust. A bolster and cold chisel were used to pull up the tile and backer board.
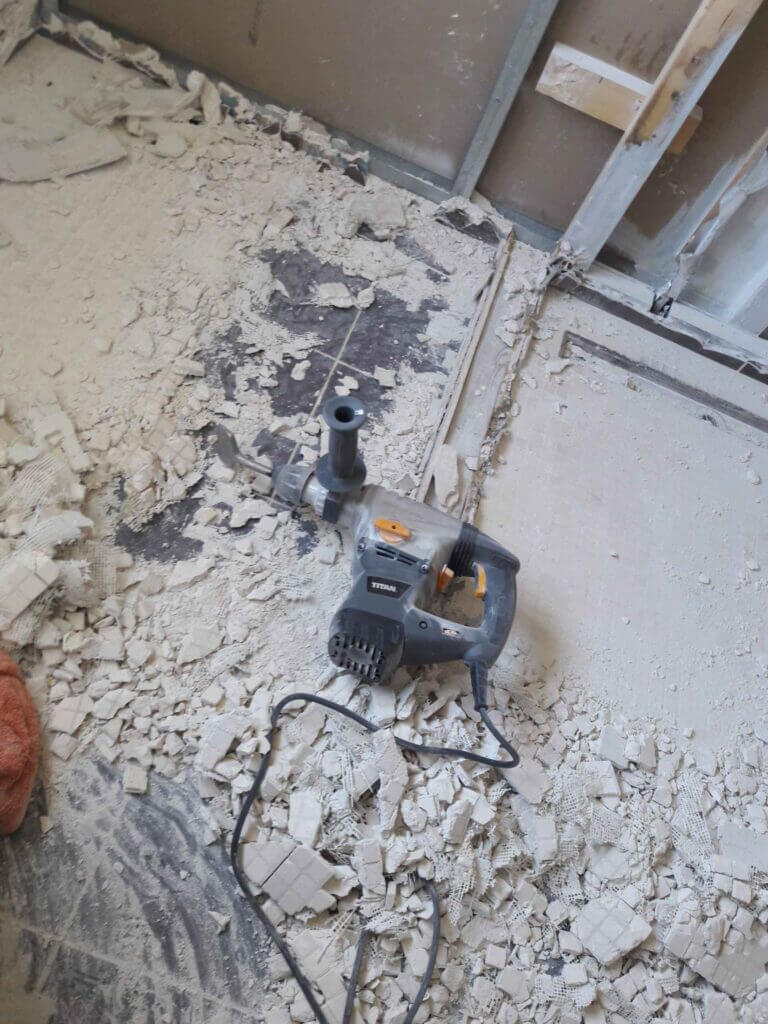
Once the floor was up it was time to remove all the drywall. The power to the upstairs sockets and lights was turned off just while the plasterboard was being removed. There is no point in trying remove tiles that have been properly fixed when the substrate is plasterboard as the gypsum boards just fracture and break when any kind of pressure is applied with a tile chisel. Also care was taken with removing the drywall as metal friction fix studwork had been used to create the room walls and it’s easy to knock it out of true. The shaver point supply was made safe by fixing the exposed ends in a junction box.
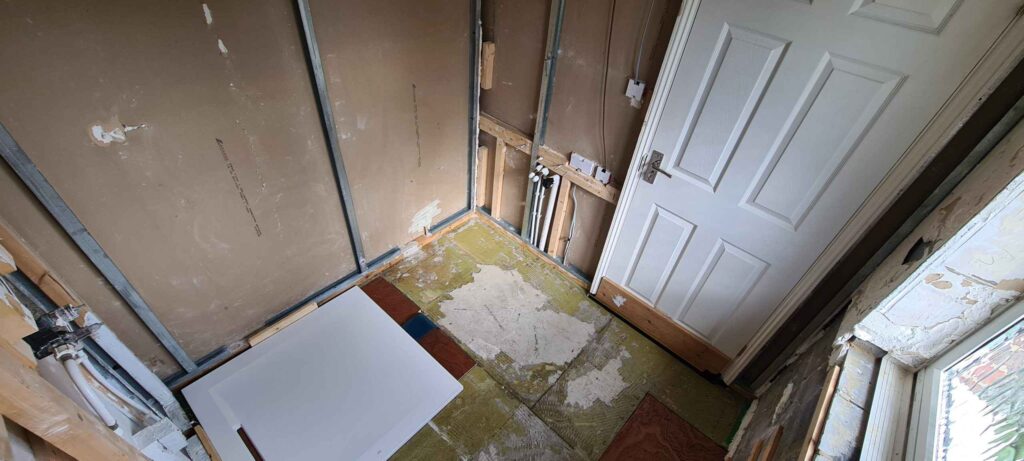
Now with the room stripped back to the studwork it was time to start sorting out the plumbing. The floorboards were cut with a circular saw set to the correct depth of the 20mm tongue and groove boards. The 10mm plastic central heating pipes were cut back and pipe inserts installed with 10mm to 15mm push-fit couplings used to connect to 15mm plastic into elbows and then into the new valves.
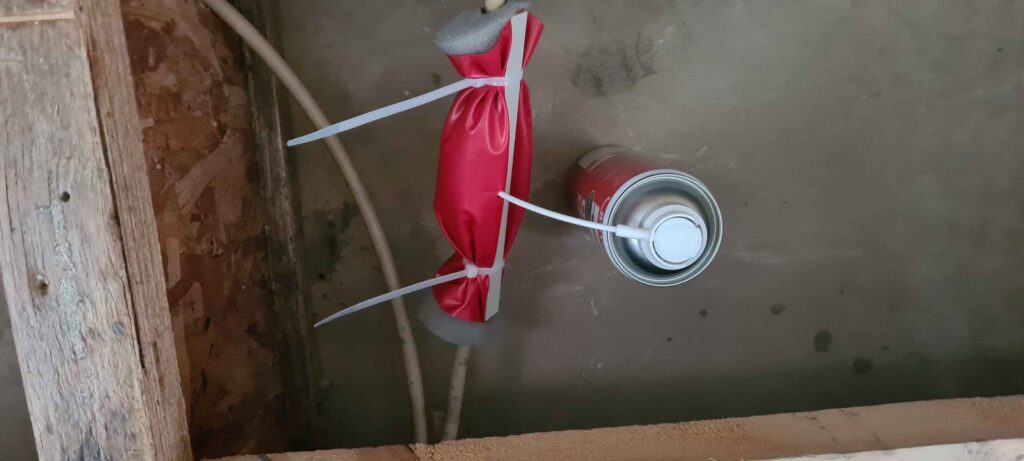
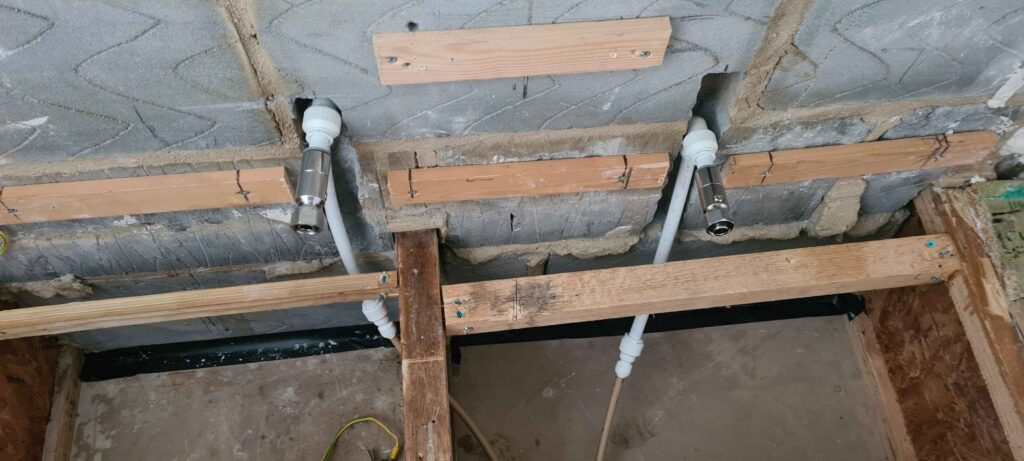
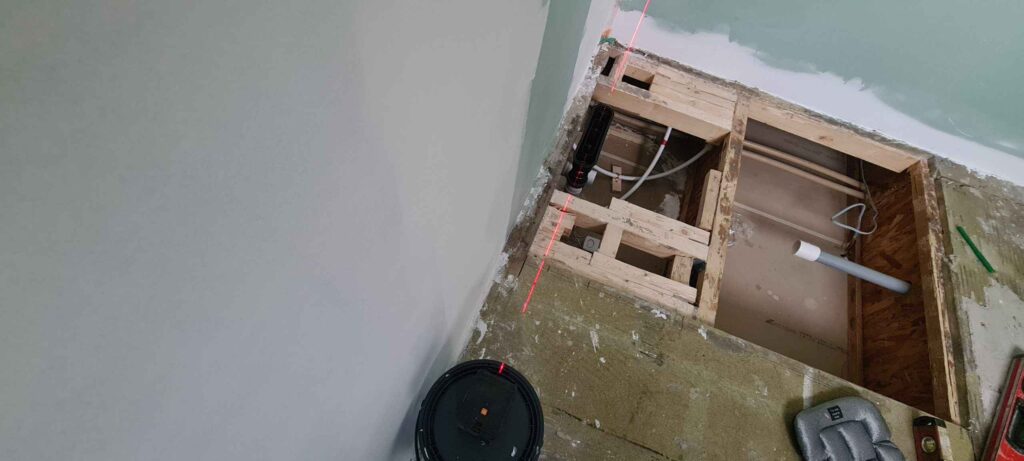
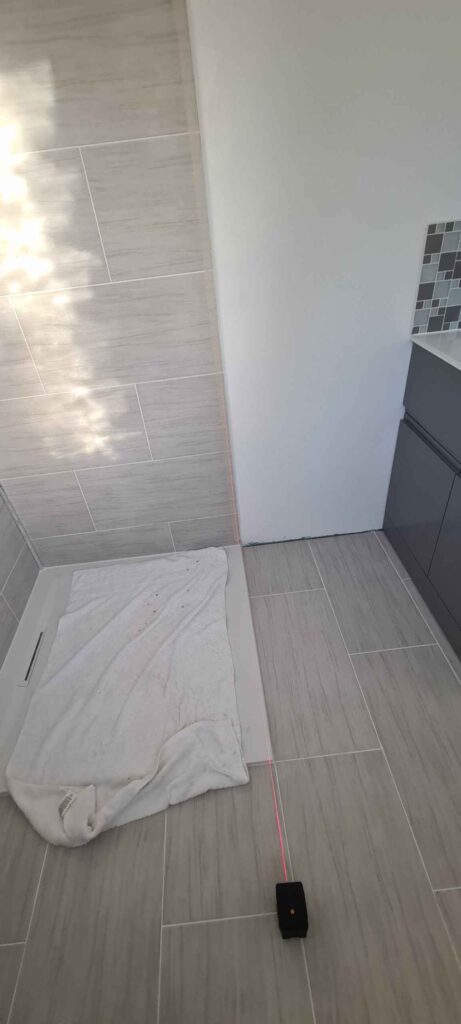
Another hole was cut out of the floorboards so that the waste pipe for the shower could be adjusted to fit the new drain on the flight level shower tray. The drain exit on the tray needs to be aligned exactly with the down pipe that goes into the 40mm waste pipe. The position of the pipe and drain was lined up with the use of a laser level to mark the exact centres front to back and left to right and the pipes and elbows required to make the connection were carefully solvent welded in place.
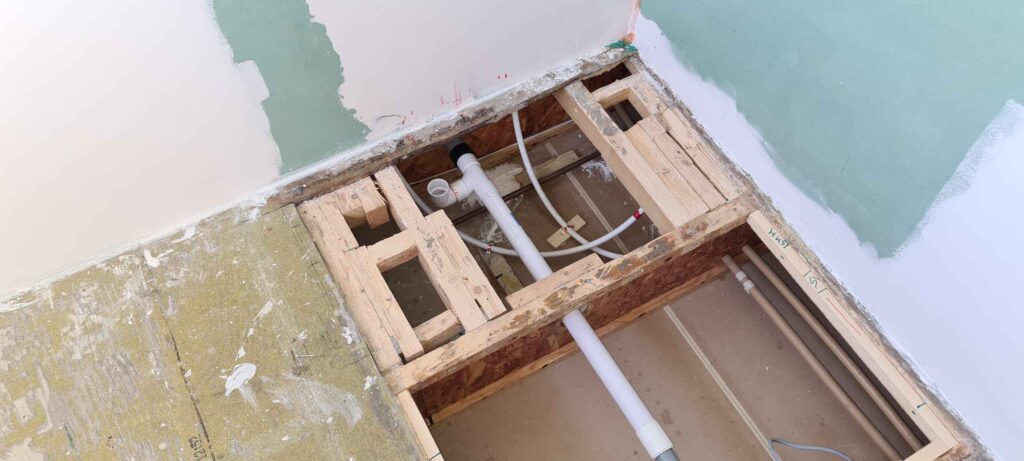
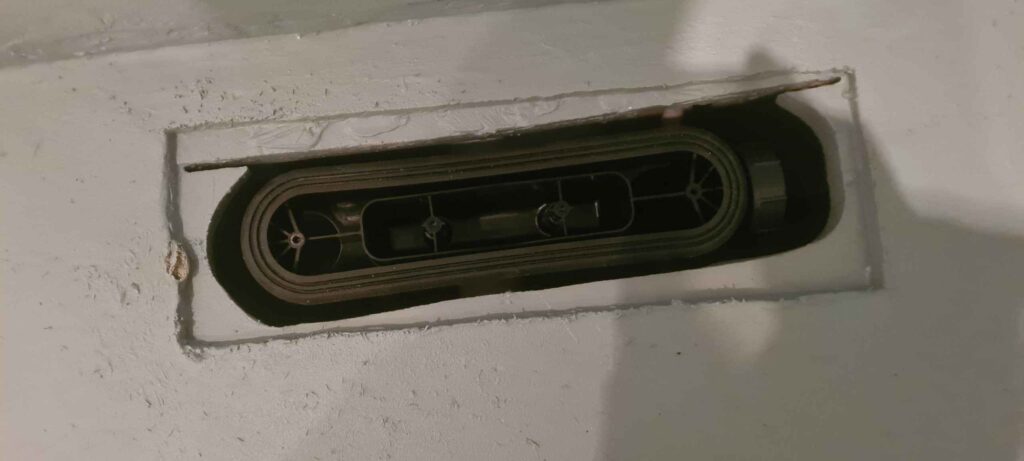
With the water turned off the hot and cold supply feeds for the shower valve were cut to length with 15mm plastic pipe into isolation valves and then a pipe bender was used to make the connection in copper pipe to the shower valve. The valve being installed is a thermostatic mixer valve that is designed to fit into a small 43mm cavity typically found in domestic partition stud walls. The valve was screw mounted on to a noggin screwed between to studs. The wall-plate elbow for the shower header was screw mounted to a piece of 6mm ply that was glued to the drywall on the inside of the stud wall and a copper pipe was run between the elbow and the shower valve. The water supply to the shower head elbow and the waste connection for the shower were tested before continuing with the closing up the floor and drywall.
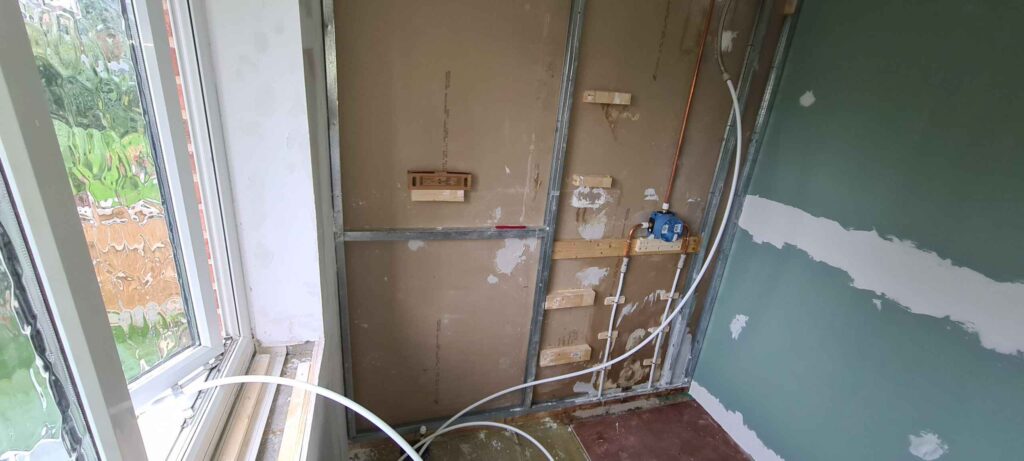
The tongue and groove boards were then replaced back into the holes that had been cut into the floor after new noggins had been screwed into the joists to support the cut boards. A hole had been cut in the board that was going underneath the shower tray to allow for the profile of the shower tray drain to pass through it and bee connected to the downpipe when the shower tray is fitted.The next job was to make sure the waste and supply feeds for the vanity unit basin exited in the correct position with isolation valves fitted ready for the tap tails when it came time to fit the basin.
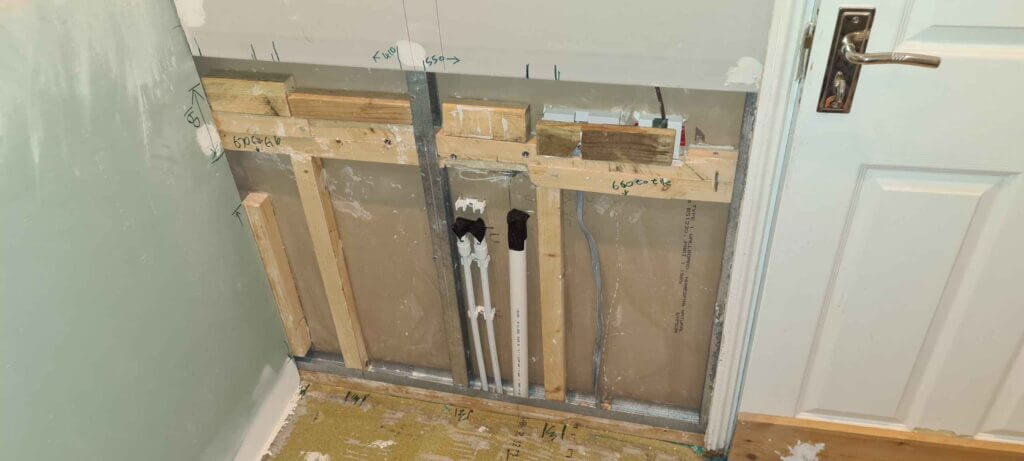
With all the major plumbing work complete it was time to dryline all the walls. 2400mm by 900mm by 12.5mm thick moisture resistant plasterboards were used to drywall the entire room.
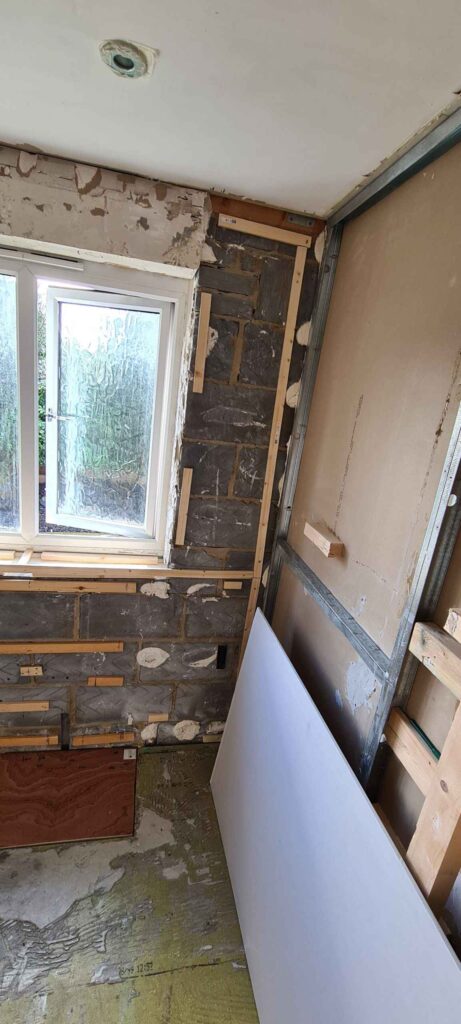
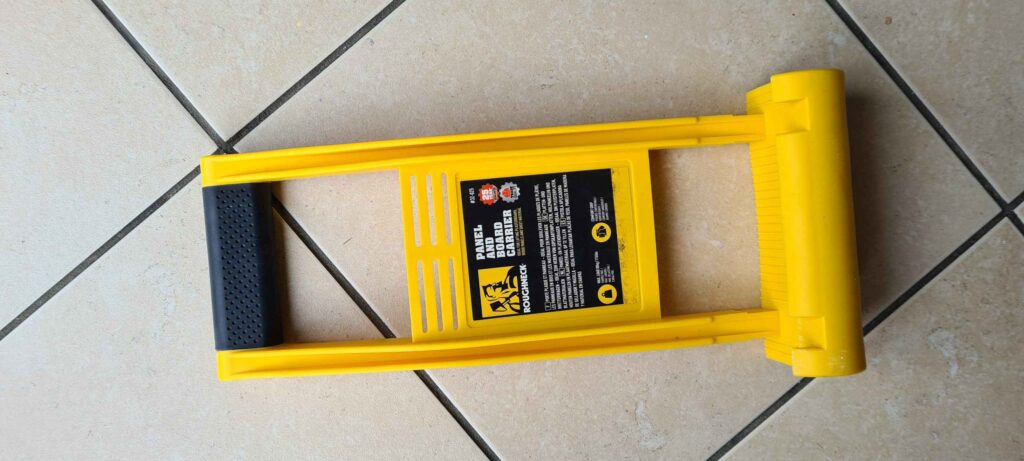
The use of plastic drywall board carriers made it easier to get the large unwieldy boards up to the first floor of the house and into the ensuite making negotiating the stairs that much easier.
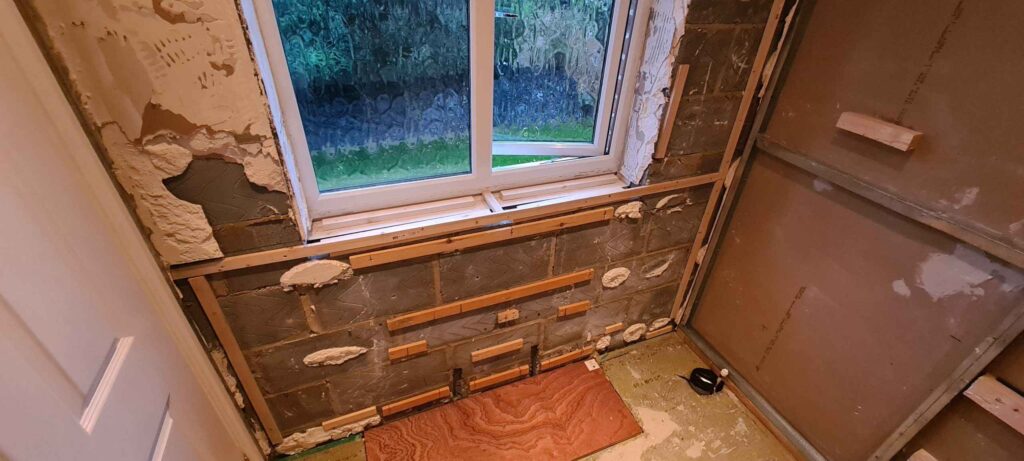
Extra studs and noggins were added to facilitate fixing the vanity unit, window board and some of the drywall around the window on the outside wall where the previous plasterboard had been fitted with dot and dab which if used again would have made the new drywall uneven.
Now with all the studs and noggins in place the drywall could be fitted and the holes cut for the radiator, shower valve, shower head, shaver point and vanity unit. The boards were fixed into place using drywall screws into the metal studs and then taped and the joints skimmed with plaster including the ceiling joints and joints around the window return.
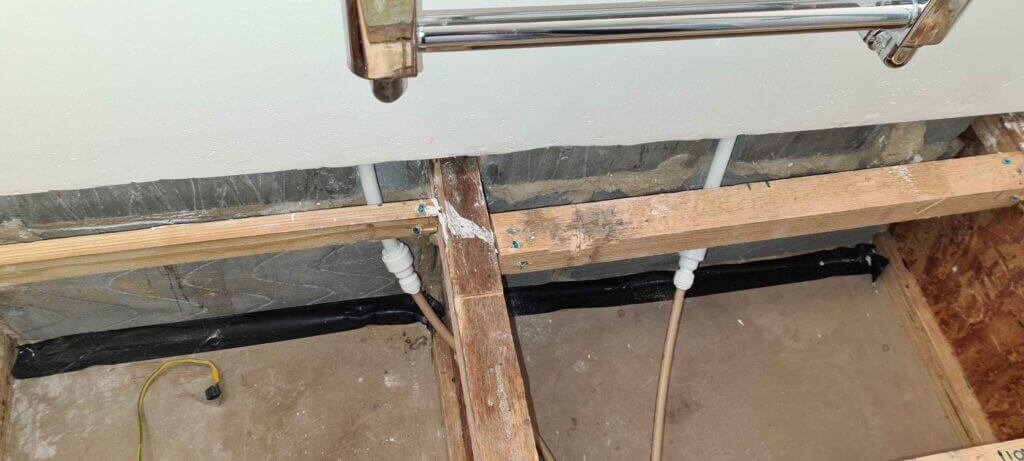
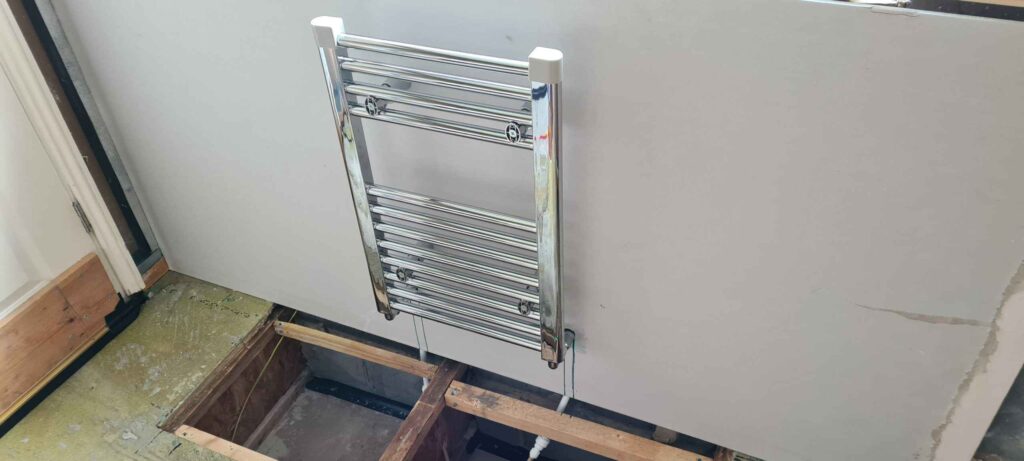
The window board was then cut to shape and fitted into place with an MS Polymer adhesive. Being already primed when purchased from the supplier the window board did not need any undercoat before being painted with bathroom gloss paint. A chrome towel radiator was fixed to the wall and connected to the previously fitted radiator valves.
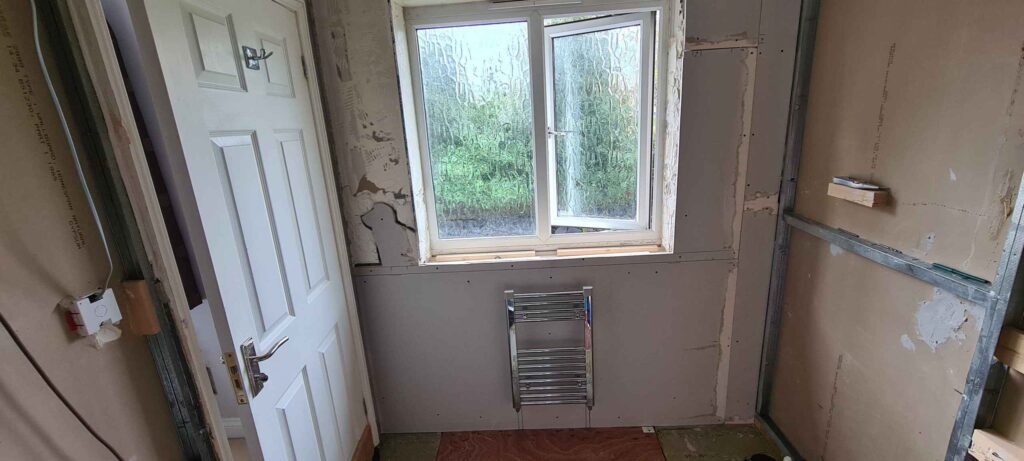
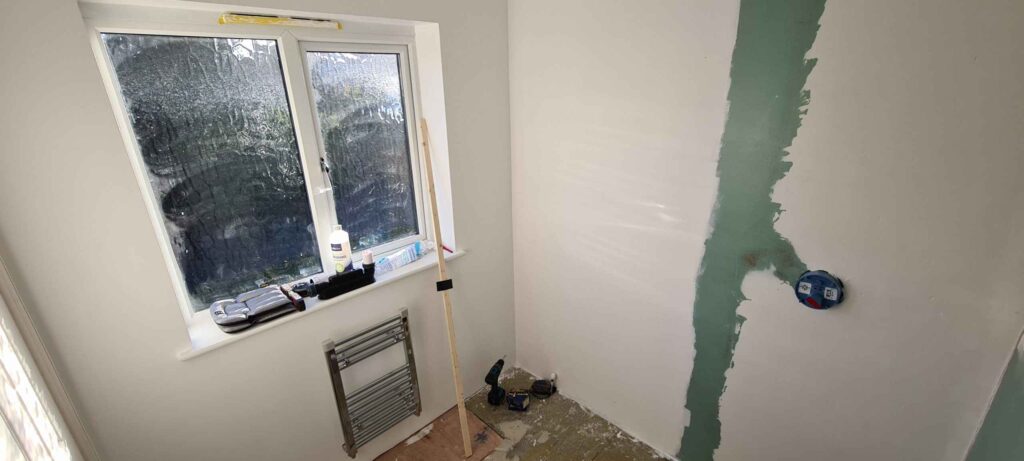
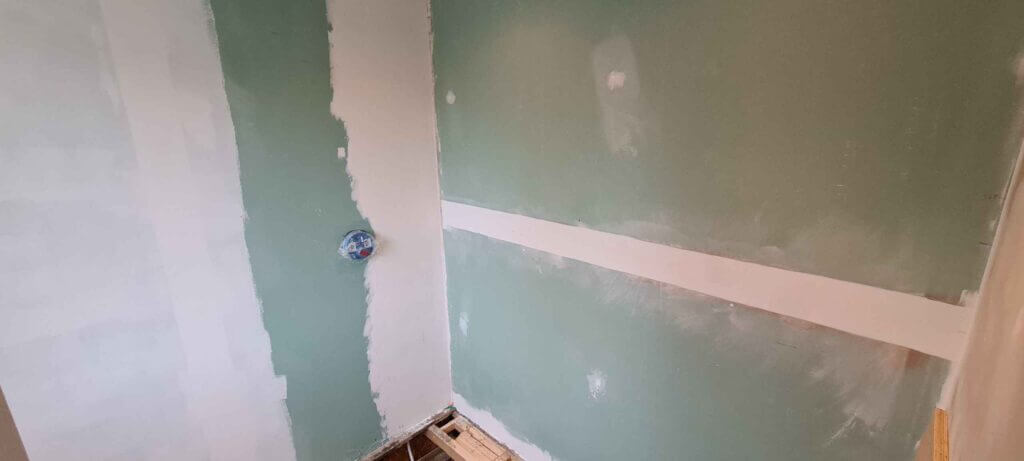
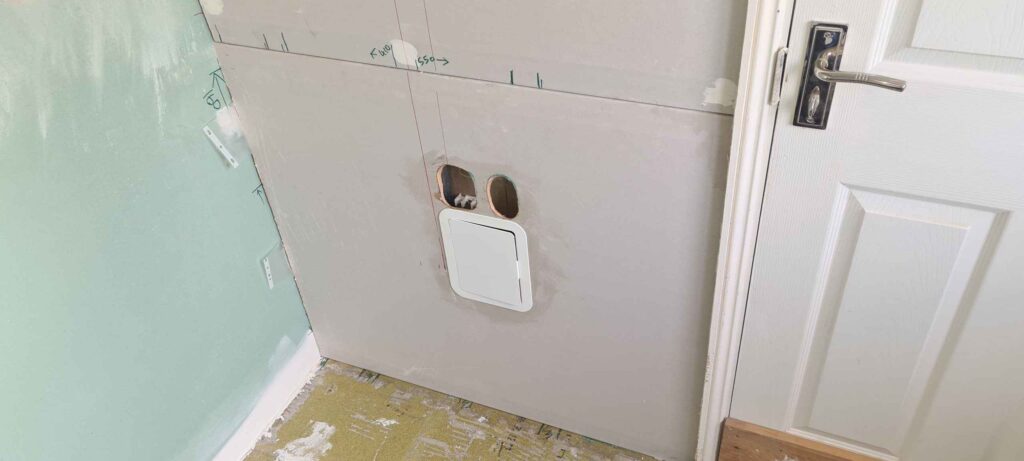
The floor was then given two coats of quick drying floor varnish with four hours being left between each coat. This was to give the floor a good surface to enable the pouring of the self levelling compound. The next job was to apply a self levelling compound to the floor. Using thin strips of wood which were lightly screwed to the floor the holes around the WC soil pipe and the shower drain and also the entry door threshold were sealed off with sanitary silicone being used to seal the gap between the wood and the floor. Also all the gaps between the drywall and the floor were sealed and any holes in the floor. This makes sure that when pouring the levelling compound it wont leak away creating little craters.
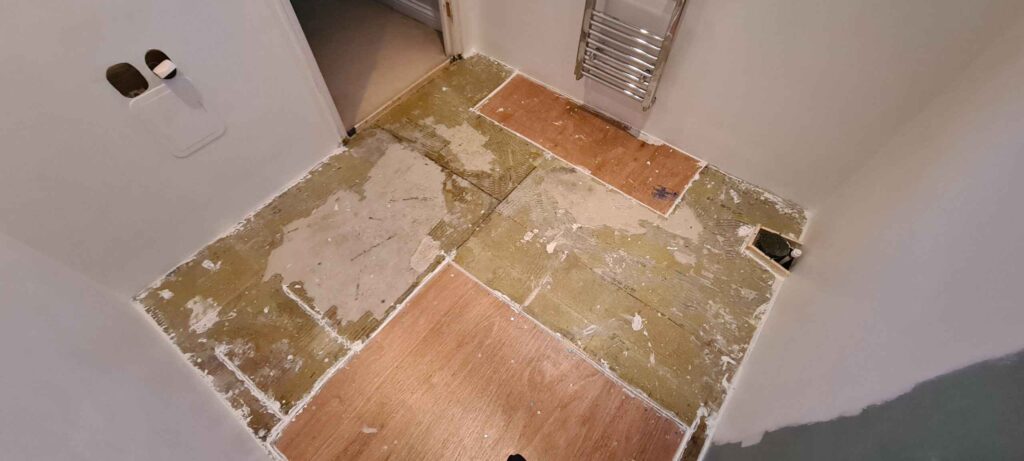
Once the floor was completely sealed then the flexible self levelling compound was mixed according to the manufacturer’s instructions and poured onto the floor using several buckets and evened out with a plastering float between buckets. The floor was then left for 48 hours to cure although the manufacturers specification said that it could be tiled after 4 hours. We wanted to apply two coats of liquid tanking membrane along with the area of the wall that would be tiled for the shower enclosure. After the membrane was applied it was left to dry for twelve hours between each coat.
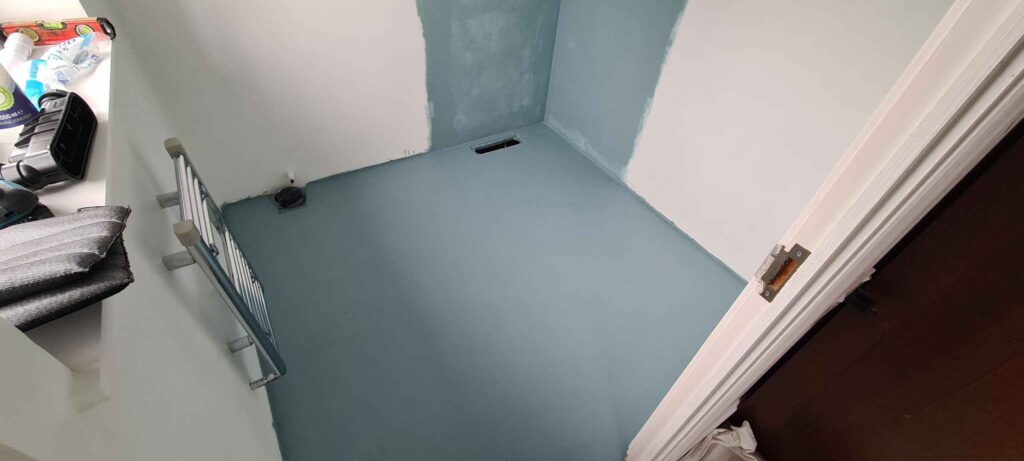
With the tanking membrane fully cured the shower tray was offered up into position and MS Polymer sealant was applied around the edges that would be against the shower wall and also underneath the tray around the edge and centre circle. The tray was then laid into position and the shower drain screwed into place and the cover plate inserted.
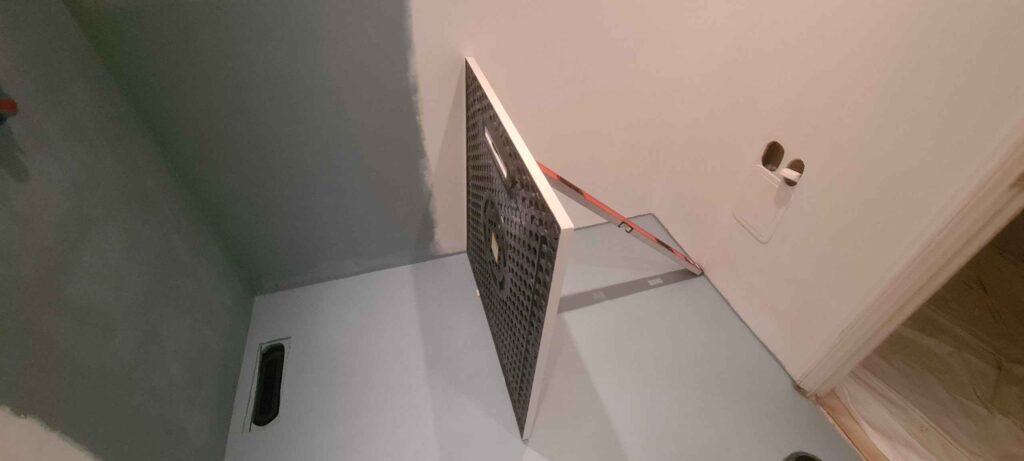
Tiling the floor was the next job. The chosen tiles were cut to size and laid out in a dry run using the tile leveling system spacers and wedges. Once all the tiles were cut and checked for correct fitment they were numbered on a piece of masking tape and stacked up ready for laying properly.
A 10mm notched trowel was used to apply the flexible rapid set tile adhesive to the floor. The adhesive used was a cementitious powdered rapid set flexible adhesive mixed with an electric paddle mixer to the manufacturers directions. To ensure there is no lippage occuring at the tile joints we are employing a tile levelling system which also spaces the tiles as they are laid. Use the pliers for floors supplied with your tile leveling system to put the correct pressure on the wedges when driving them into the spacer clips between the tiles.
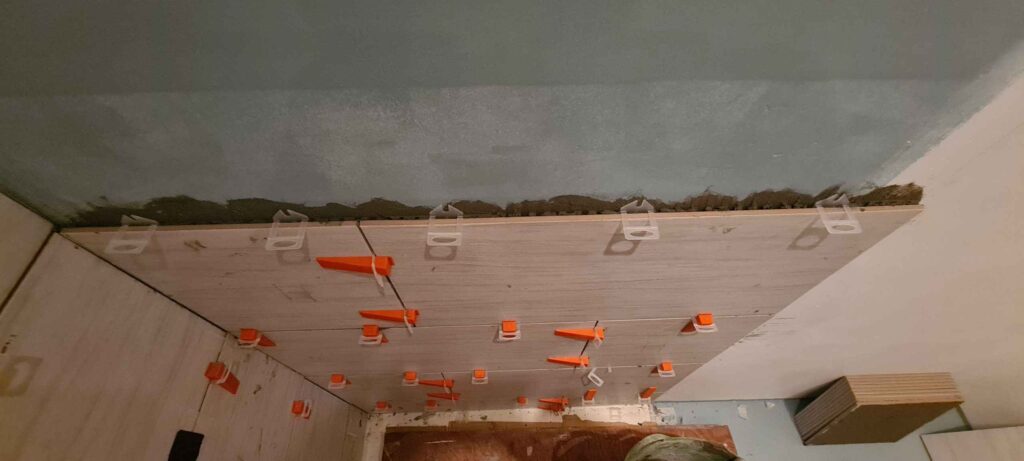
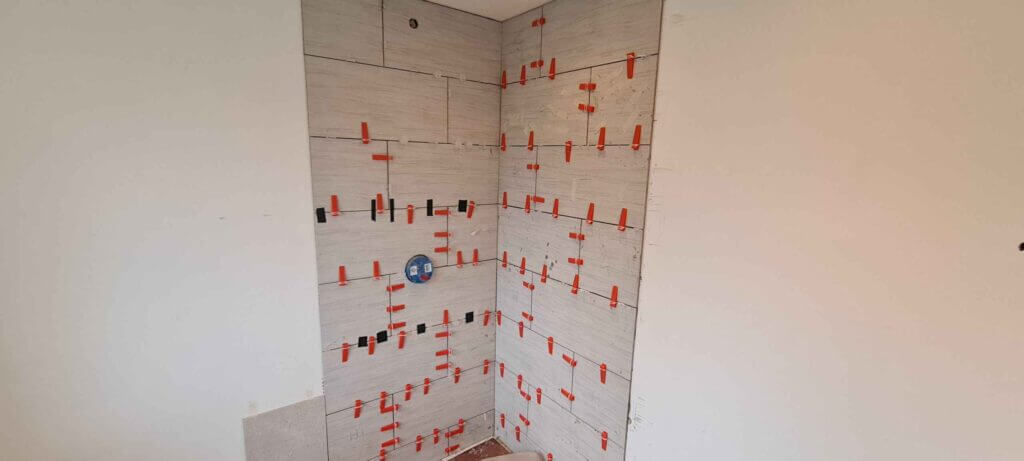
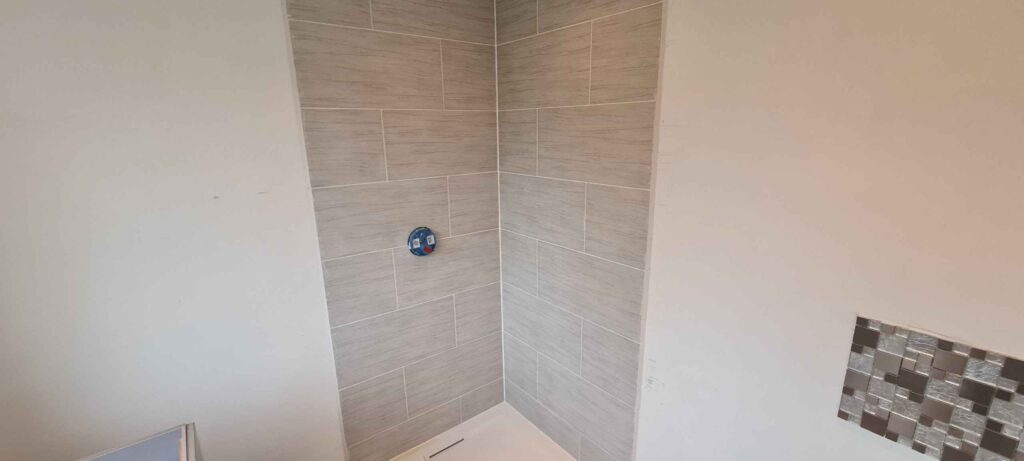
For the wall tiles a 6mm notched trowel was used to apply the adhesive to the wall. A diamond tipped hole saw was used to drill the hole for the shower head and the electric tile saw was used to notch out the semi circles for the shower valve. A laser level was used to make sure the tiles were true and the tile levelling system made sure there was no lippage.
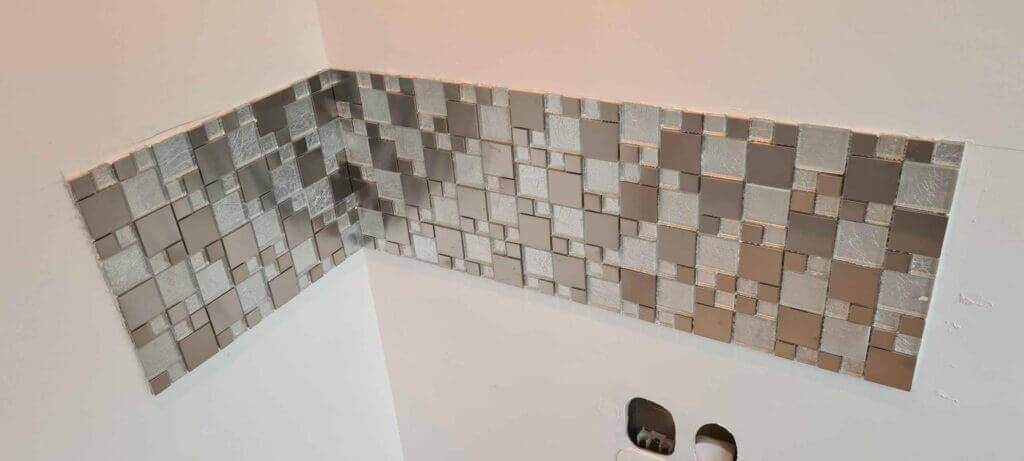
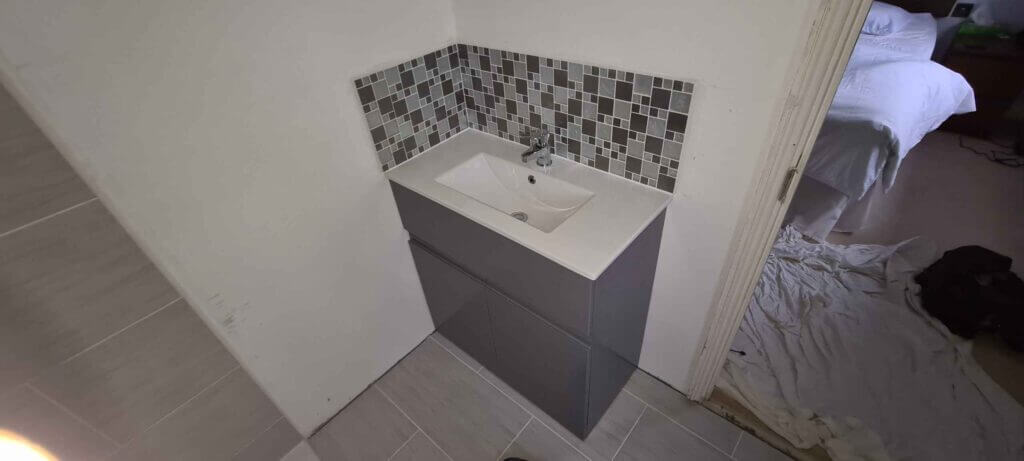
The vanity unit was offered up to mark the position of the backsplash and then removed again. Shiney foil backed tile mosaics were used for the backsplash. They were fixed using a white ready mixed tile adhesive.
Once all the tiles had been fixed to the floor and the walls and allowed to cure for 24 hours they were grouted with epoxy grout. The epoxy grout used was a two component resin based product that had an open time of about 45 minutes and mixed well with an electric paddle mixer. A grout float was used to apply the grout and and white scouring sponges with plenty of water were used to remove the excess grout while wiping over the tiles at a 45 degree angle so as not to pull out the grout from the joints.
The tile grout was allowed to cure for 24 hours at which point it is fine for light foot traffic so we could get back on it to fit the vanity unit. First the carcass was screwed to the wall and then the sink was installed using a thin bead of MS Polymer around the top of the unit. The trap was connected up to the waste using a flexible pipe and the tap tails connected to the isolation valves. A bead of silicone sealant was run around the joint between the sink and the mosaic tiles.
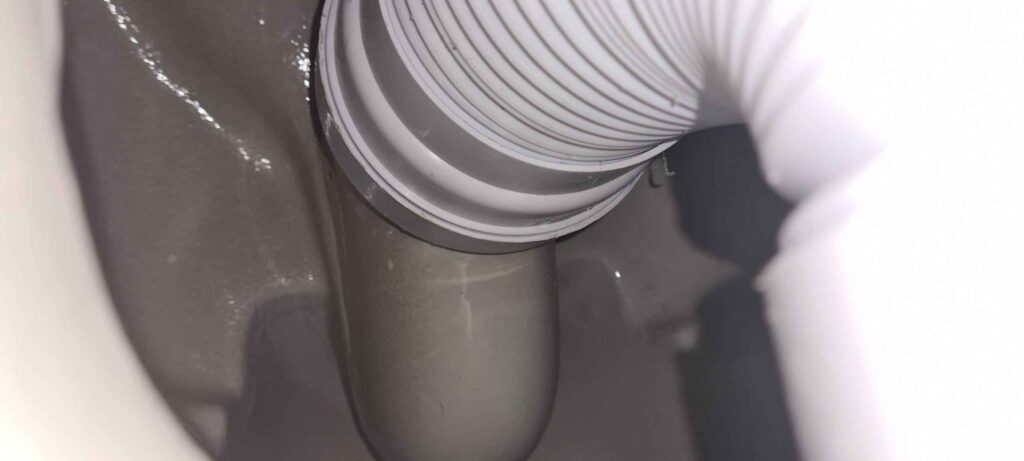
With the ensuite starting to come together it was time to install the WC. A template was used to mark the position of the pan fixing brackets and a diamond tipped tile drill used to punch a hole through the floor to screw the fixings down. A flexible pan waste connector pipe was used to connect the back to the wall toilet waste pipe to the soil down pipe in the floor.
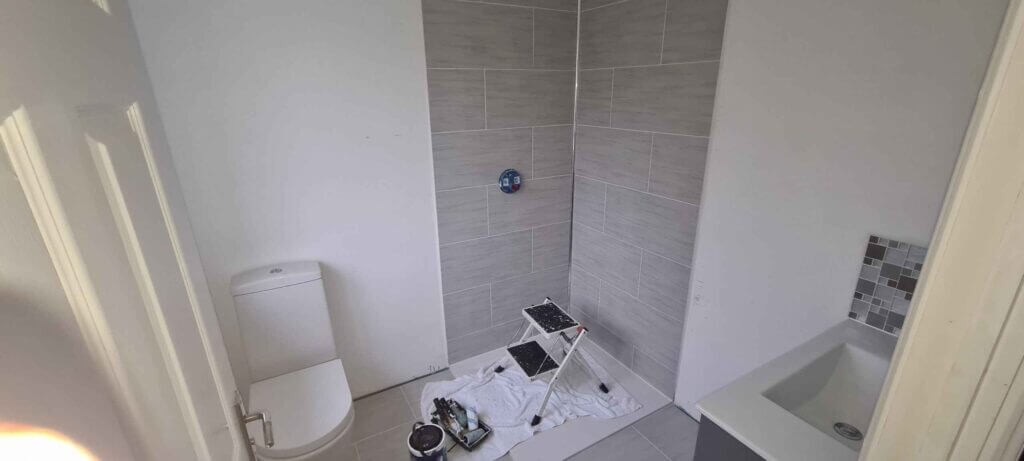
One of the last jobs on the list was to fix the shower enclosure to the wall. A laser level was used to line up the shower panel brackets on the wall and they were screwed to the wall. The panels were made up and screwed to the wall brackets after fixing the door to the hinges. The support bar was fixed to the wall and clamped to the glass. A bead of clear silicone was run round the outside of the glass and the wall brackets. The the shower valve control box lid and escutcheon plate were installed along with the control knobs.
The last jobs involved fitting the shower head to the elbow using a quick setting anaerobic thread seal. Then the tile skirting was fixed around the edge of the room and finally the tallboy cupboard was mounted on the wall.
